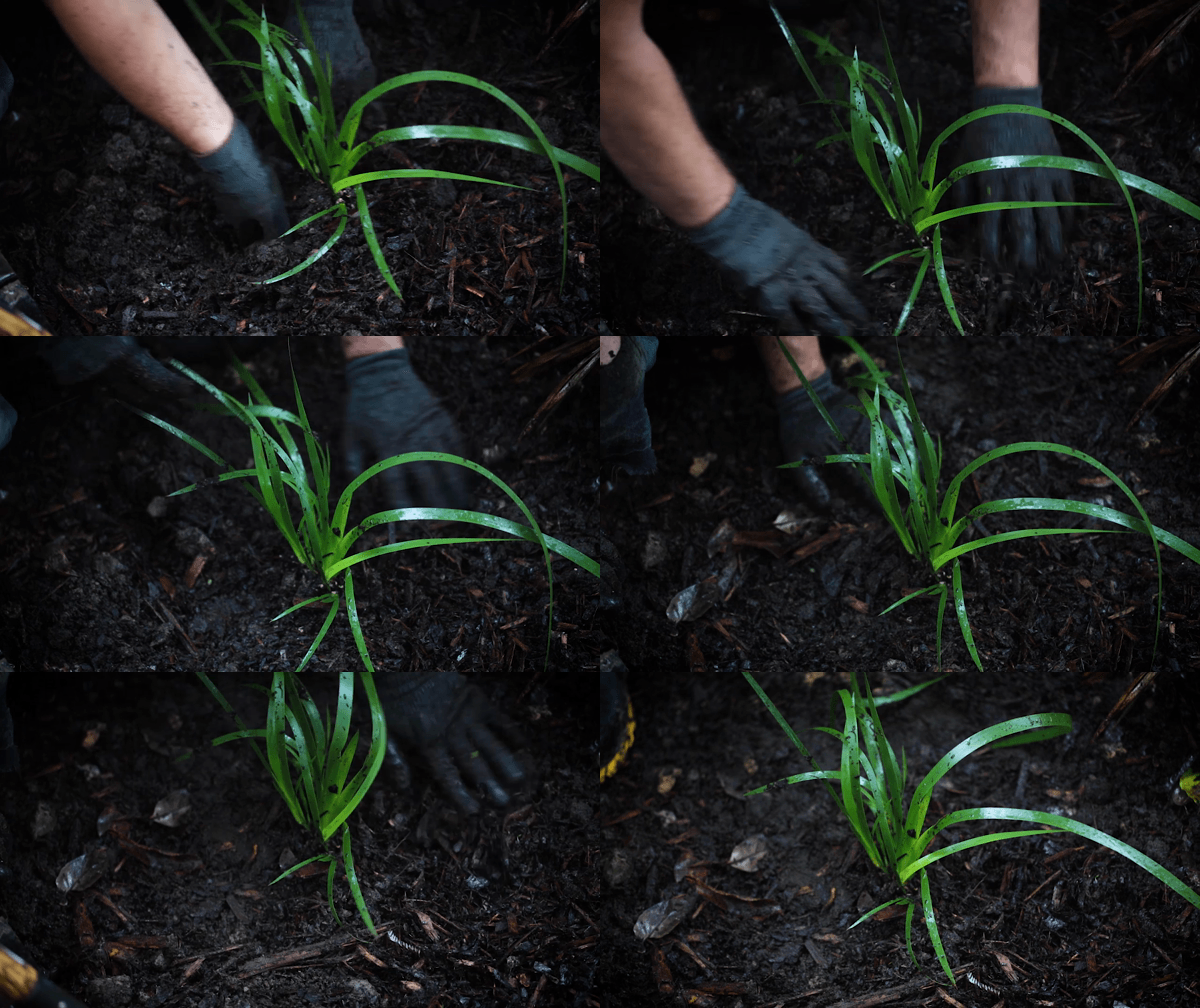
Journal — Dirt
James Walkinshaw
27th May 2020
How to: Plant a plant
Here’s a basic step-by-step guide to planting something in your garden. While the steps below might need to be adjusted depending on your soil or site, or for plants with special needs, these general principles should get you started for the majority of situations.
Step 1: Clearing
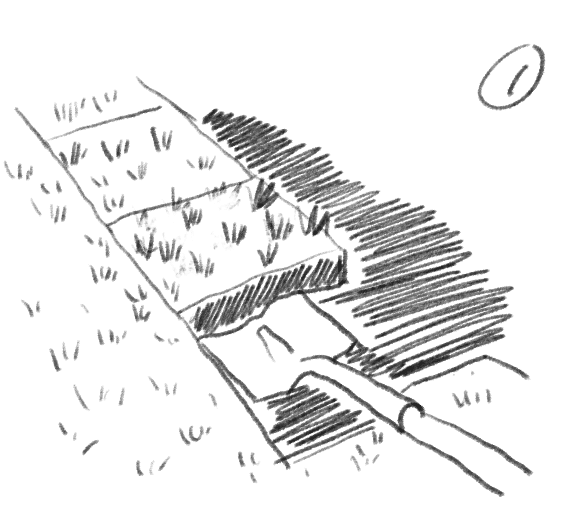
If you’re looking to turn lawn into garden, one approach is to mark out the desired garden area and cut the turf out with a spade square by square. If you’re not in a rush to plant your new garden, cover the area with a tarp or cardboard and leave over winter for spring planting. If it’s an existing garden bed, try to clear as many weeds as possible so they don’t smother your new plants. See more information on preparing your soil for planting on our journal.
Step 2: Digging
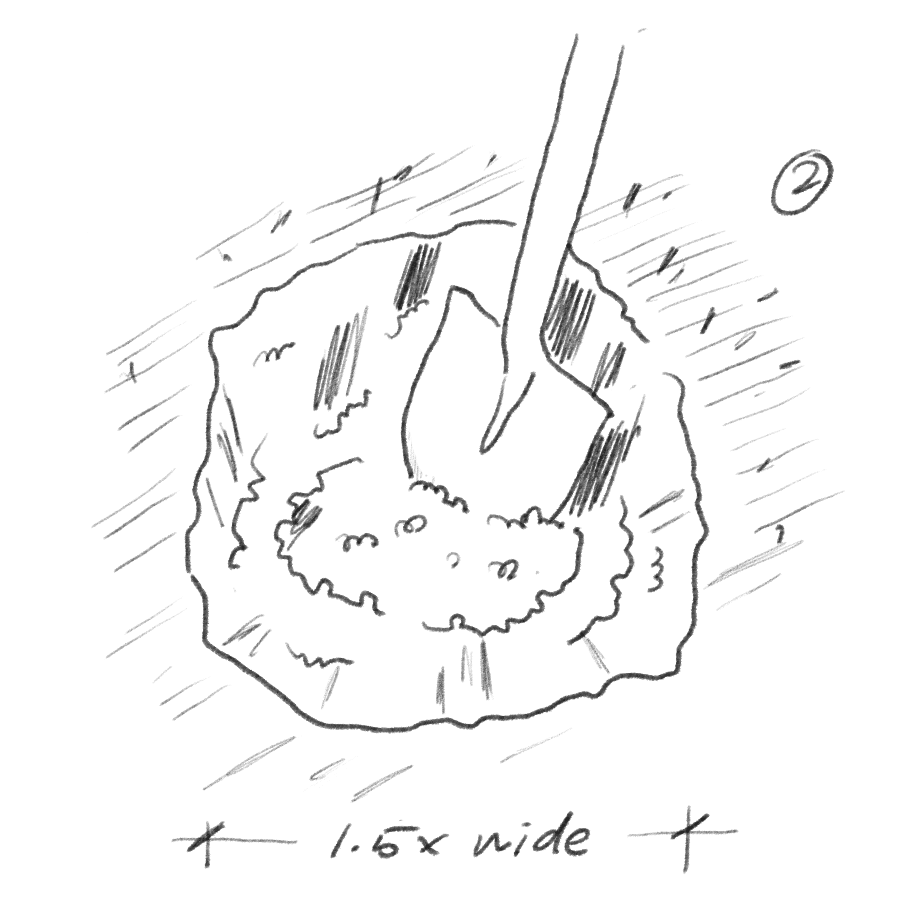
Dig a hole slightly deeper than the height of your plant pot and one and a half times as wide. Make sure the sides and bottom of the hole are rough – smooth sides discourage roots from spreading out. If you have clay soil with particularly poor drainage, consider digging a thin channel going downhill and backfill it with soft soil. This will allow water to seep out in heavy rain.
Step 3: Enrich the soil
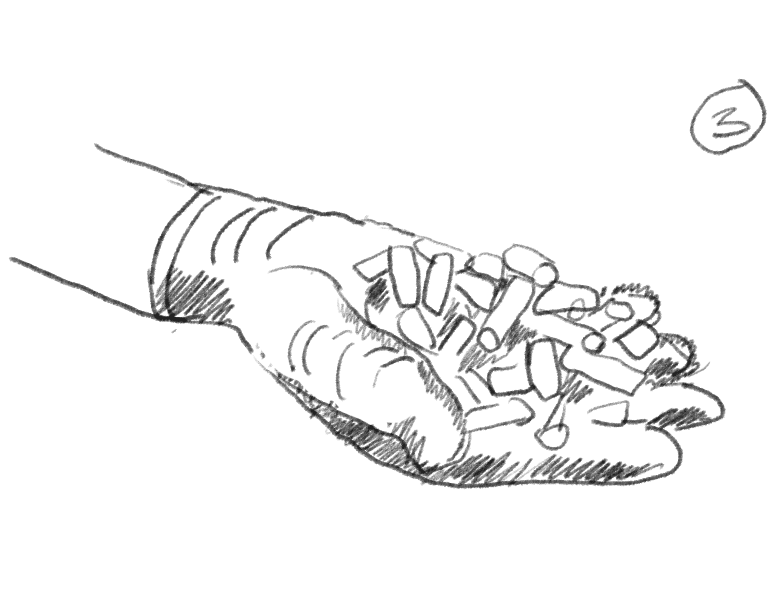
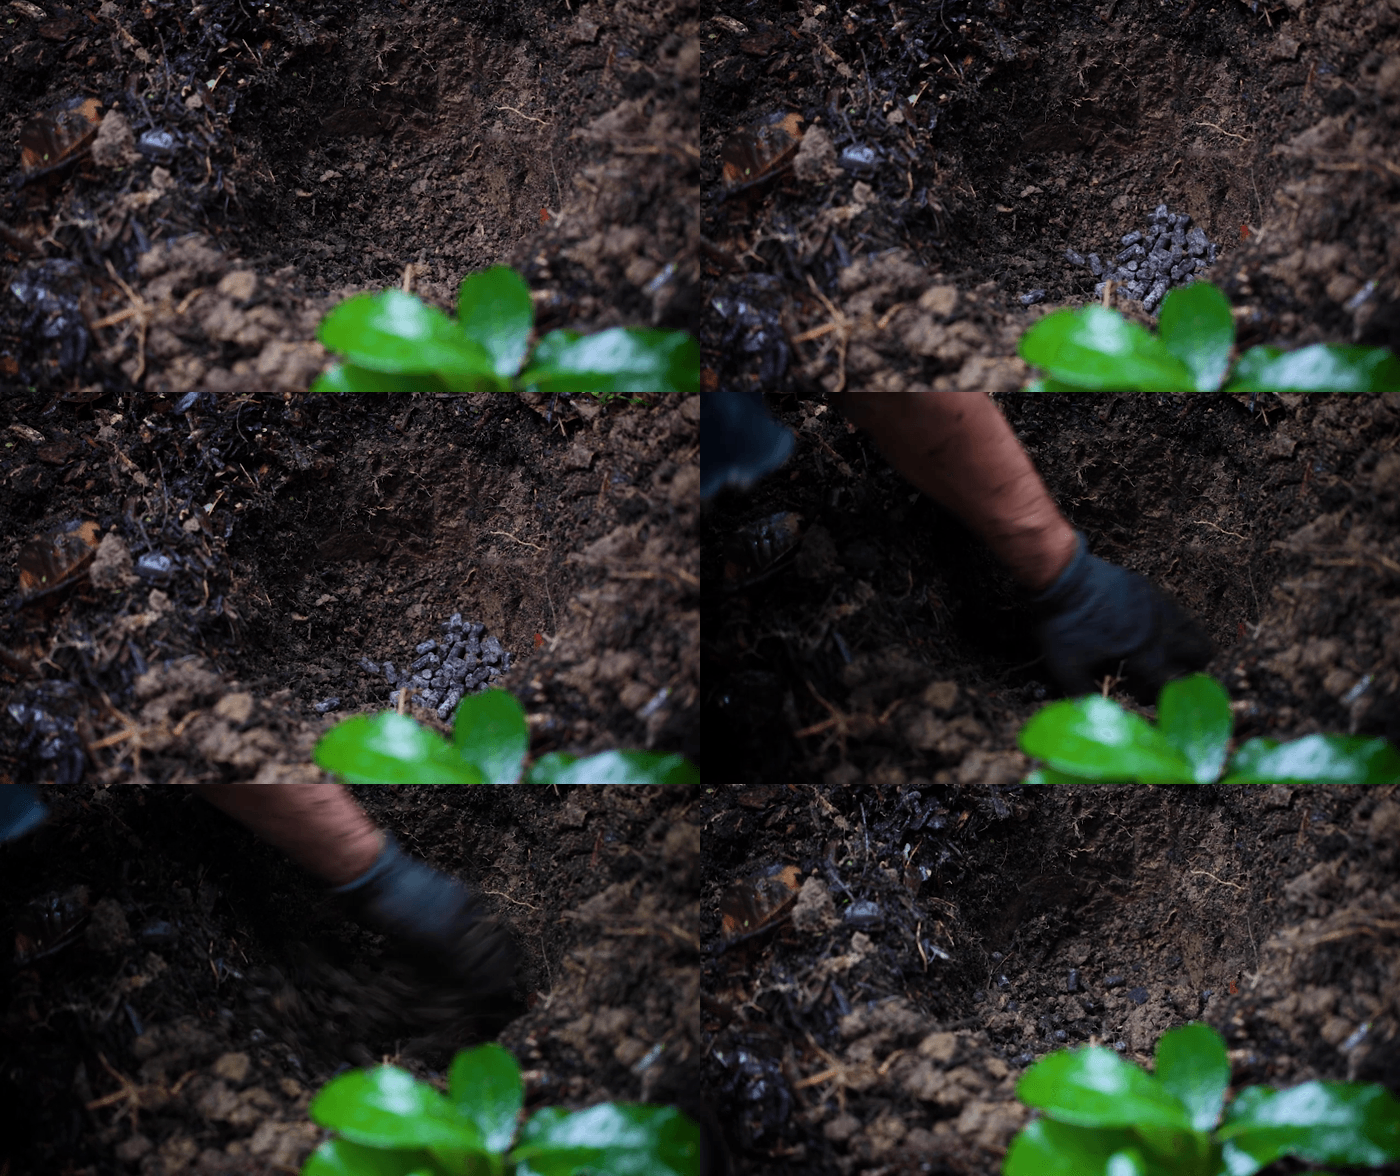
A great way to give your plant a head-start is to enrich the soil when you plant it. Sheep pellets are perfect for this as they add nutrients while conditioning the soil to encourage beneficial microbes. If you’ve dug into clay consider also adding a fine layer of gypsum AKA Clay Breaker, which helps break down the clay without changing its pH. See more information on planting into clay soil on our journal.
Step 4: Root Soak
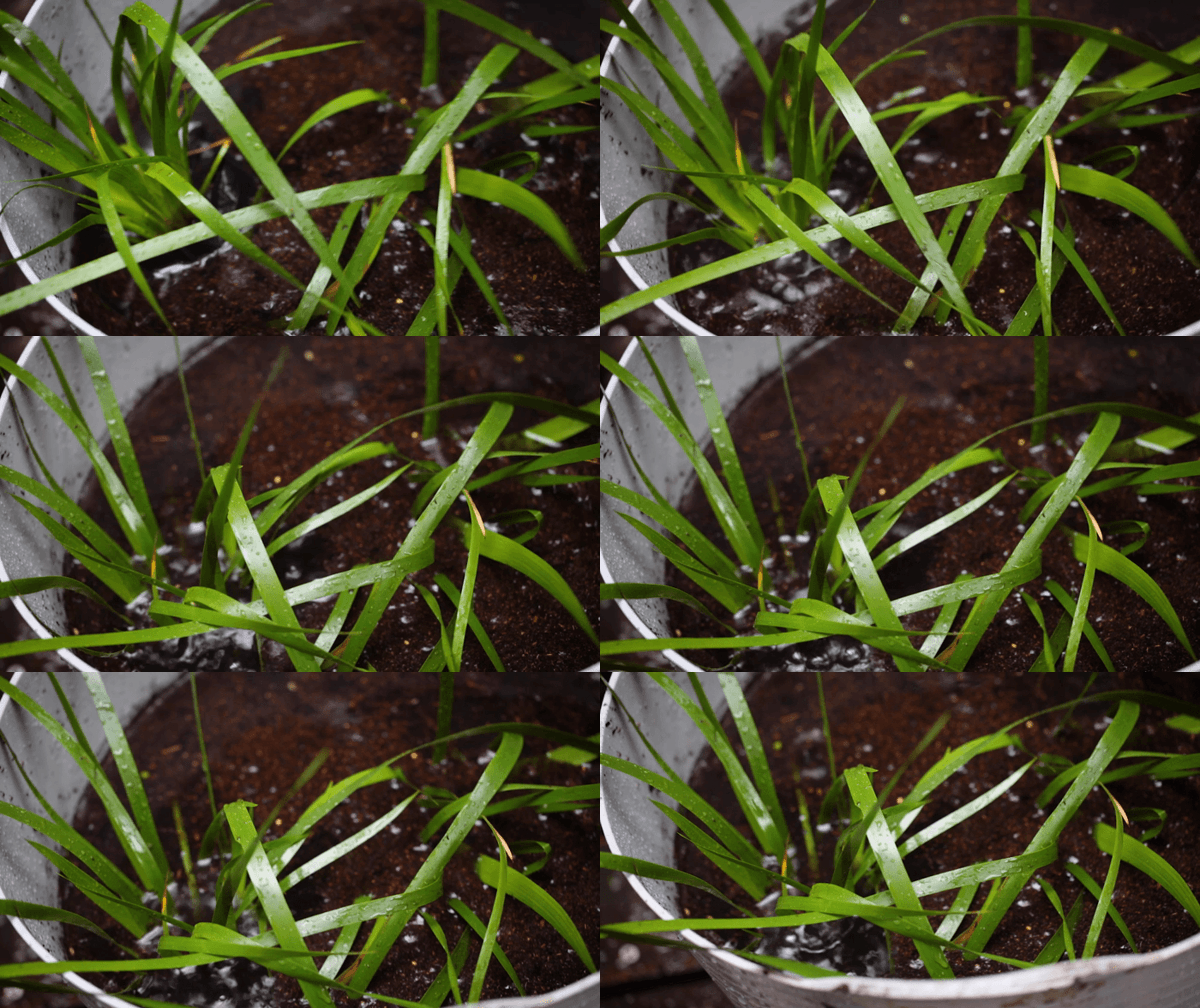
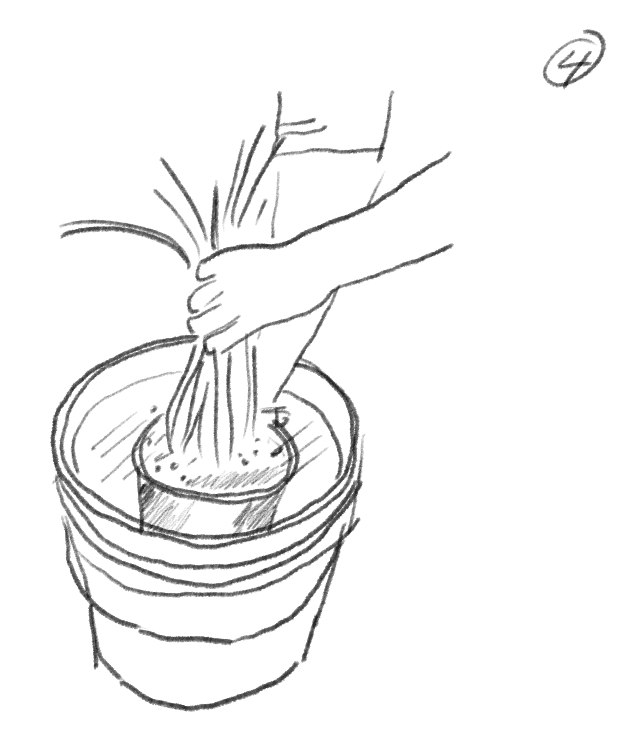
The best way to ensure that your plant has a sufficient first drink is to root soak before planting it. Lower your plant into a bucket or wheelbarrow filled with water (you can also add liquid fertiliser) and submerge until the bubbles have ceased.
Step 5: Free up bound roots
If your plant has been in a pot for a long time it may be rootbound. This means its roots will be tightly tangled at the sides and bottom of the pot. Use your fingers to tease some of them loose – don’t worry if you lose a few smaller ones.

Step 6: Positioning your plant
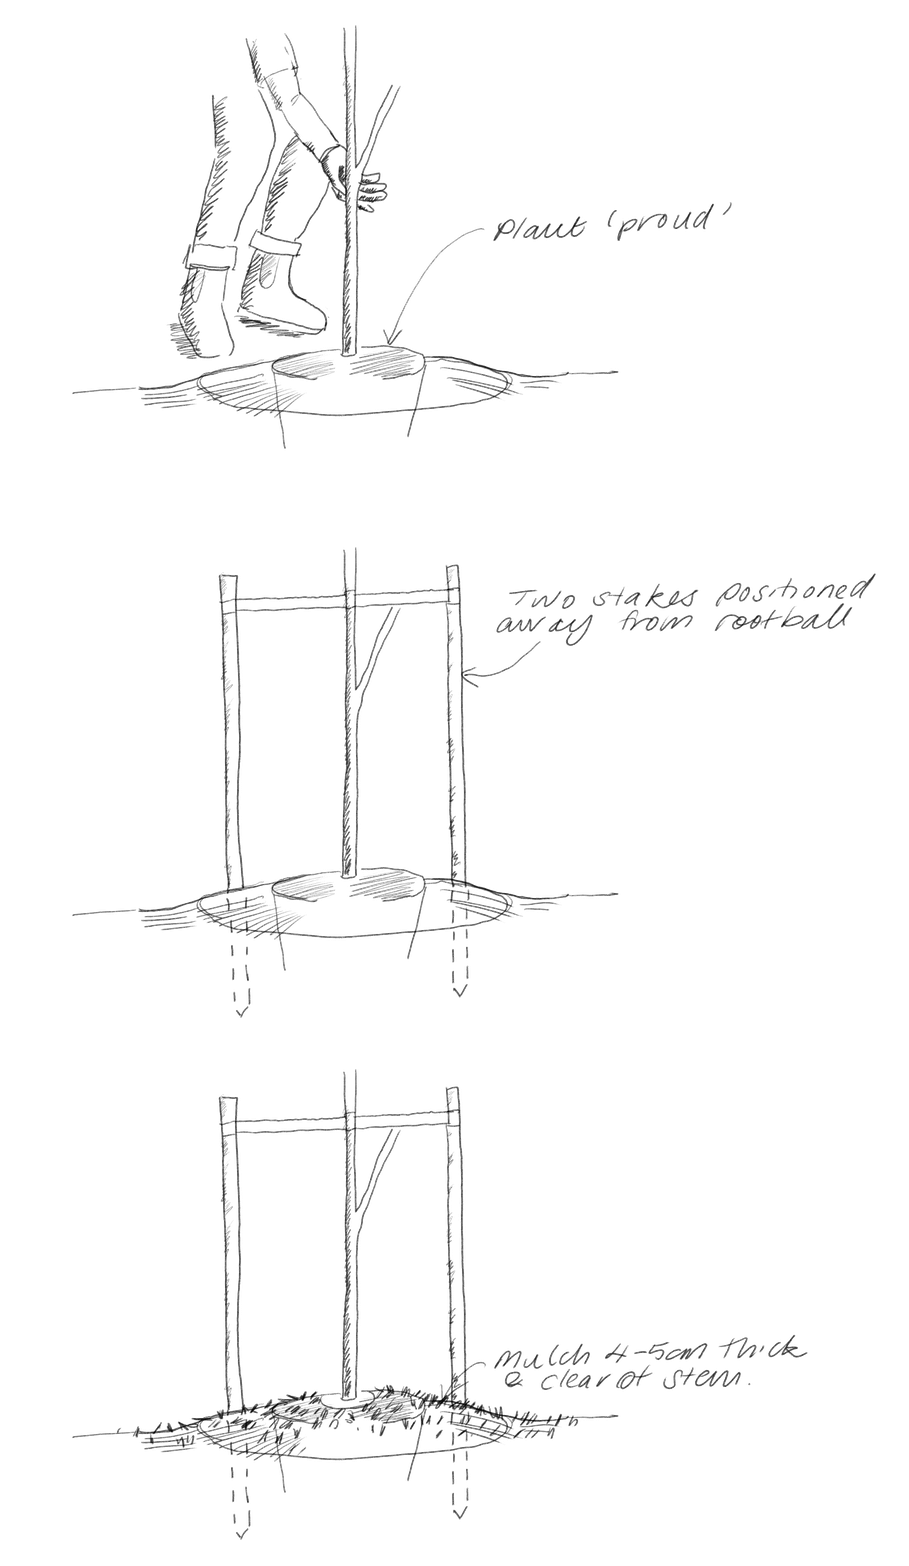
You want the plant to be centred in the hole with the base of its stem slightly higher than the surrounding ground level, but without its roots being exposed to the air. In damp clay soils in particular, it’s better for plants to be slightly ‘proud’ than sunken in to avoid them getting drowned in heavy rain.
Step 7: Backfill and stake
Once the plant is in place, fill in the gaps around it with soil and compact gently. If your plant needs to be staked in place, position two to three outside of the root ball of the plant. Use flexible ties to secure the plant from a high central point. If the plant came with another (smaller) stake, this can now be removed.
Step 8: Mulch
Use a quality wood mulch or even leaf litter to cover the soil around the plant. Mulching helps to retain moisture, stop the soil from oxidising, protect the plant from frost, and slow weed growth. Make sure the mulch does not sit against the stem or trunk of the plant as this can cause your plant to rot.


Well done, you’ve planted a plant! Water your plant regularly until it has settled in – this will be shorter in the cooler months and longer in the warmer ones. Remember, in order to promote strong roots it is best to water your plant deeply every now and then, rather than a little bit often.
Principles:
• Plants like water – but not too much; position your plant so it doesn’t get swamped in heavy rain.
• Plants like soil that doesn’t constrain their roots; roughen the sides of the hole so that they can spread their roots out.
A note on choosing the right plant for the right location:
Many garden plants are very adaptable and will tolerate a wide range of garden conditions. But before choosing a plant for your garden, take a look at where you want it to go. Is it baking hot or deep shade? Is it exposed and dry or damp and cool? Does frost accumulate in that spot? Take into account any extremes and look for a plant that’s suited to those conditions.
Words & Illustrations by James Walkinshaw
Photography by Neeve Woodward
Join Our Newsletter
XANTHE WHITE DESIGN
Auckland Studio
Phone: 09 815 1187
Email: info@xwd.co.nz
XANTHE WHITE DESIGN
Wellington Studio
Email: wellington@xwd.co.nz