Journal — Dirt
James Sullivan
31st August 2021
Creating new gardens through Sheet Mulching
In this how to James from the Auckland studio transforms an under used patch of grass into a fresh new garden ready for planting through the sheet mulching technique. Read on to find out how you can achieve this at your place too.
If you’re anything like me, at some stage you’re going to run out of existing garden space to grow plants, herbs, veggies, flowers what ever you want to grow it all requires space. When I moved into my current house a few years back there was little room for gardening and a lot of room for lawn. The lease included a person who would periodically come and mow the lawns which is helpful because there is a lot of it but really it didn’t get much use. So I decided to slowly over time turn it into a productive garden space using sheet mulching. Thankfully the landlord doesn’t seem to mind and I think the person who mows the lawn is quietly quite chuffed that their job has become that little bit smaller too.
What you will need:
- Lawn
- Cardboard boxes
- Garden hose
- Compost
- Mulch
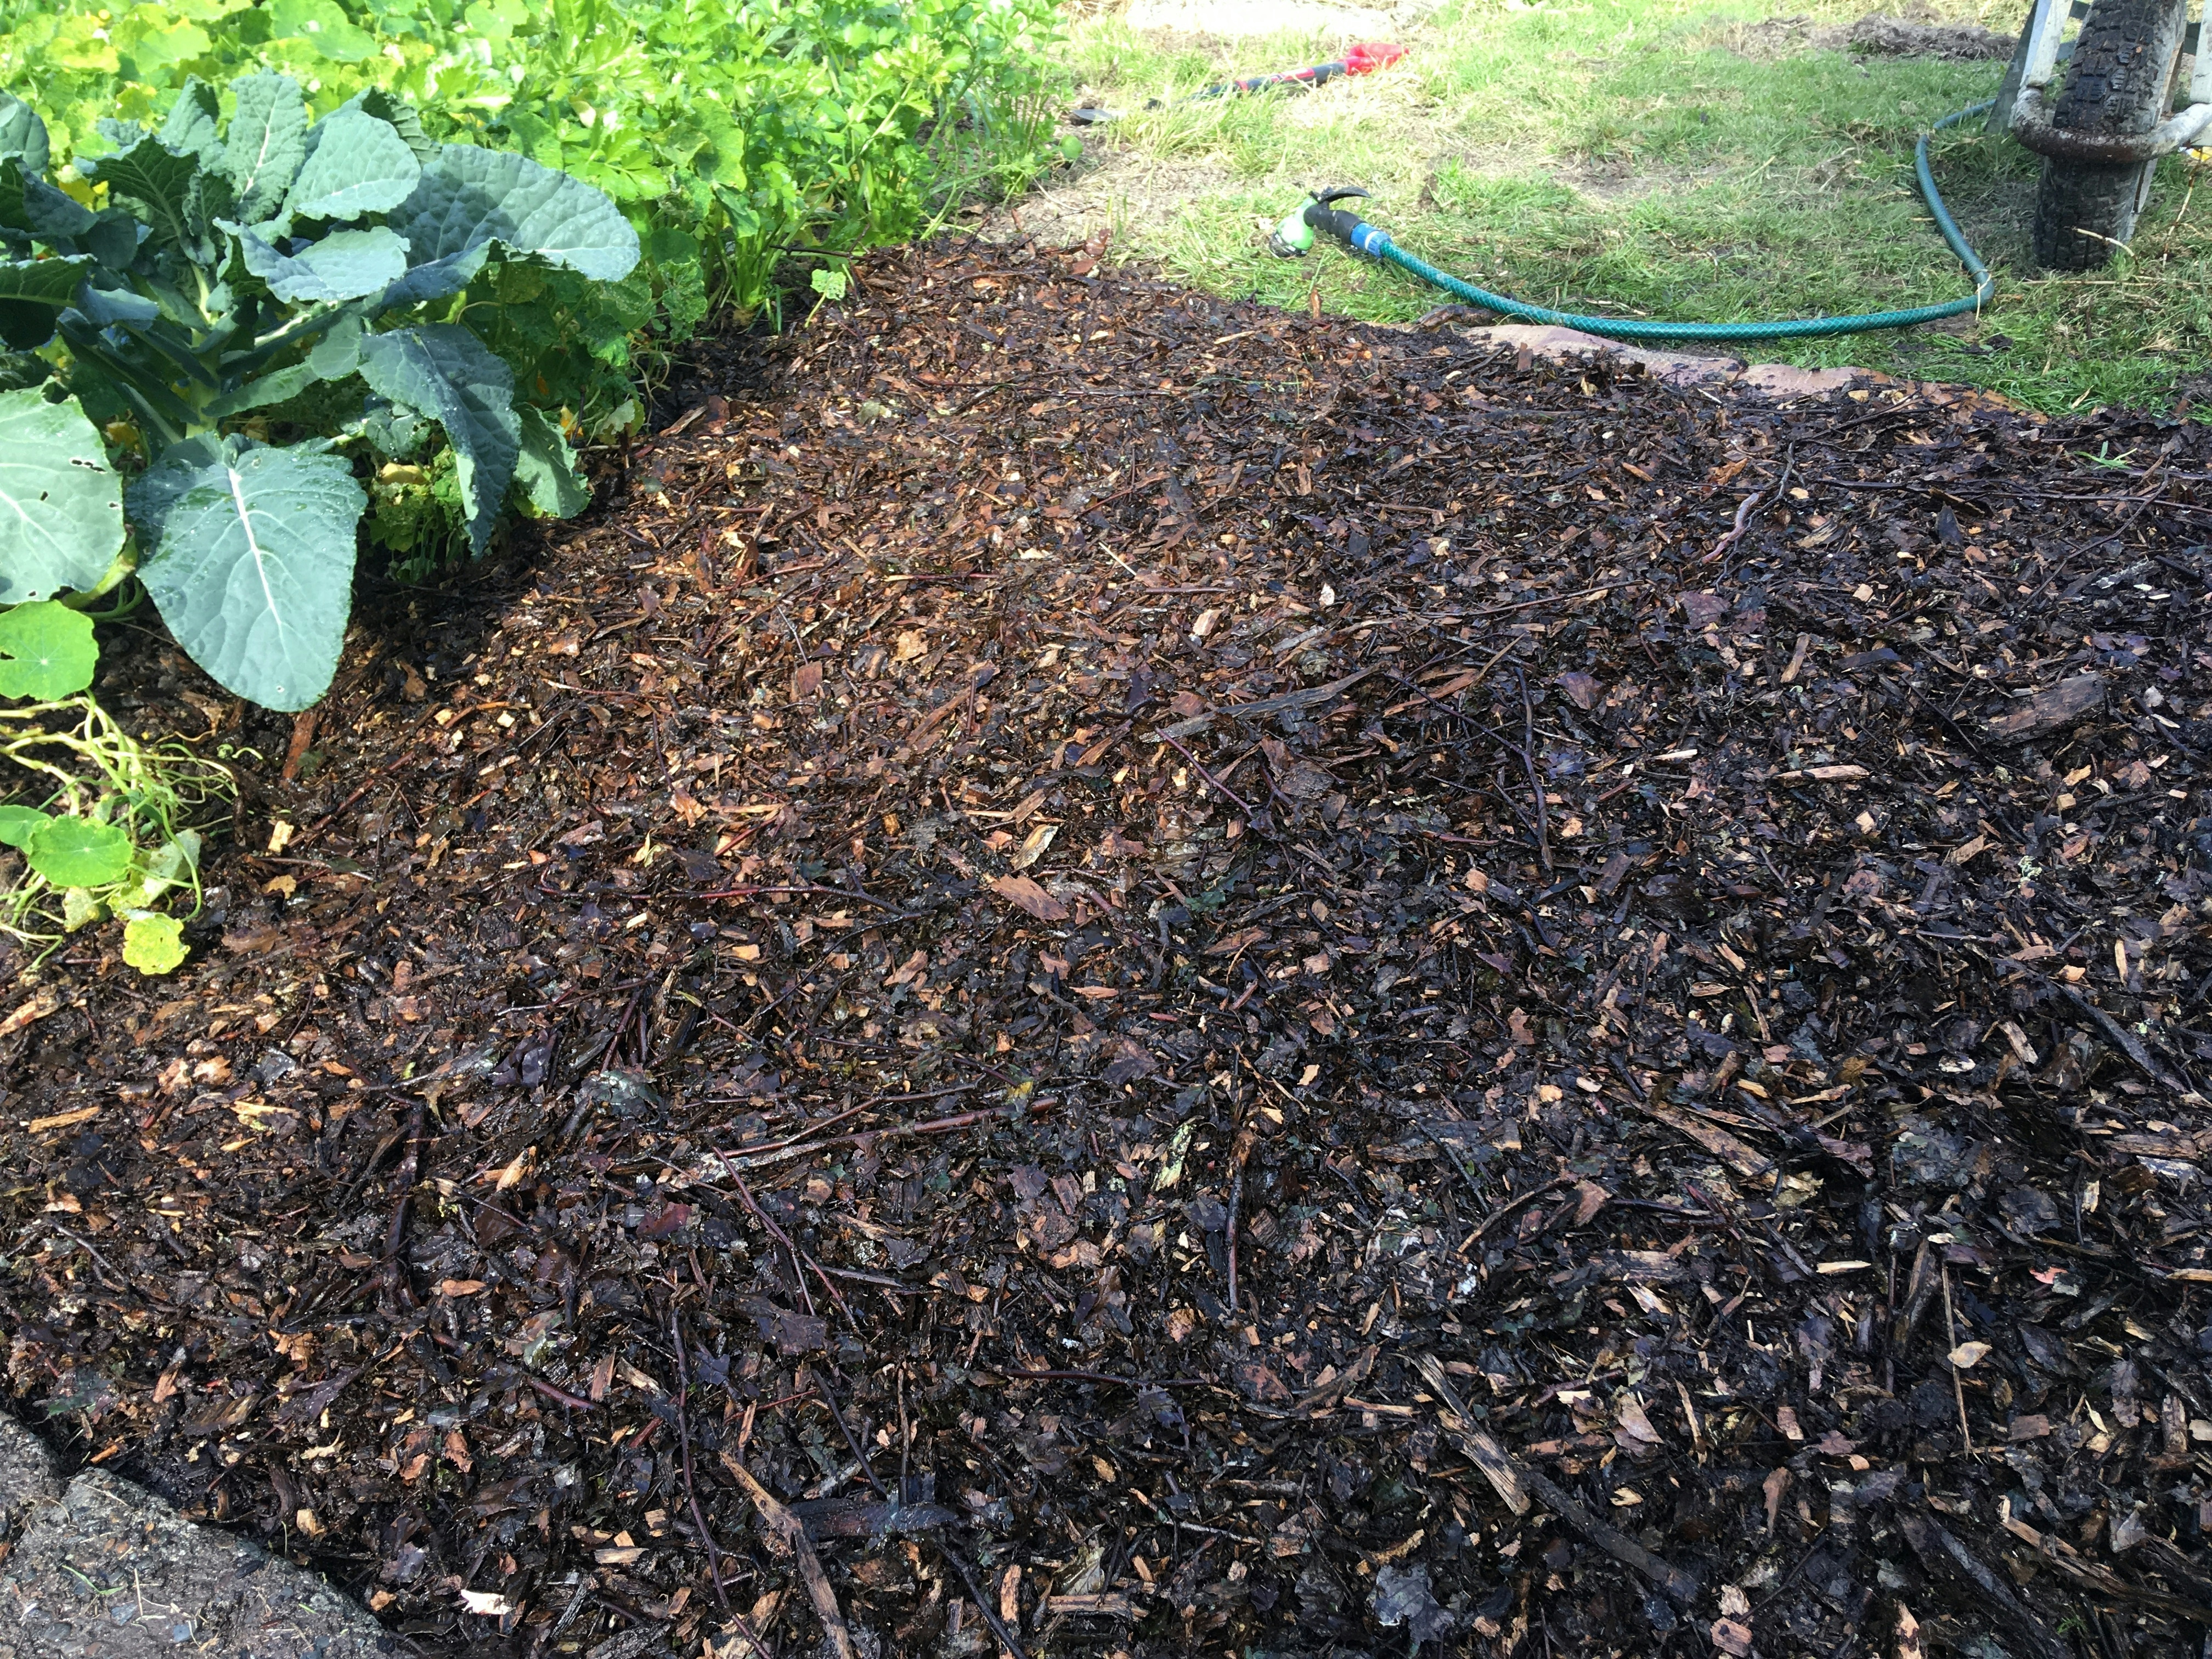
If you’re anything like me, at some stage you’re going to run out of existing garden space, so I decided to slowly over time turn it into a productive garden space using sheet mulching.
There are a few different methods you can use, but this is my one.
1. Identify where you want to get rid of your lawn. The obvious first place for me was the front garden. It is north facing, street side and has a gentle gradient.
2. Start small – it is surprisingly physical. Grass is tough and kikuyu grass is even tougher.
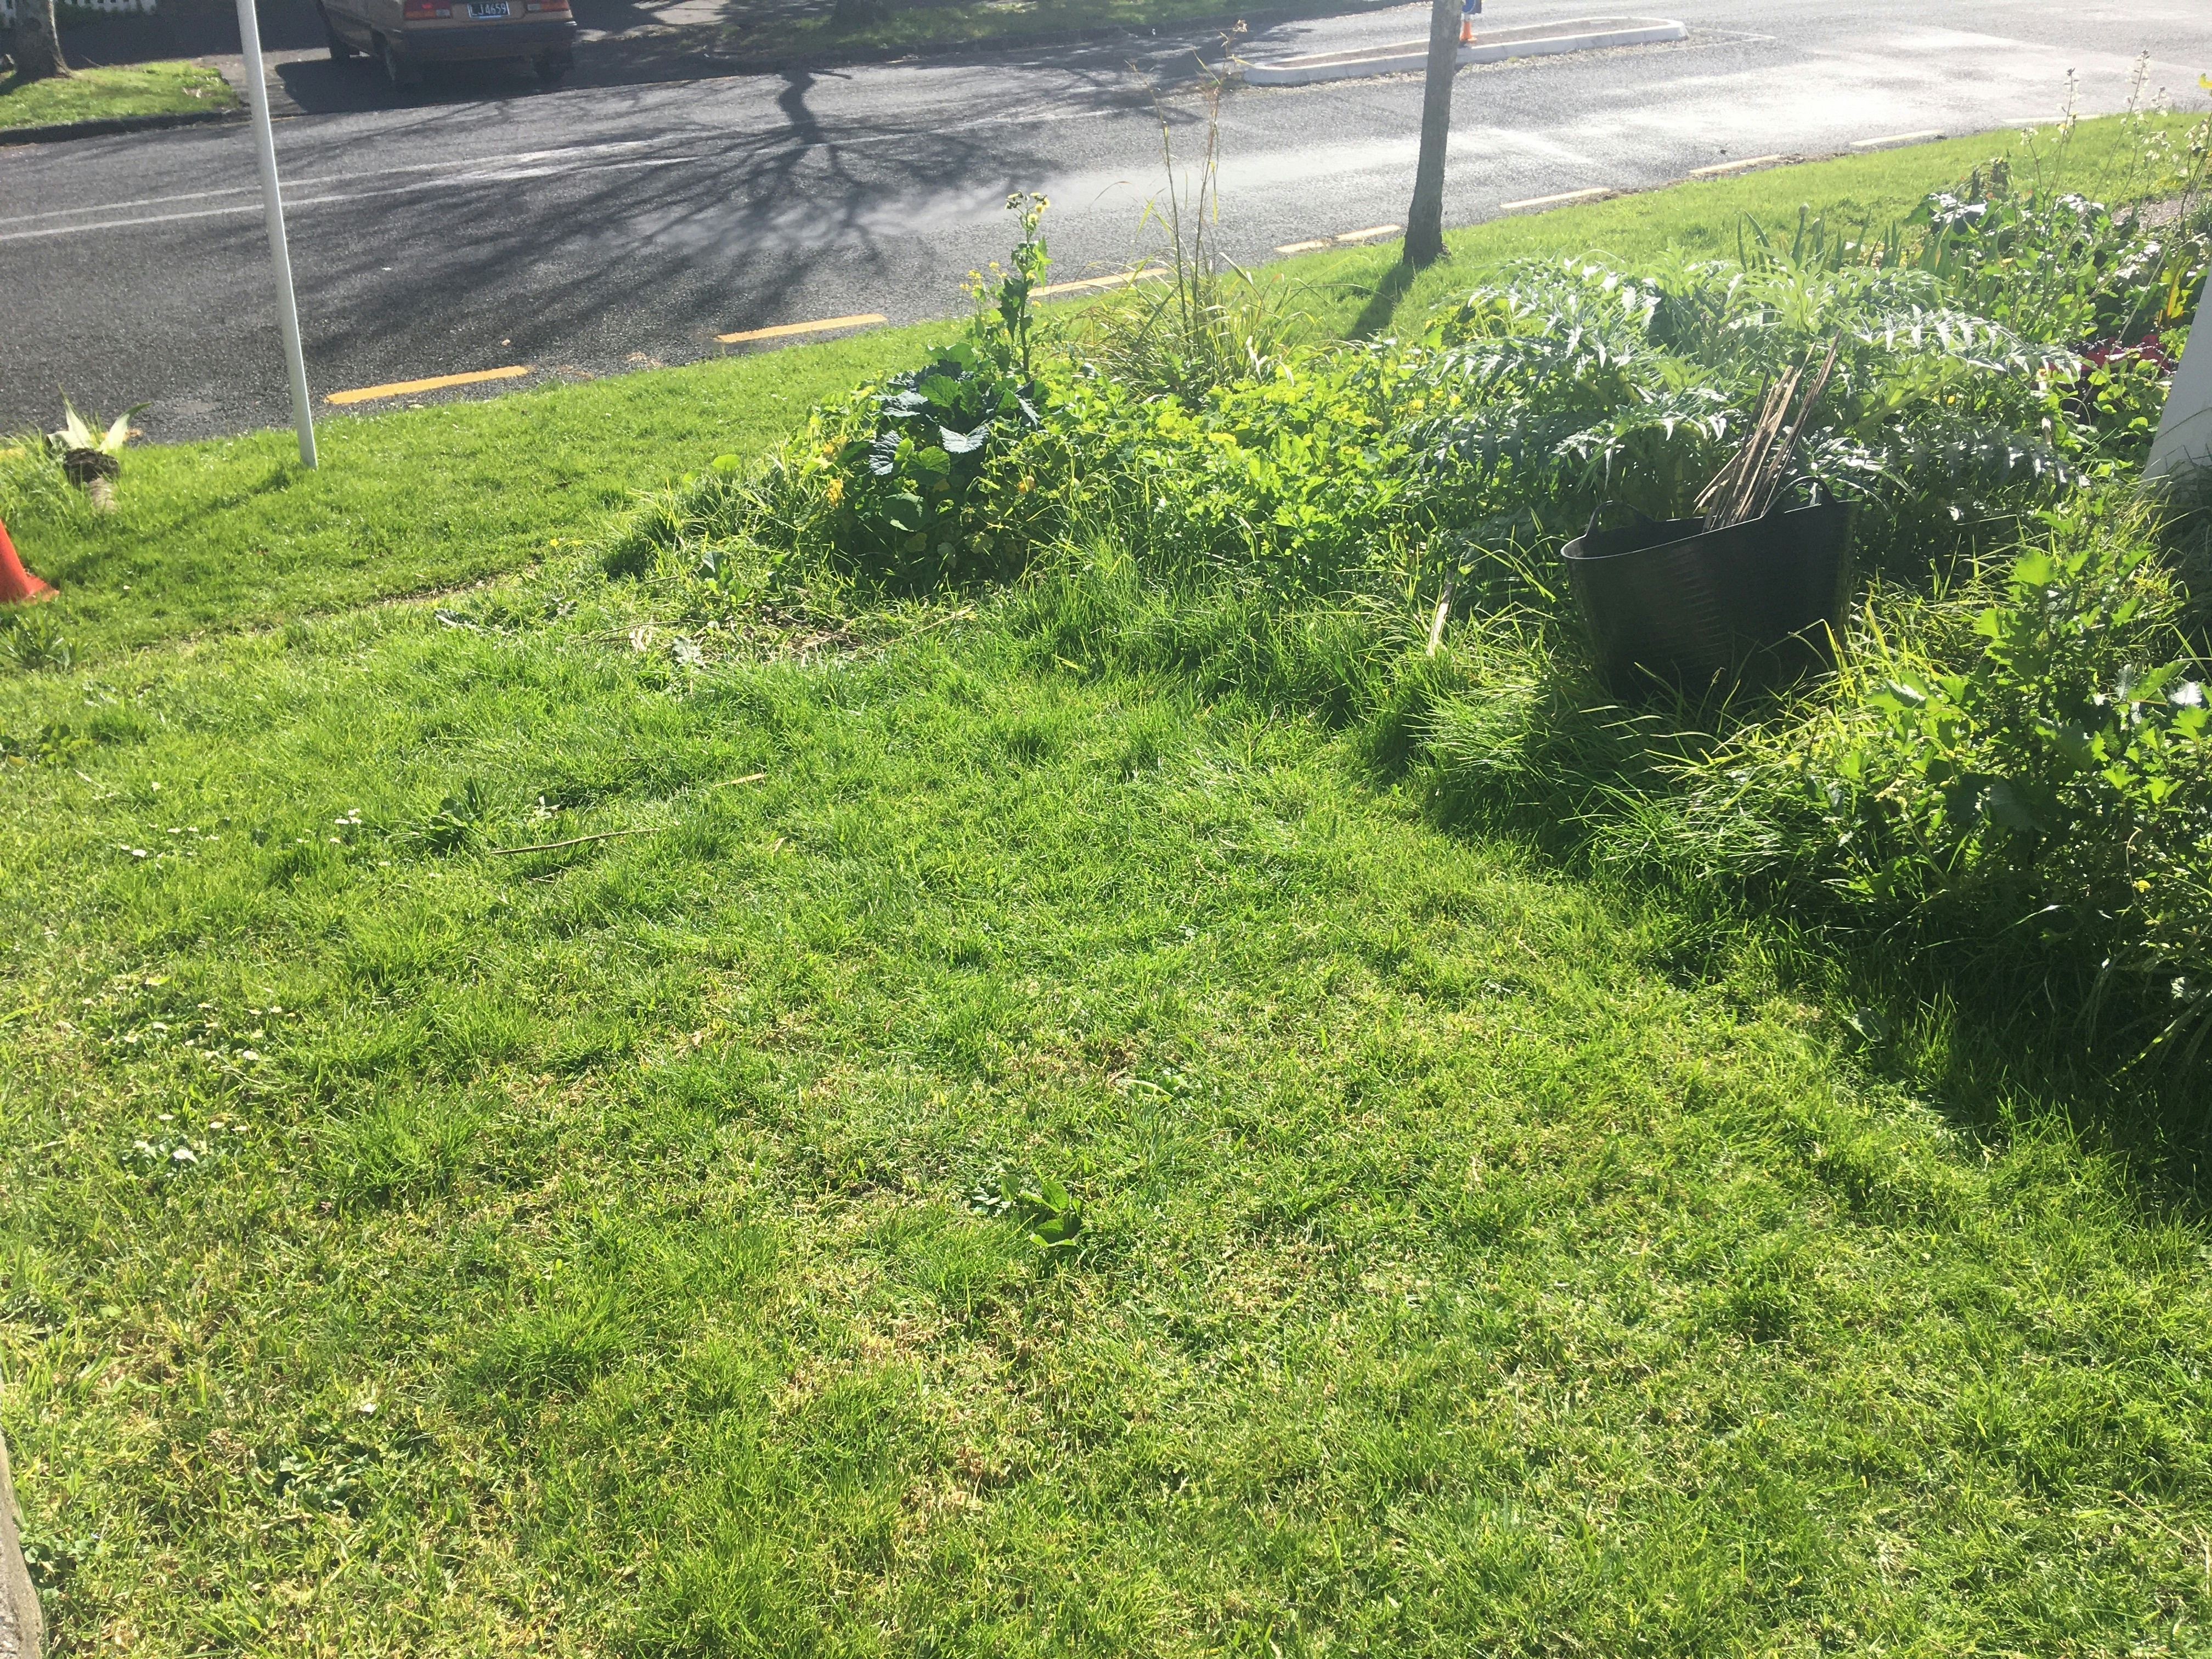
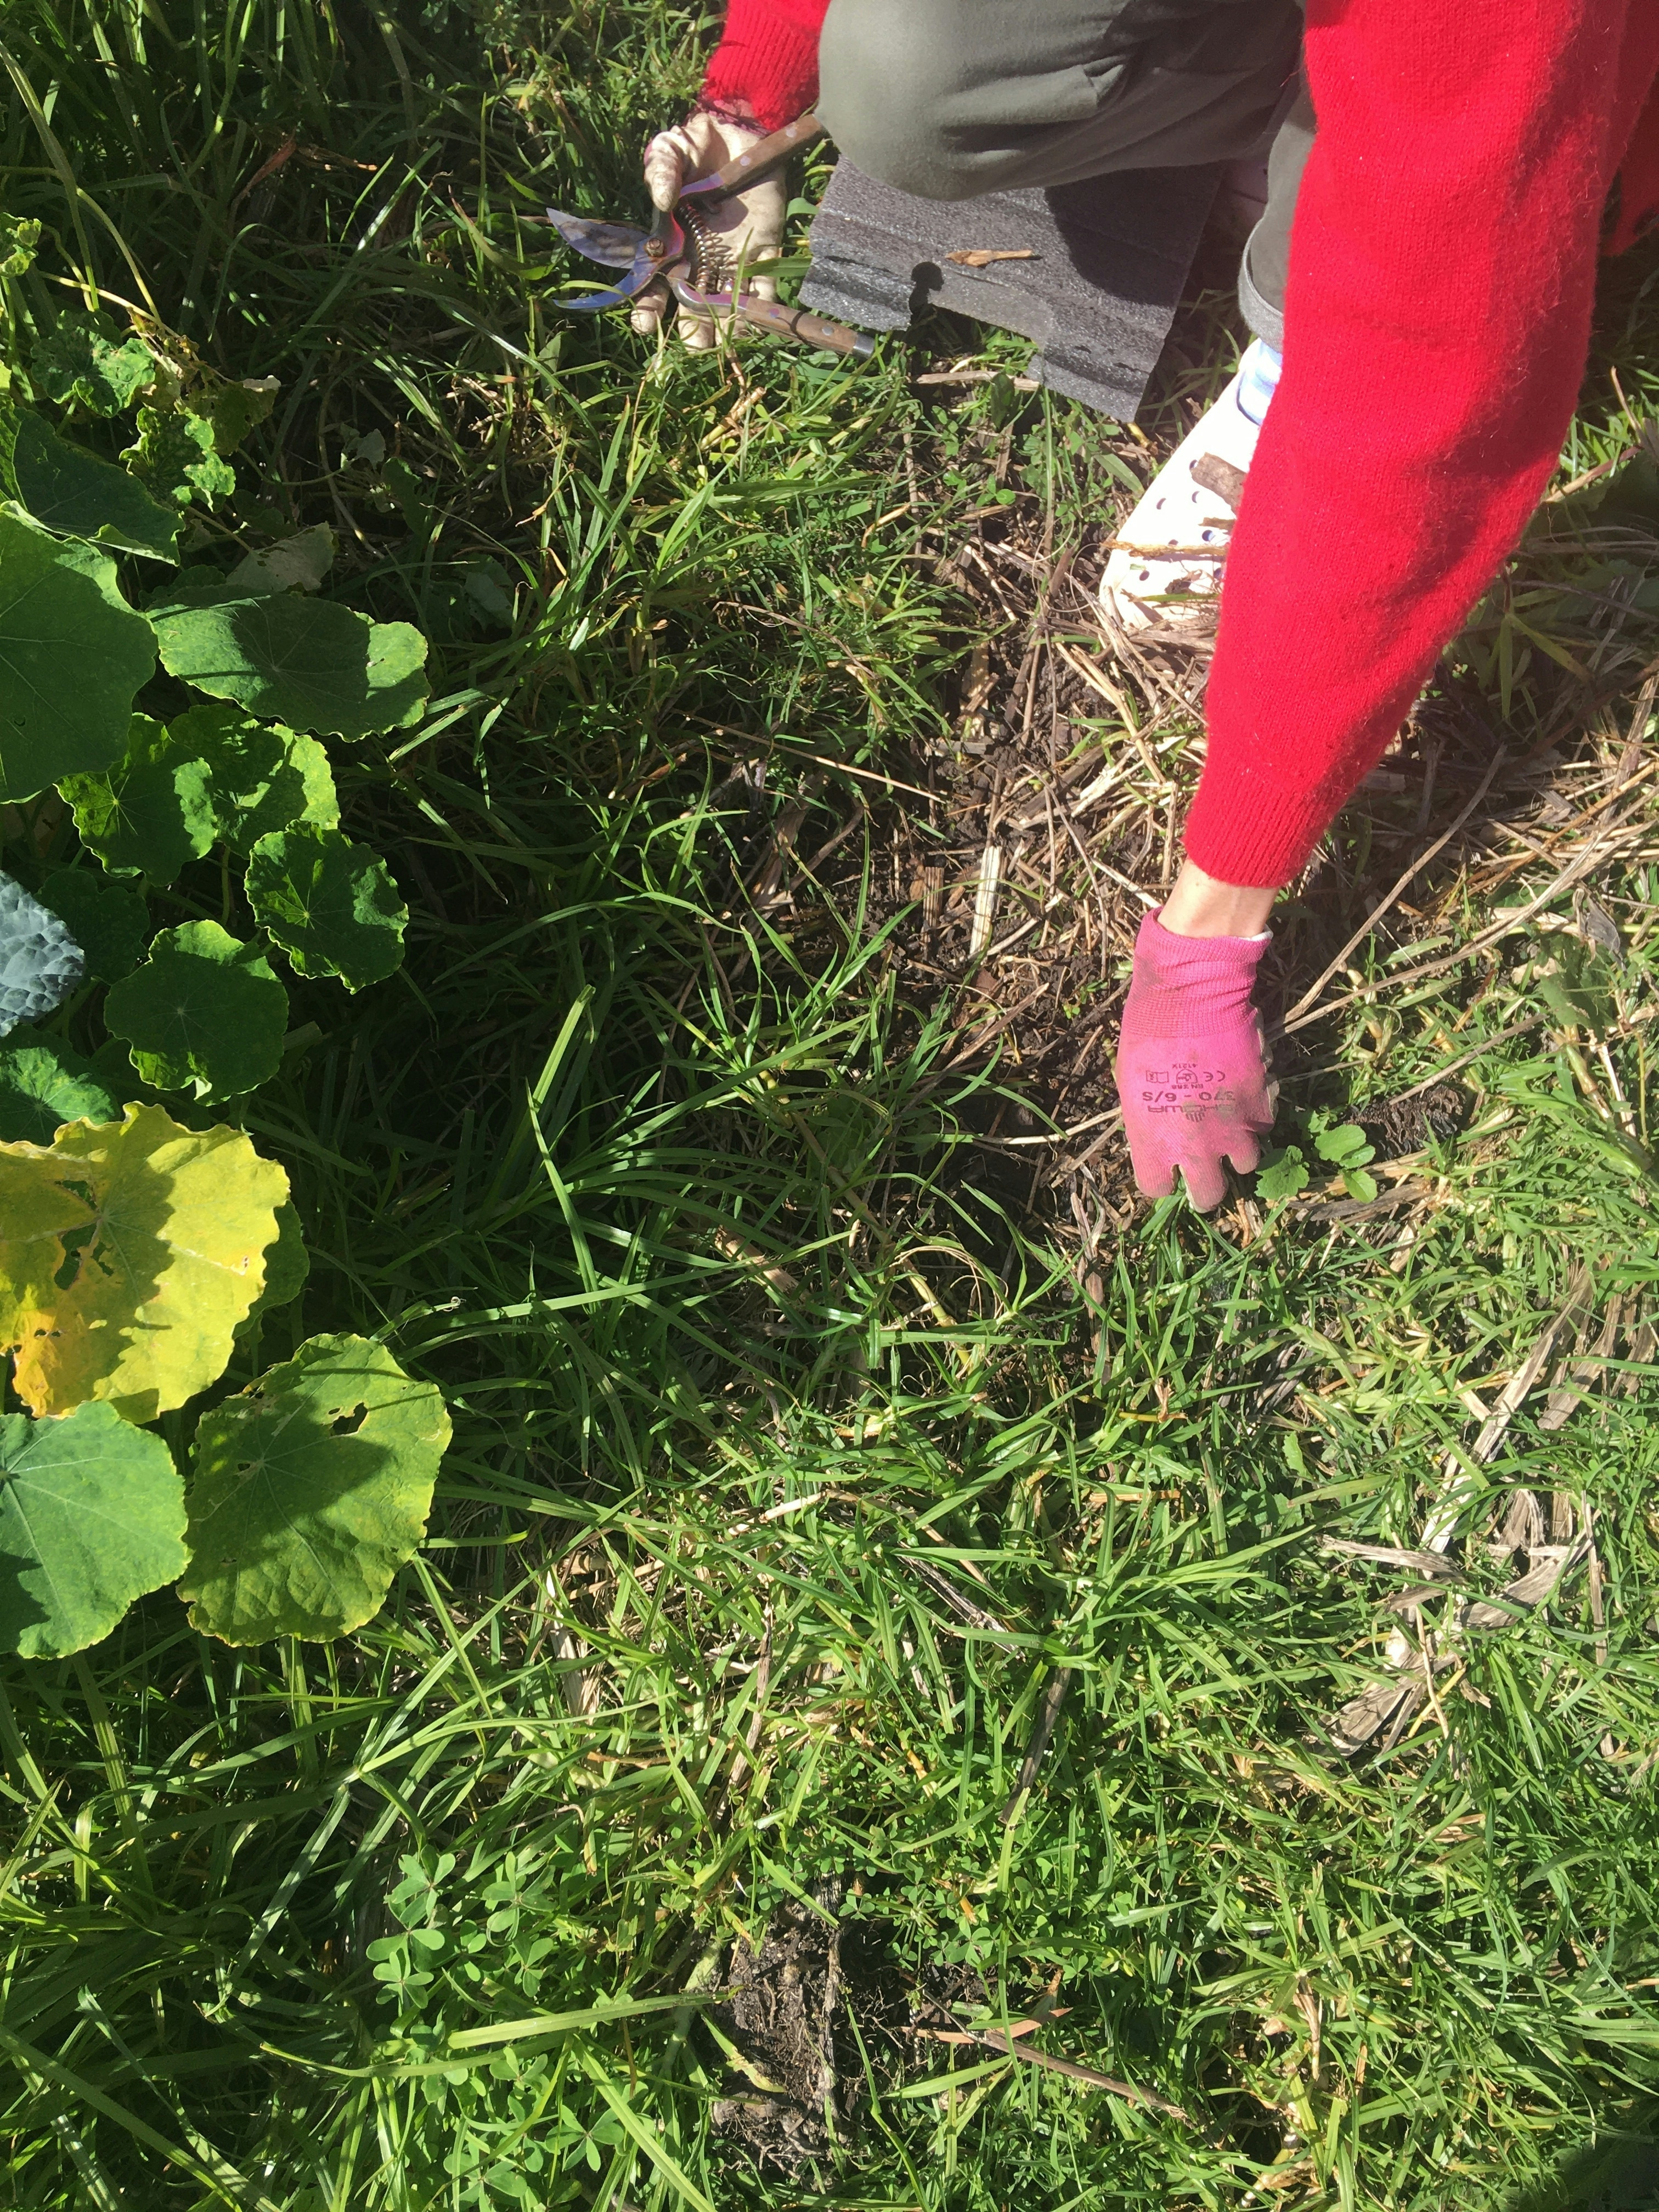
3. Mow or cut the grass back as far as you can. Remove as much of the kikuyu grass runners by hand.
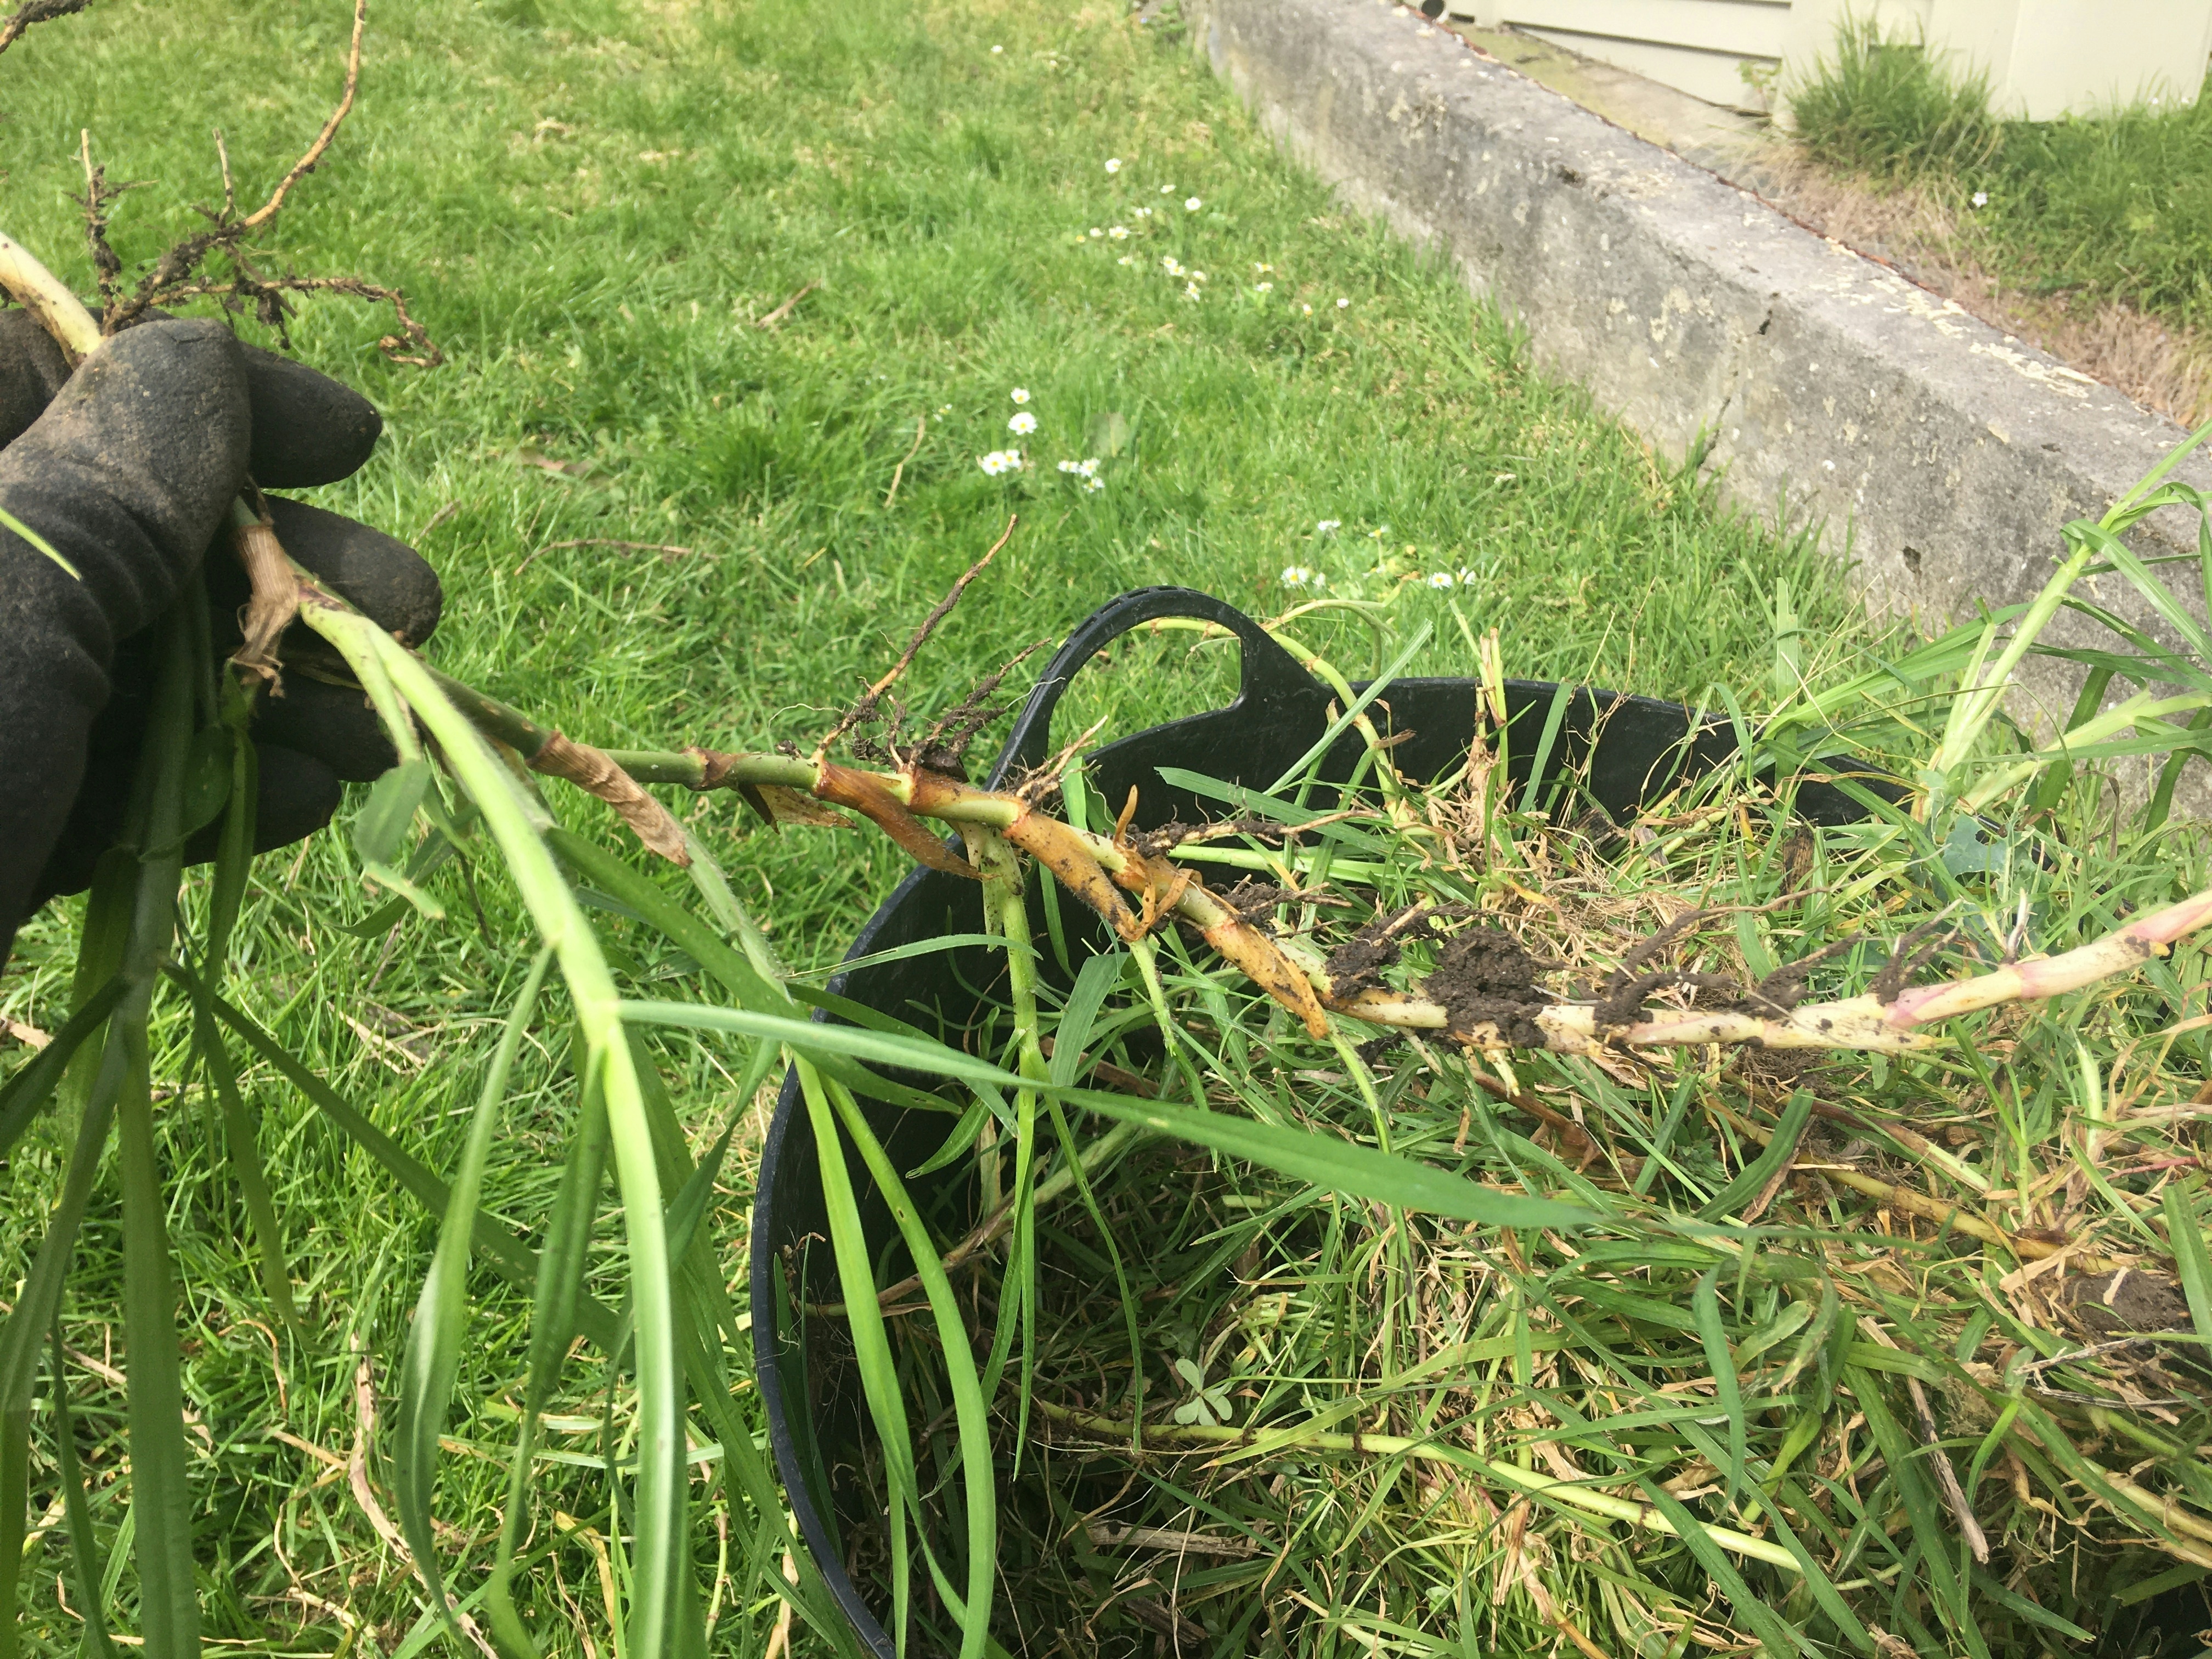
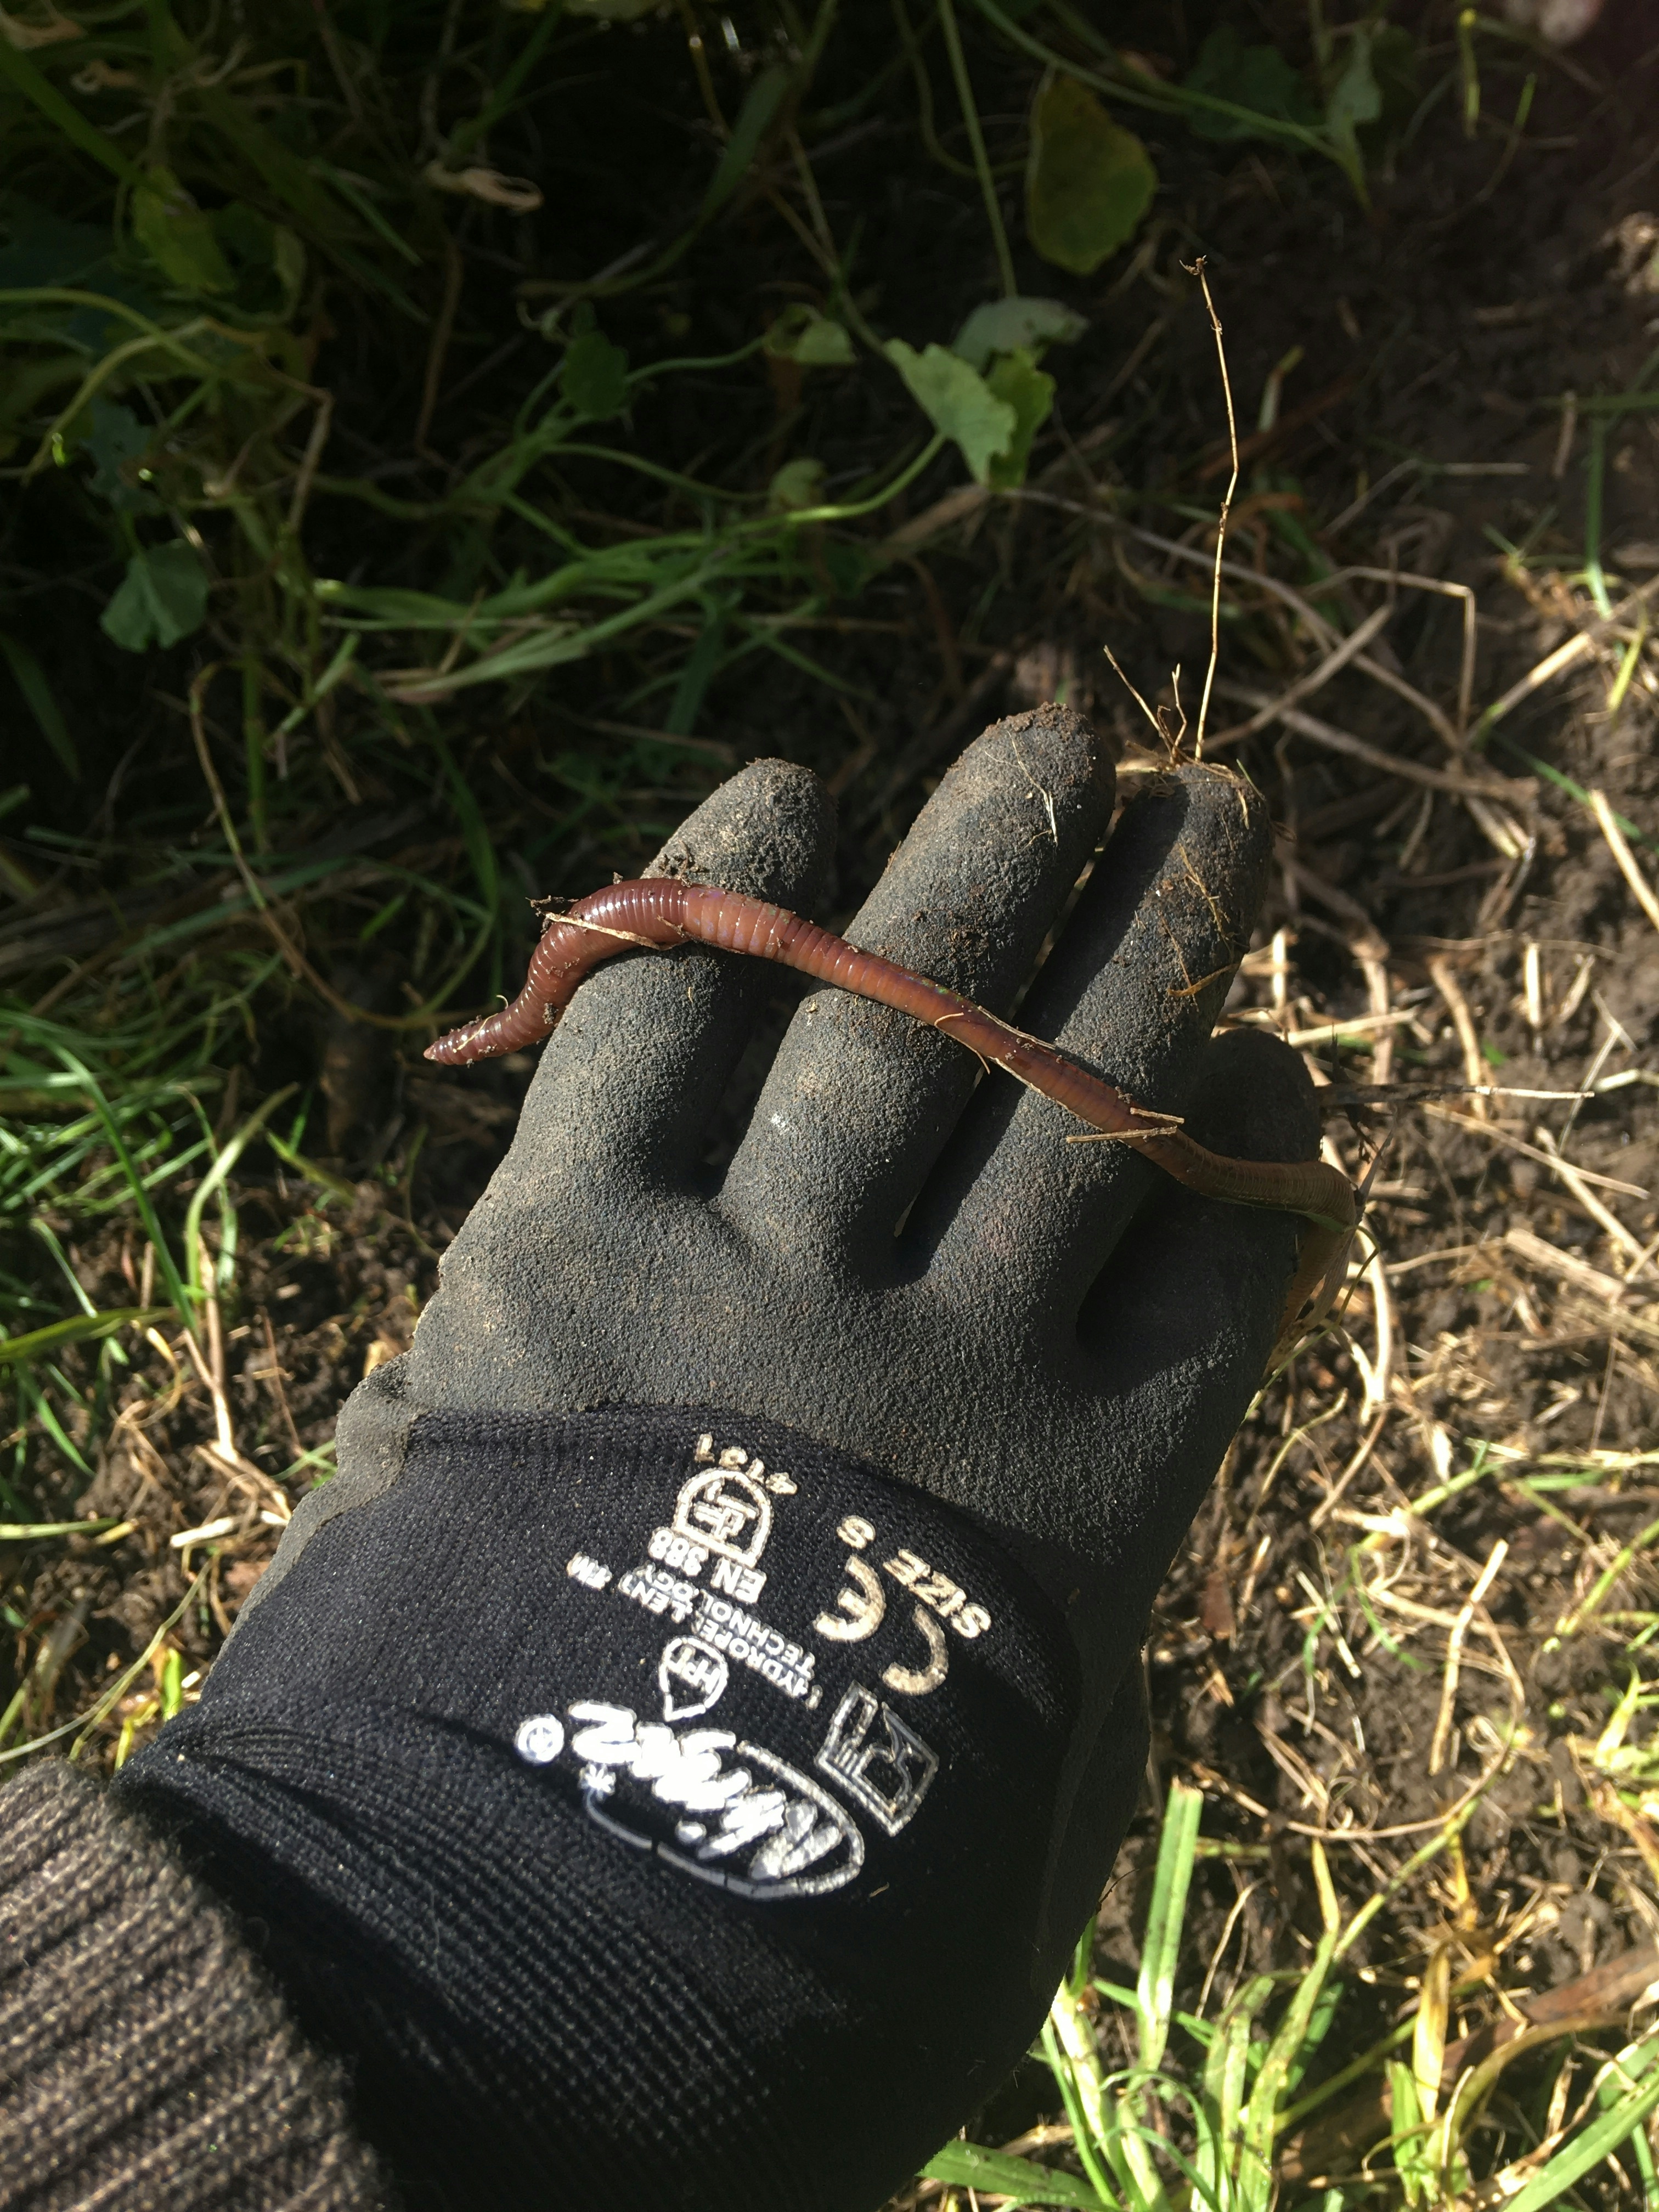
Save and shift the worms!
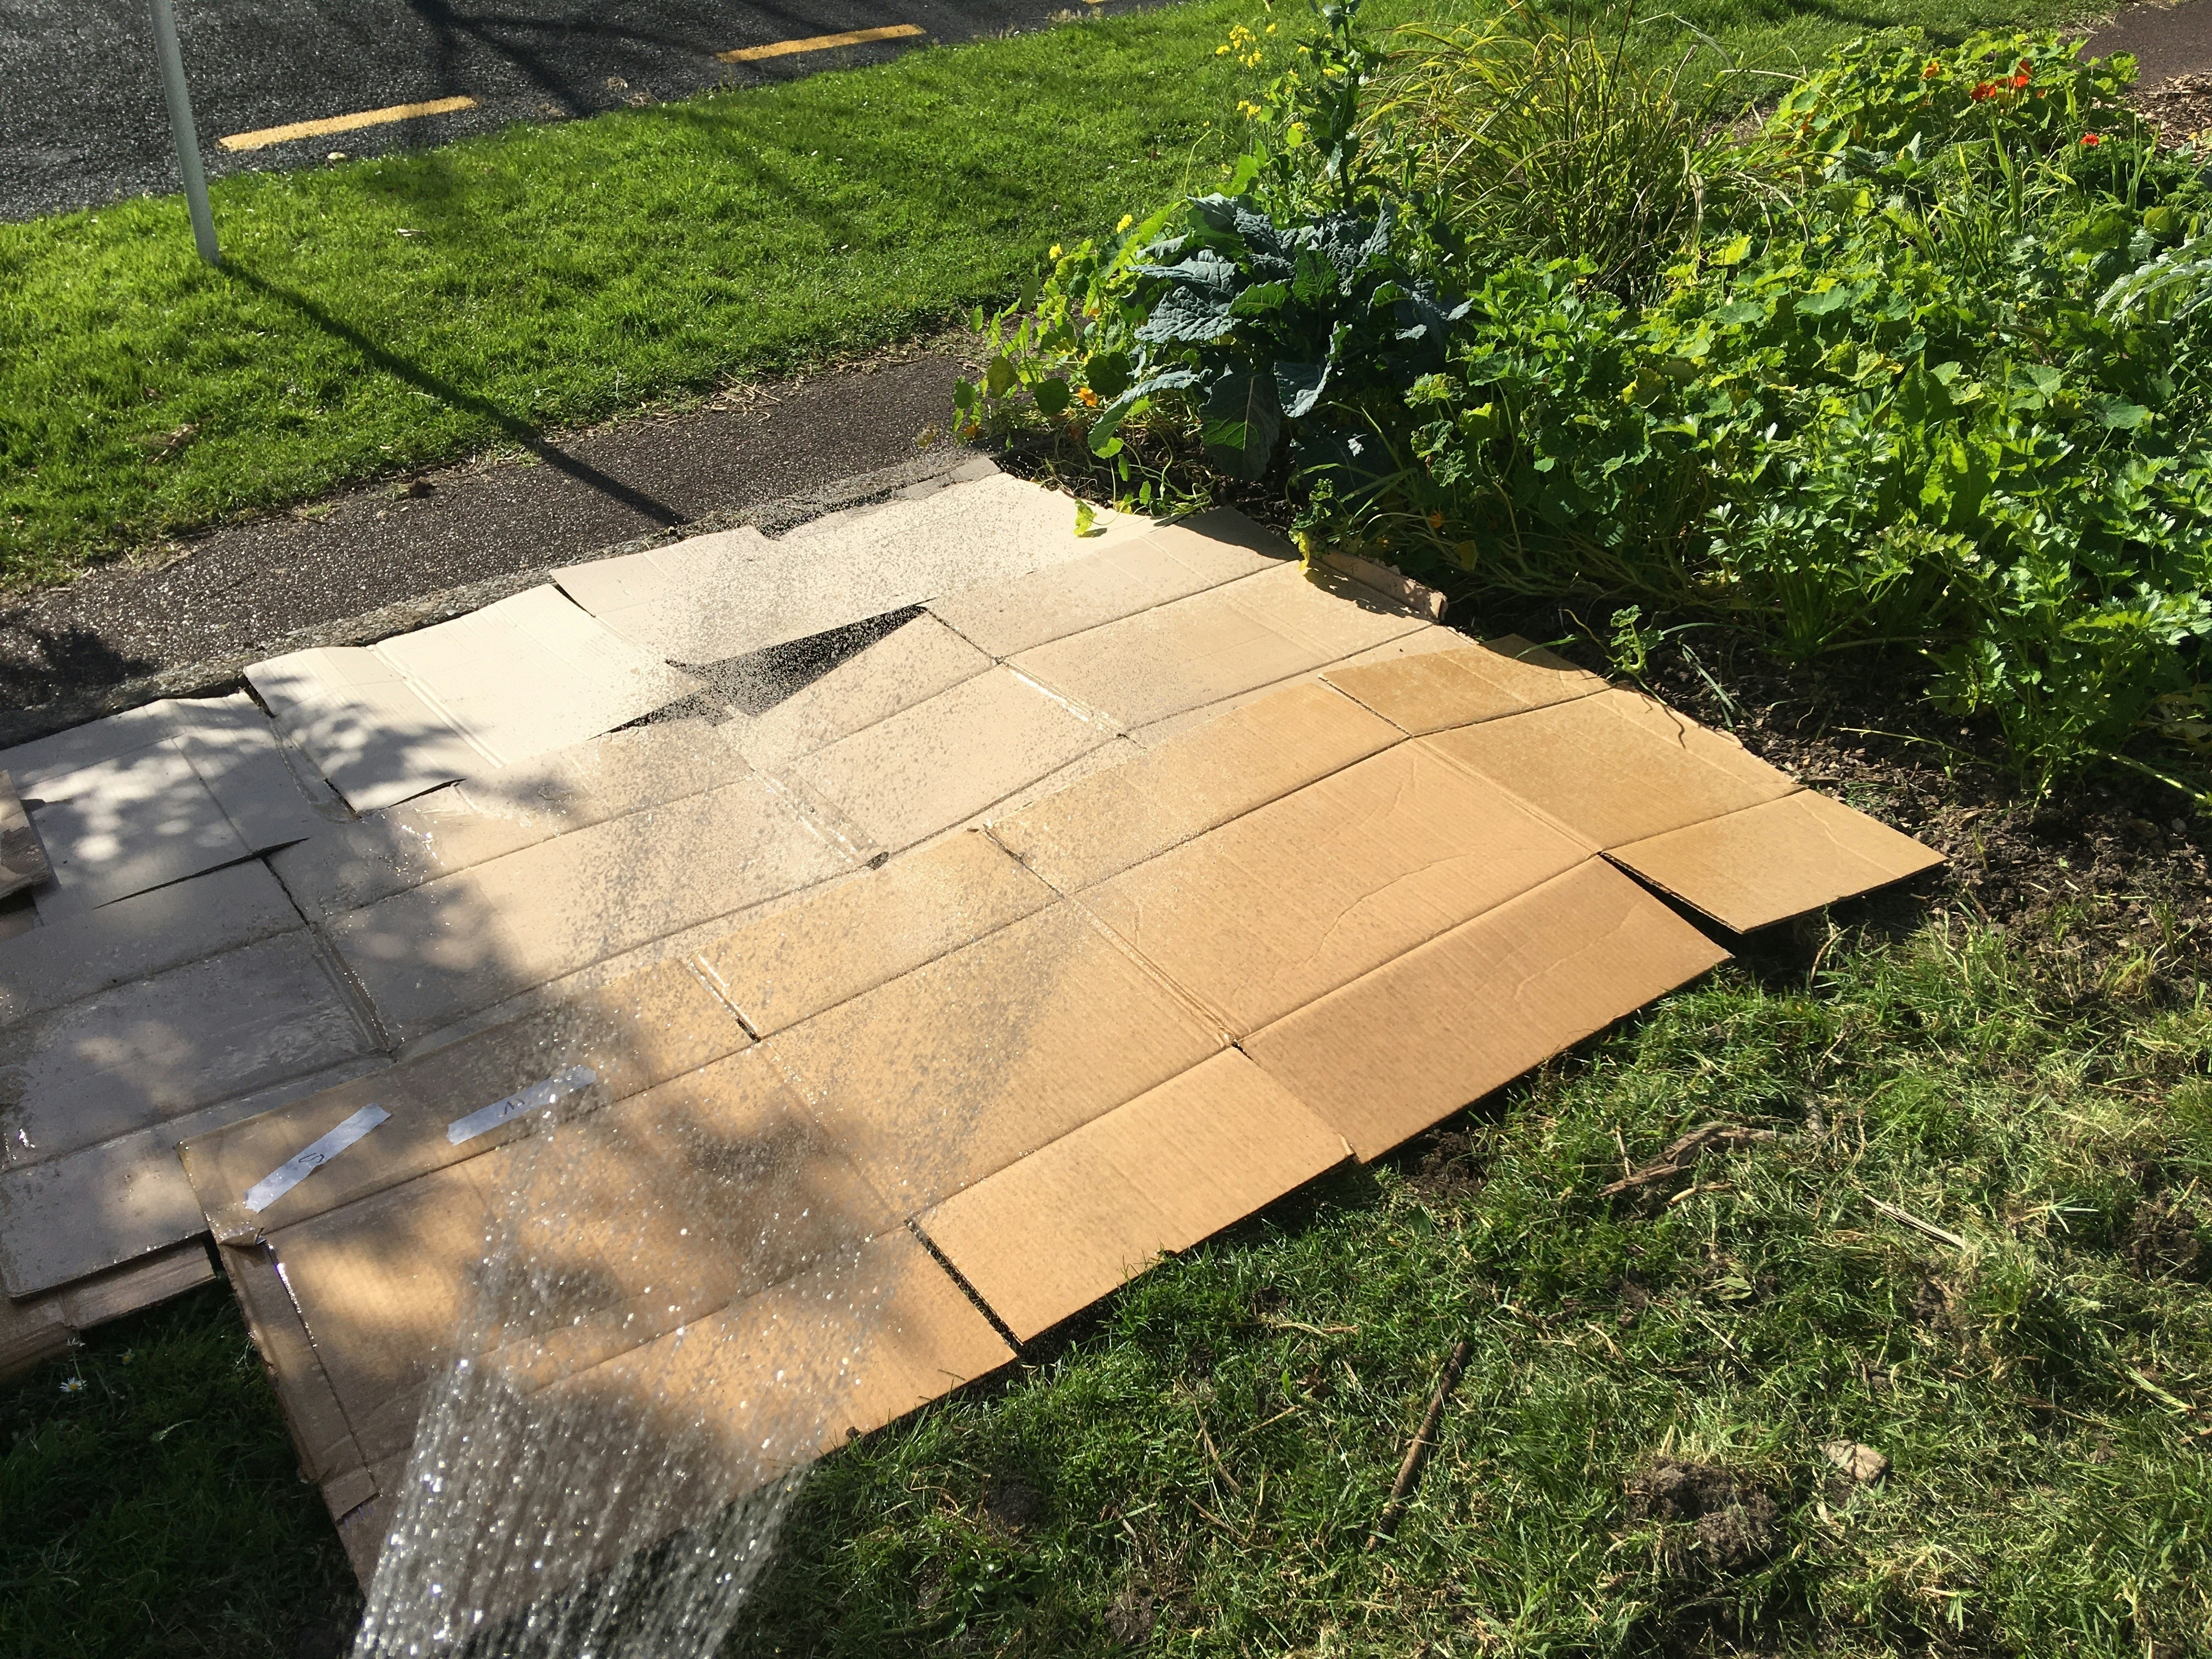
4. Line the area you have chosen with cardboard boxes. You can start saving these in the months before hand to make it easier or ask your local supermarket if you can use some of theirs out of the recycling. Line the area by overlapping the cardboard boxes so you can’t see any grass. This is important, you want to deprive the grass of ever seeing sunlight again.
5. Wet the cardboard as much as you can. You want to really soak it, this helps speed up decomposition and also helps to keep the compost in place.
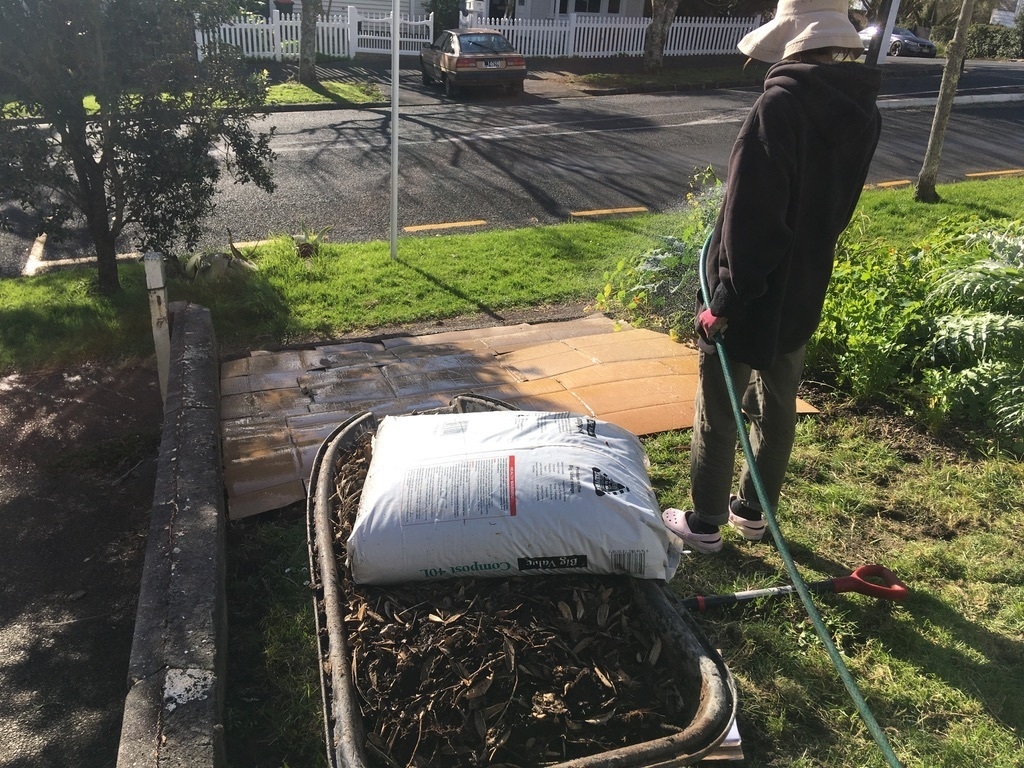
6. Cover the wet cardboard in compost – I used some from my home compost pile and topped it up with some bagged compost I had lying around. You ideally want to get the compost layer to be as thick as you can. Somewhere between 5-10cm is ideal.
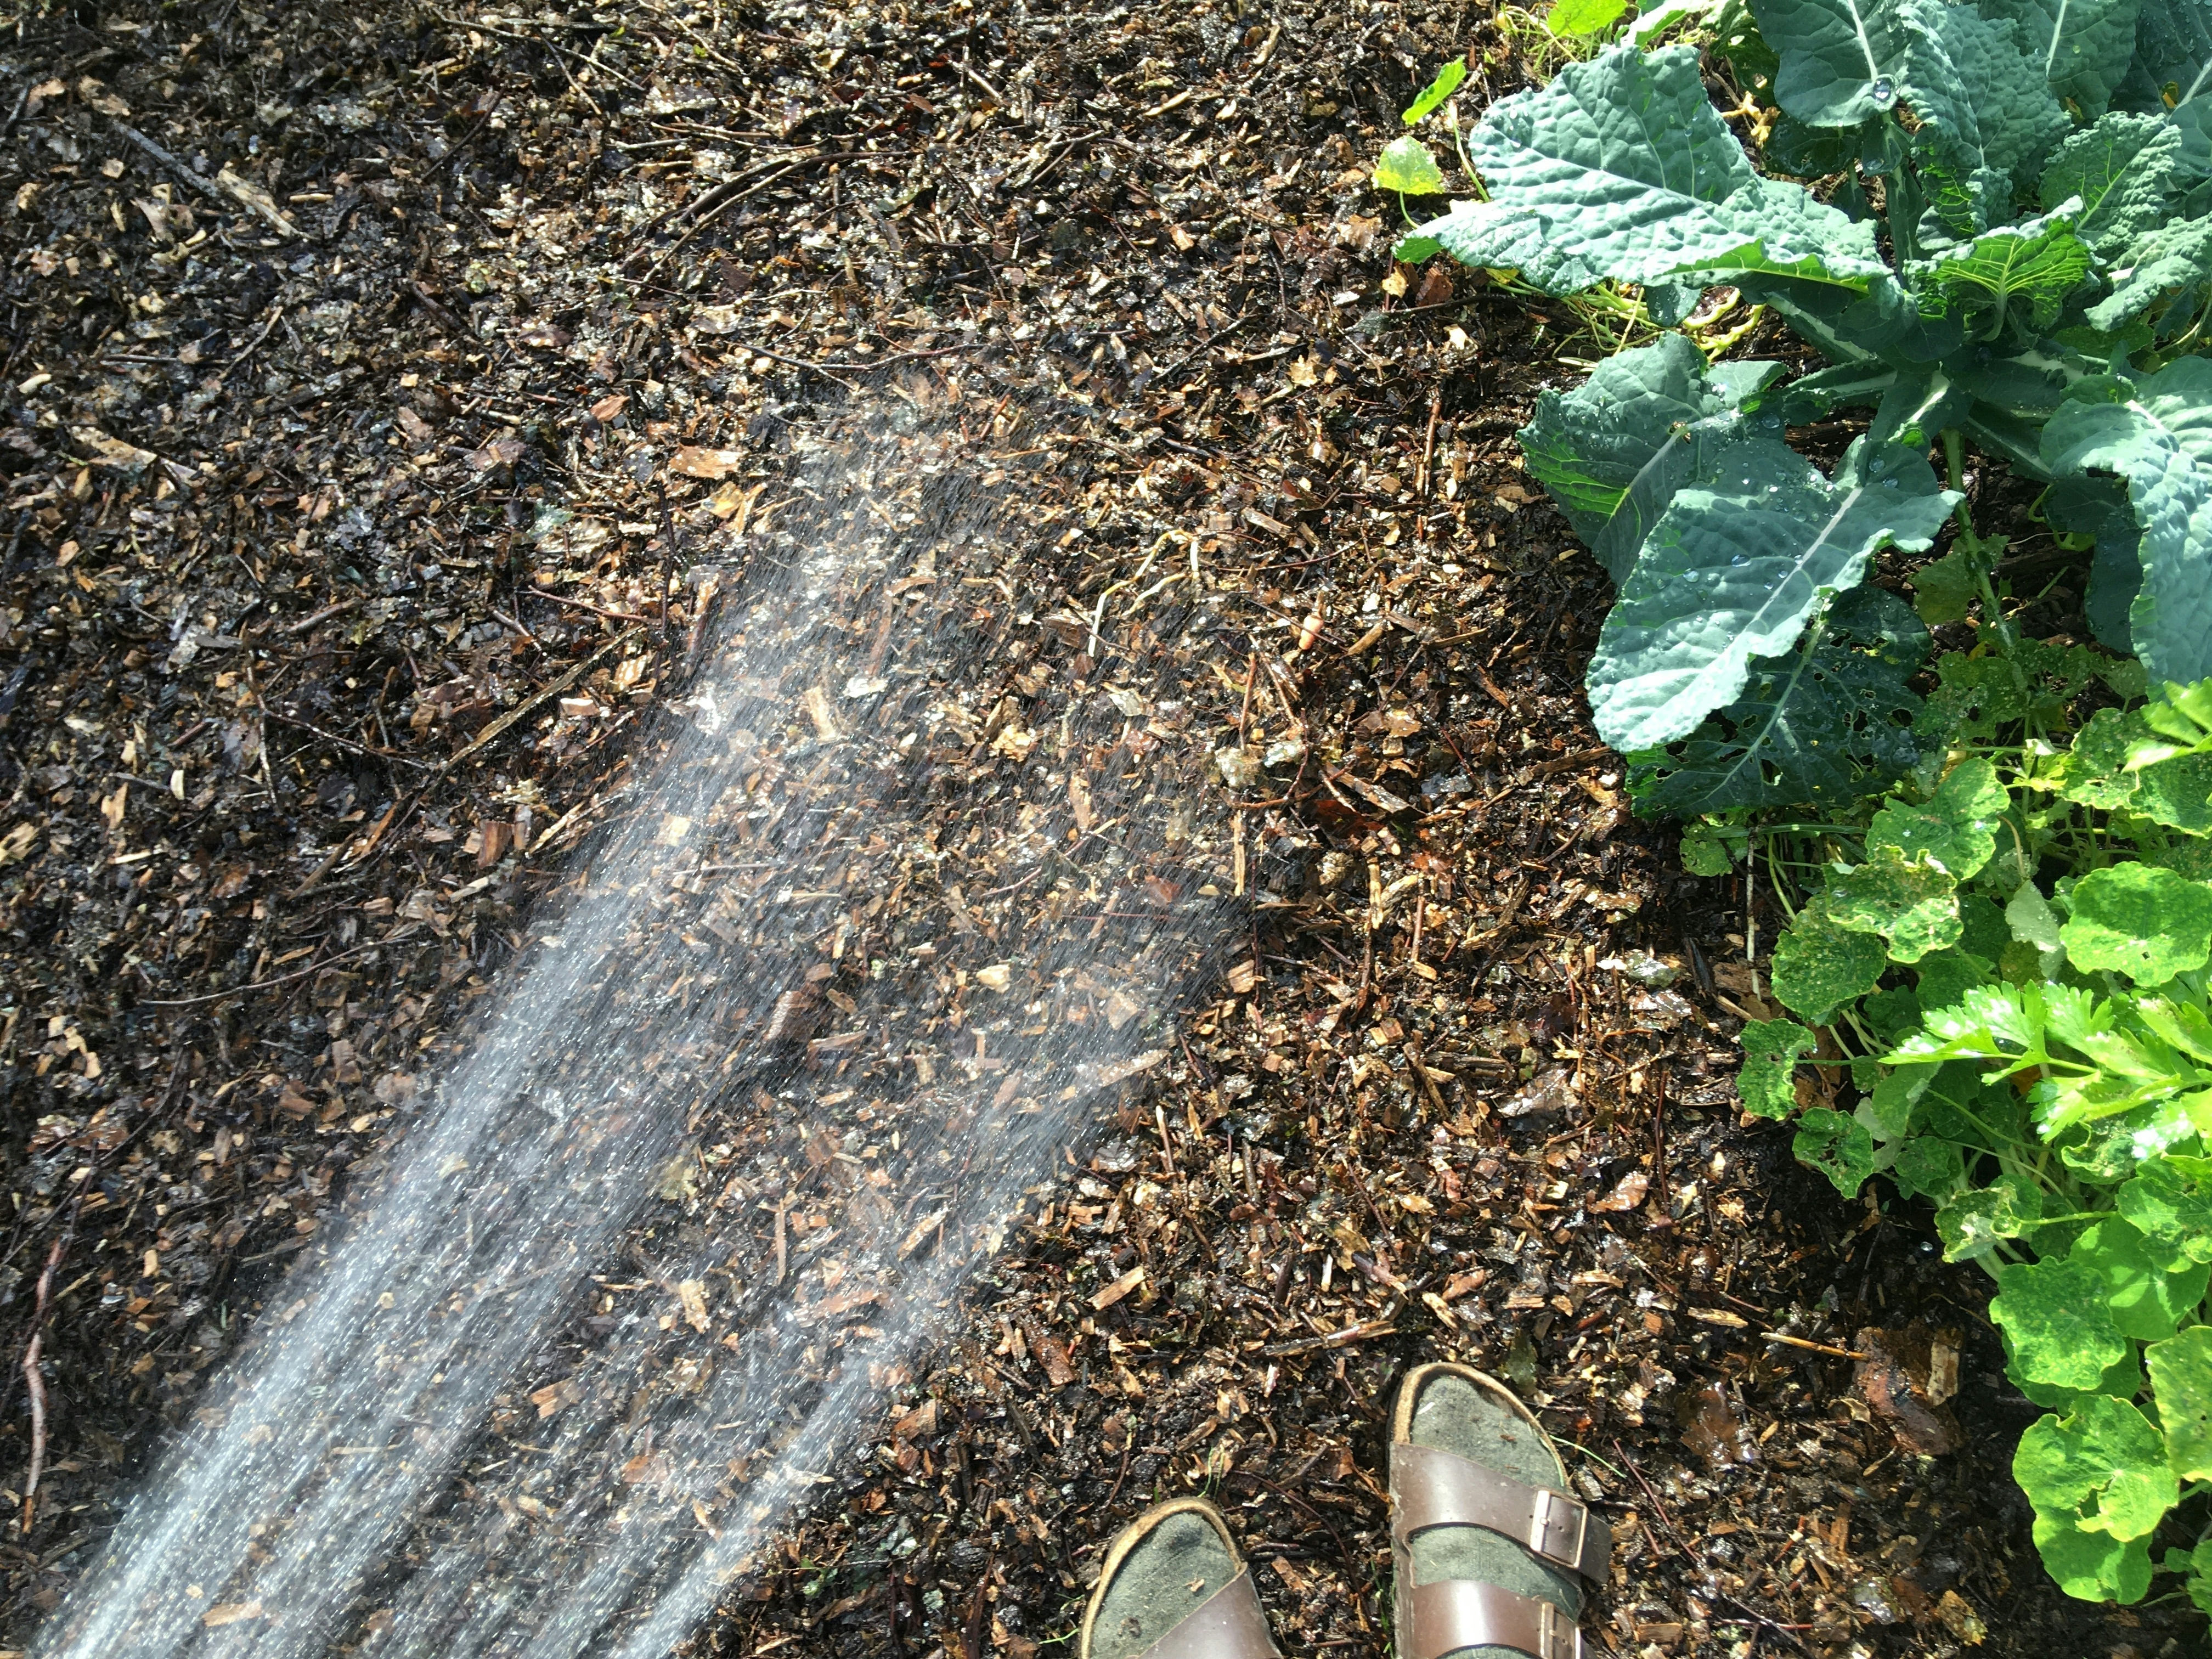
7. Wet the compost layer. Give it a good soak. This will also help keep the cardboard underneath wet which is what you want.
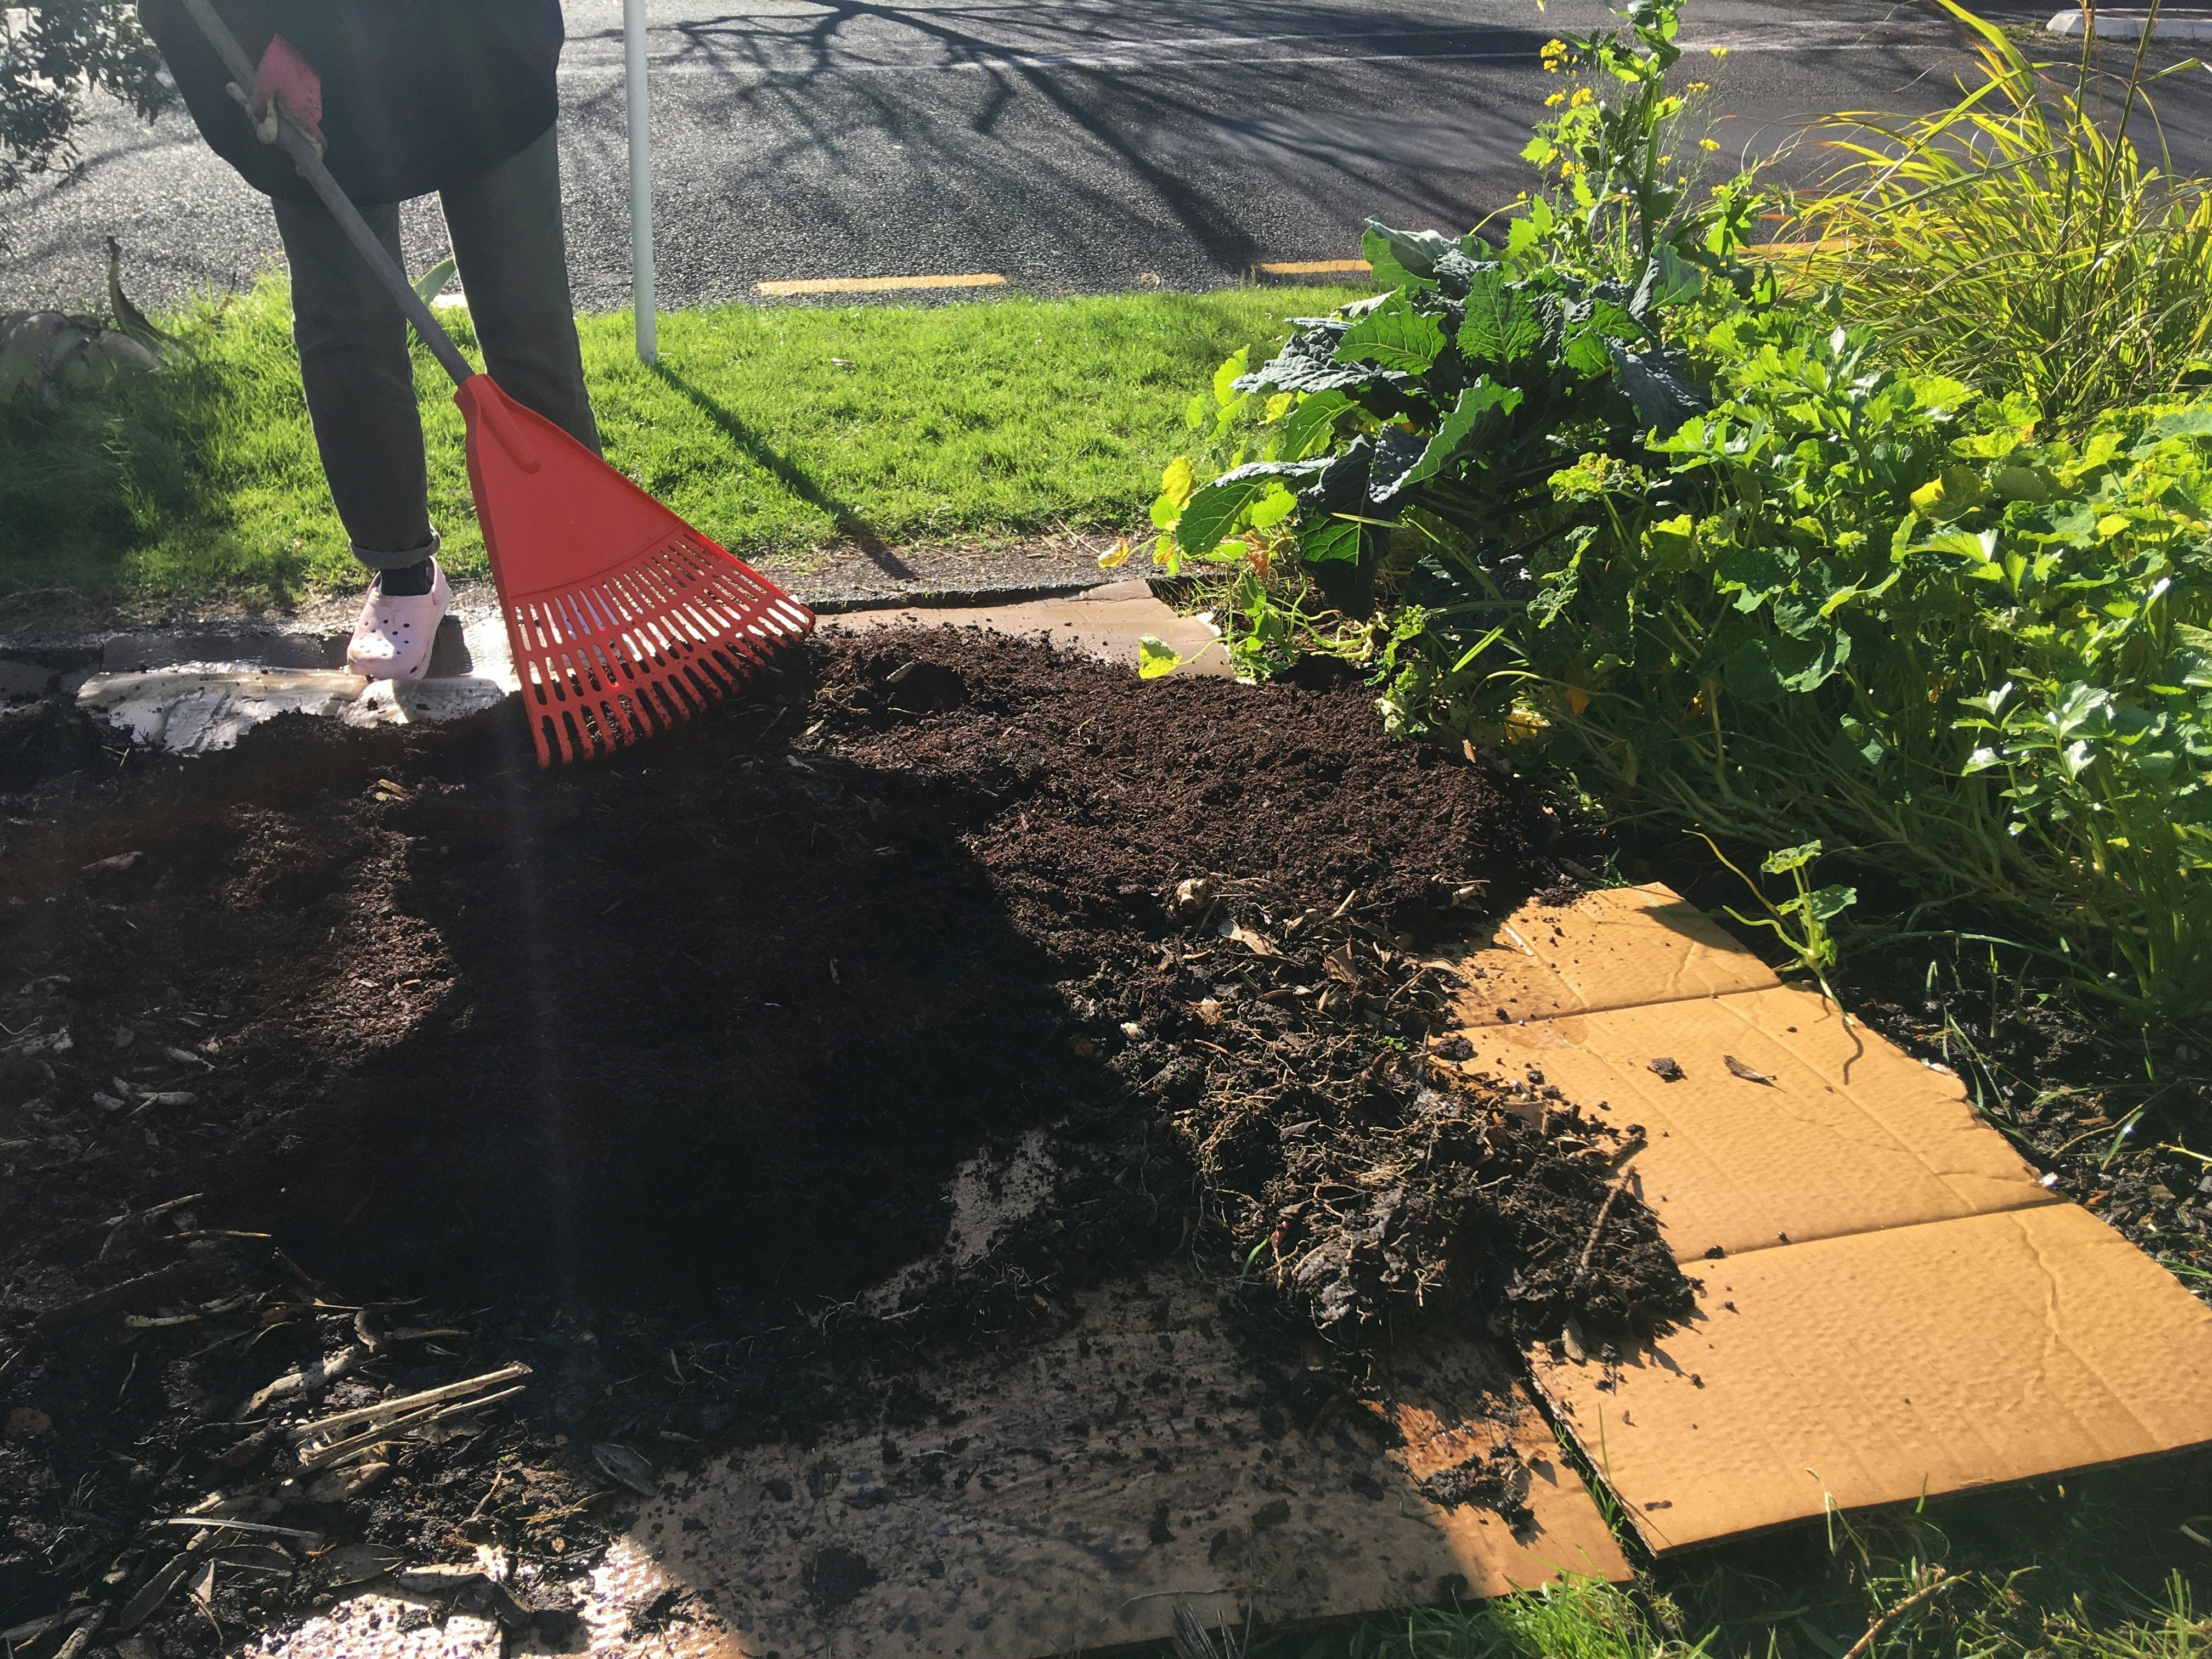
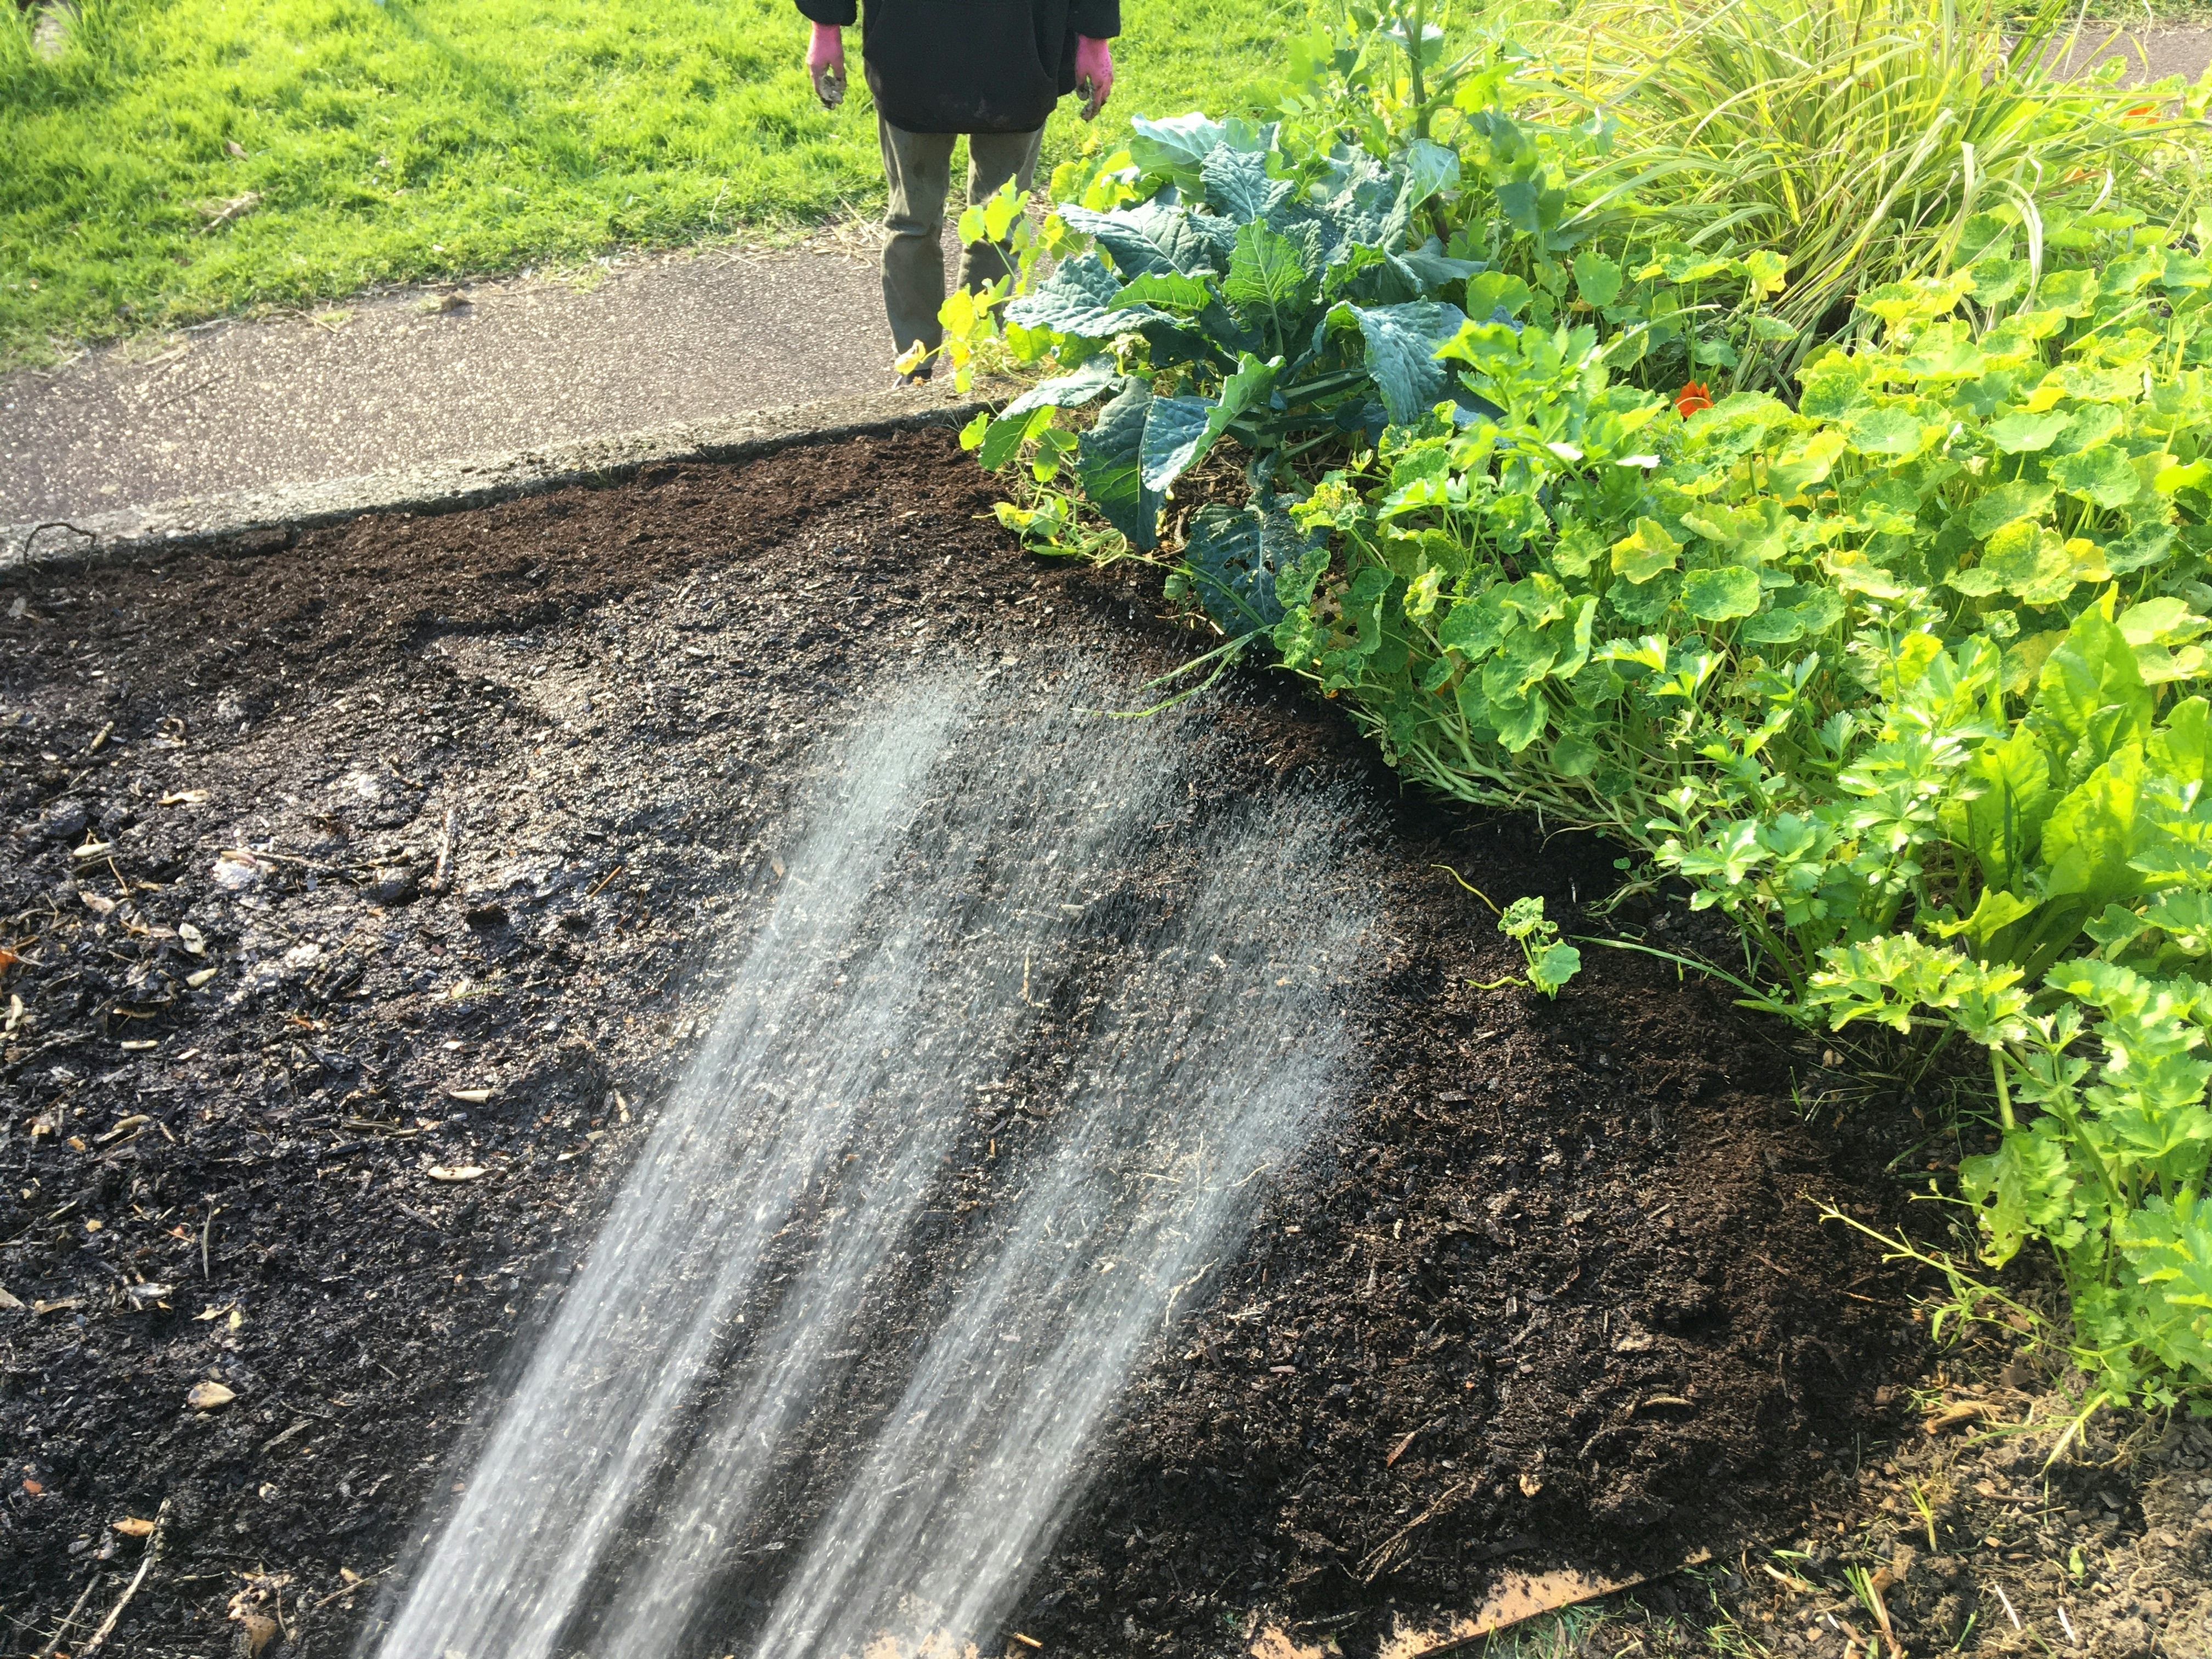
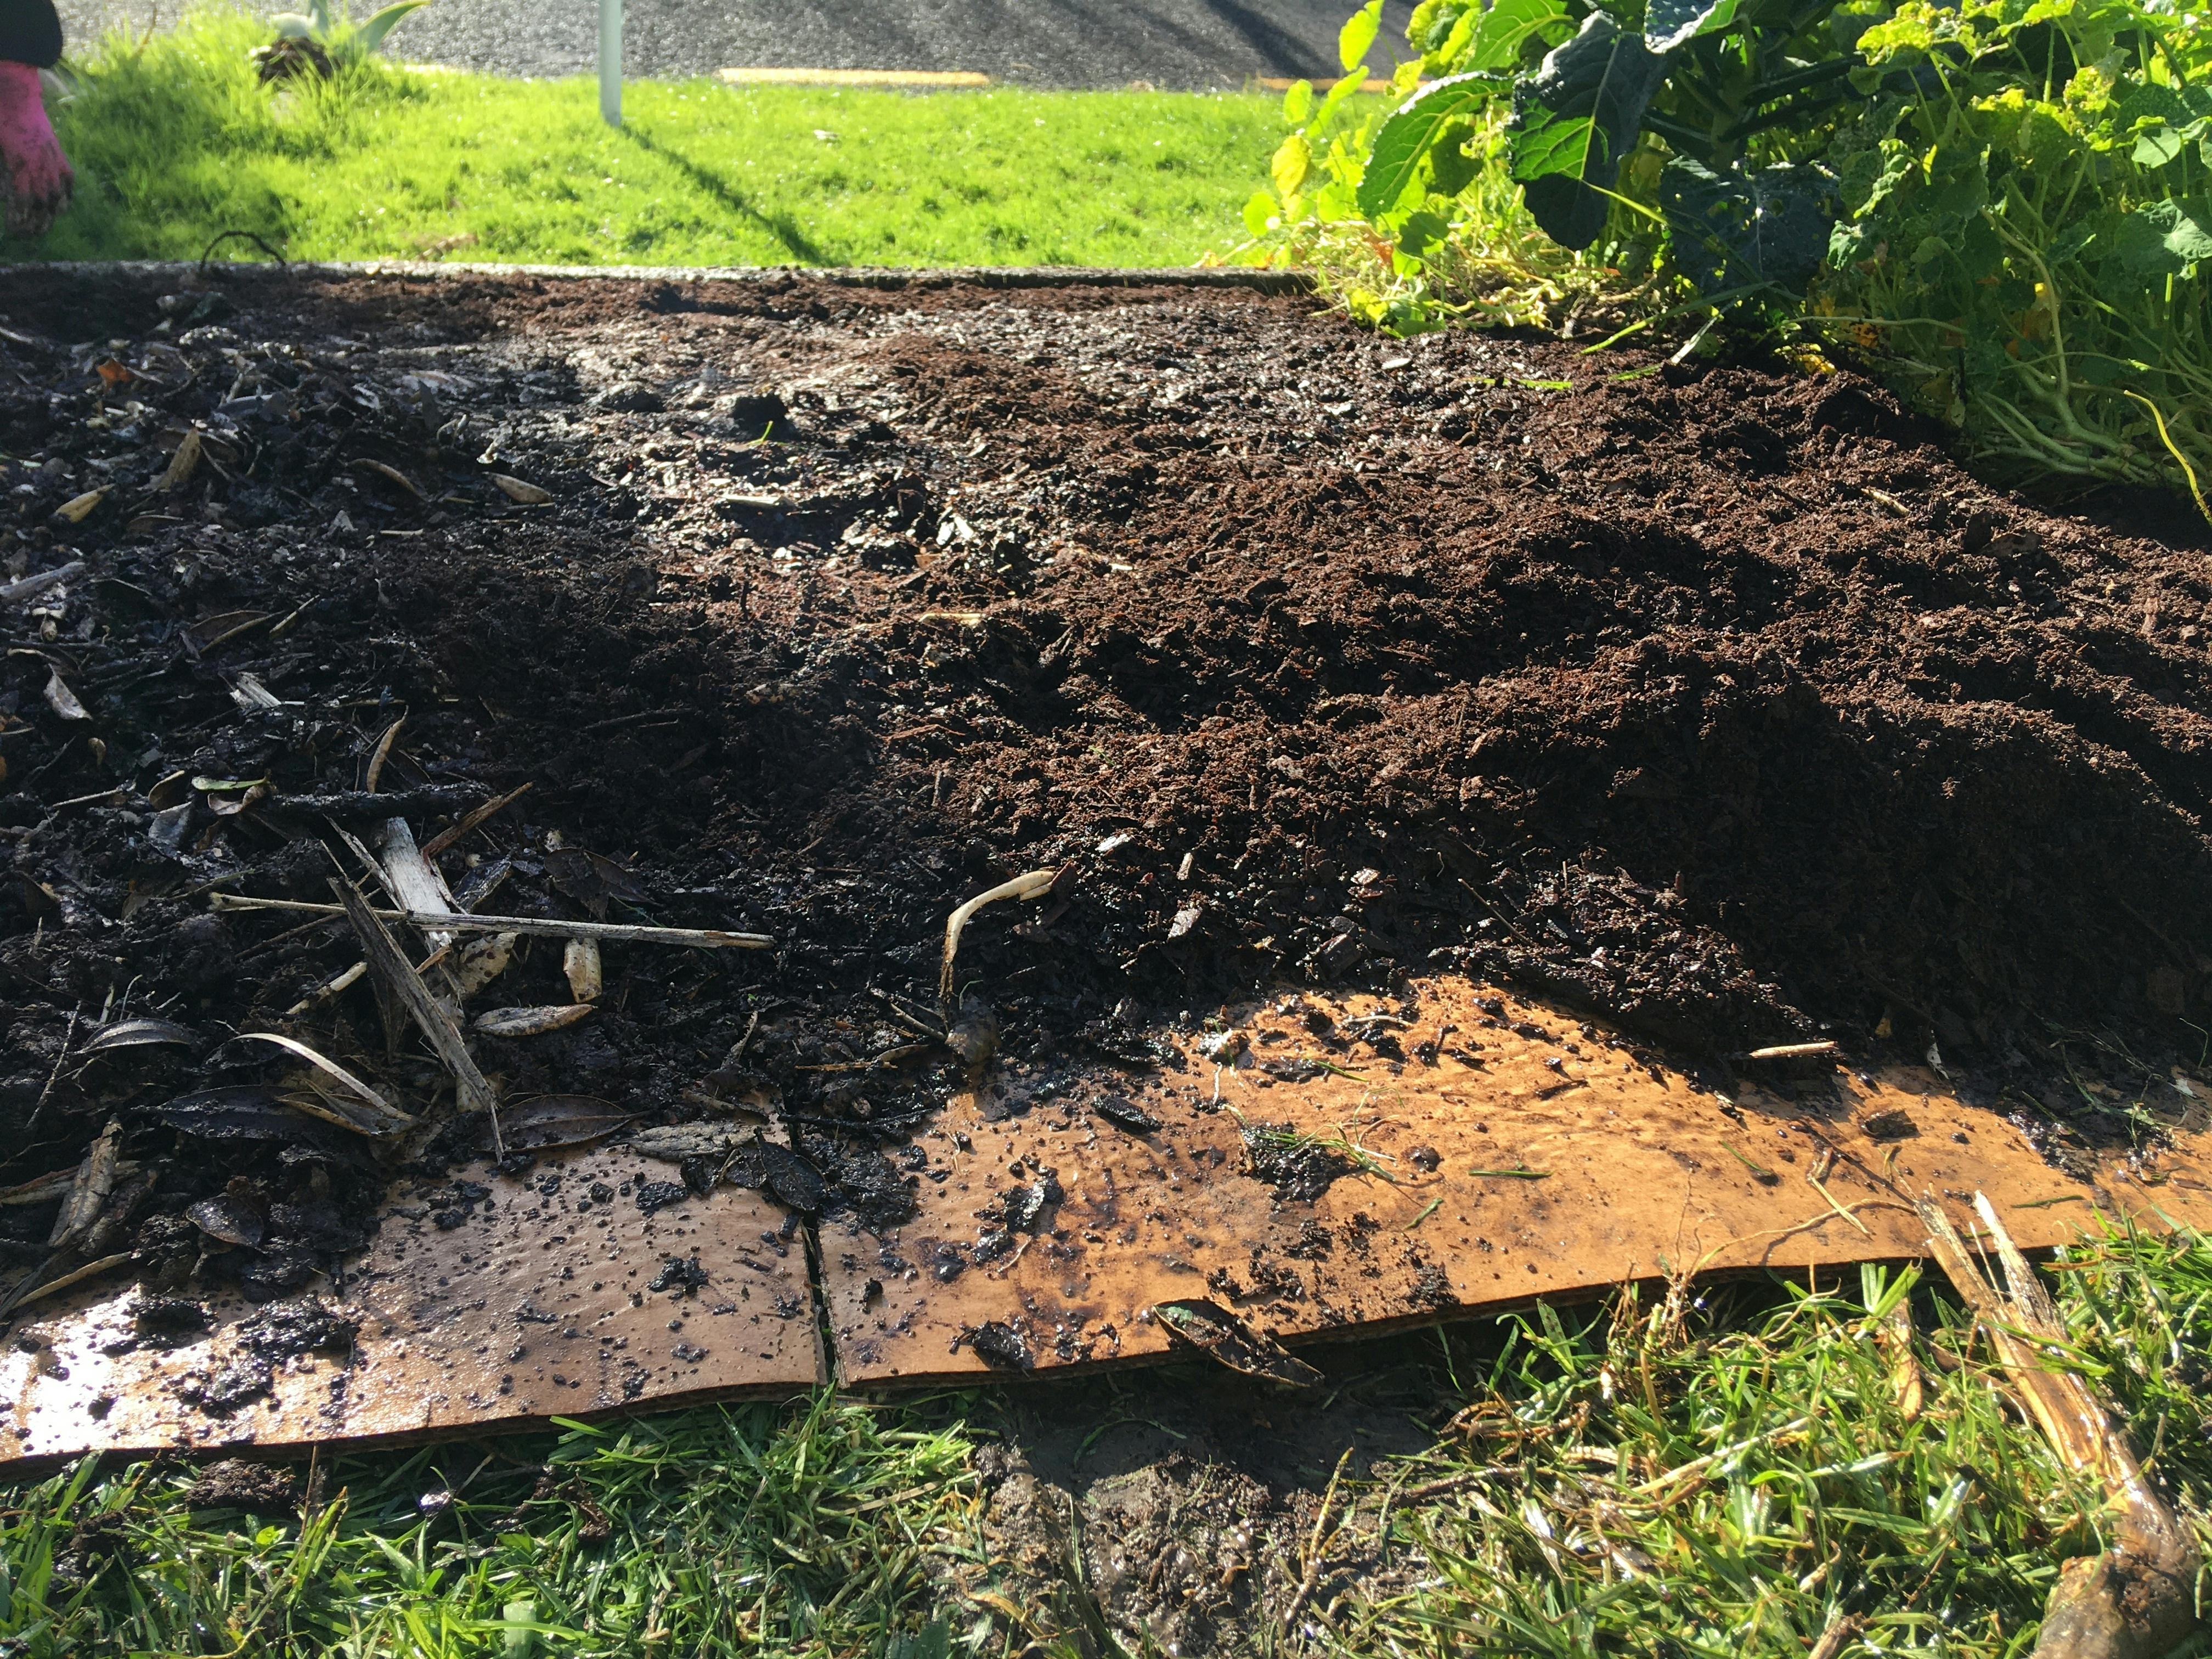
8. Add mulch layer on top, again I like to use 5-10cm on top of the compost. This sounds like a lot but it breaks down remarkably fast. There are lots of different mulches you can use but use whatever you have on hand. If you know an arborist, give them a call and see if they can drop off a trailer load, if you don’t know an arborist give one a call – they’re really nice people and more often than not they will have excess woodchip/mulch that they need to get rid of, just make sure to give them a koha for helping out. Once you’ve applied your layer of mulch to the compost give it a further soaking. This helps again speed up decomposition and stabilises your new garden. While watering the final mulch layer have a wander on top, your walking will help the cardboard make contact with the grass below. Keep watering periodically in days when it doesn’t rain and after a week or so you can plant into it.
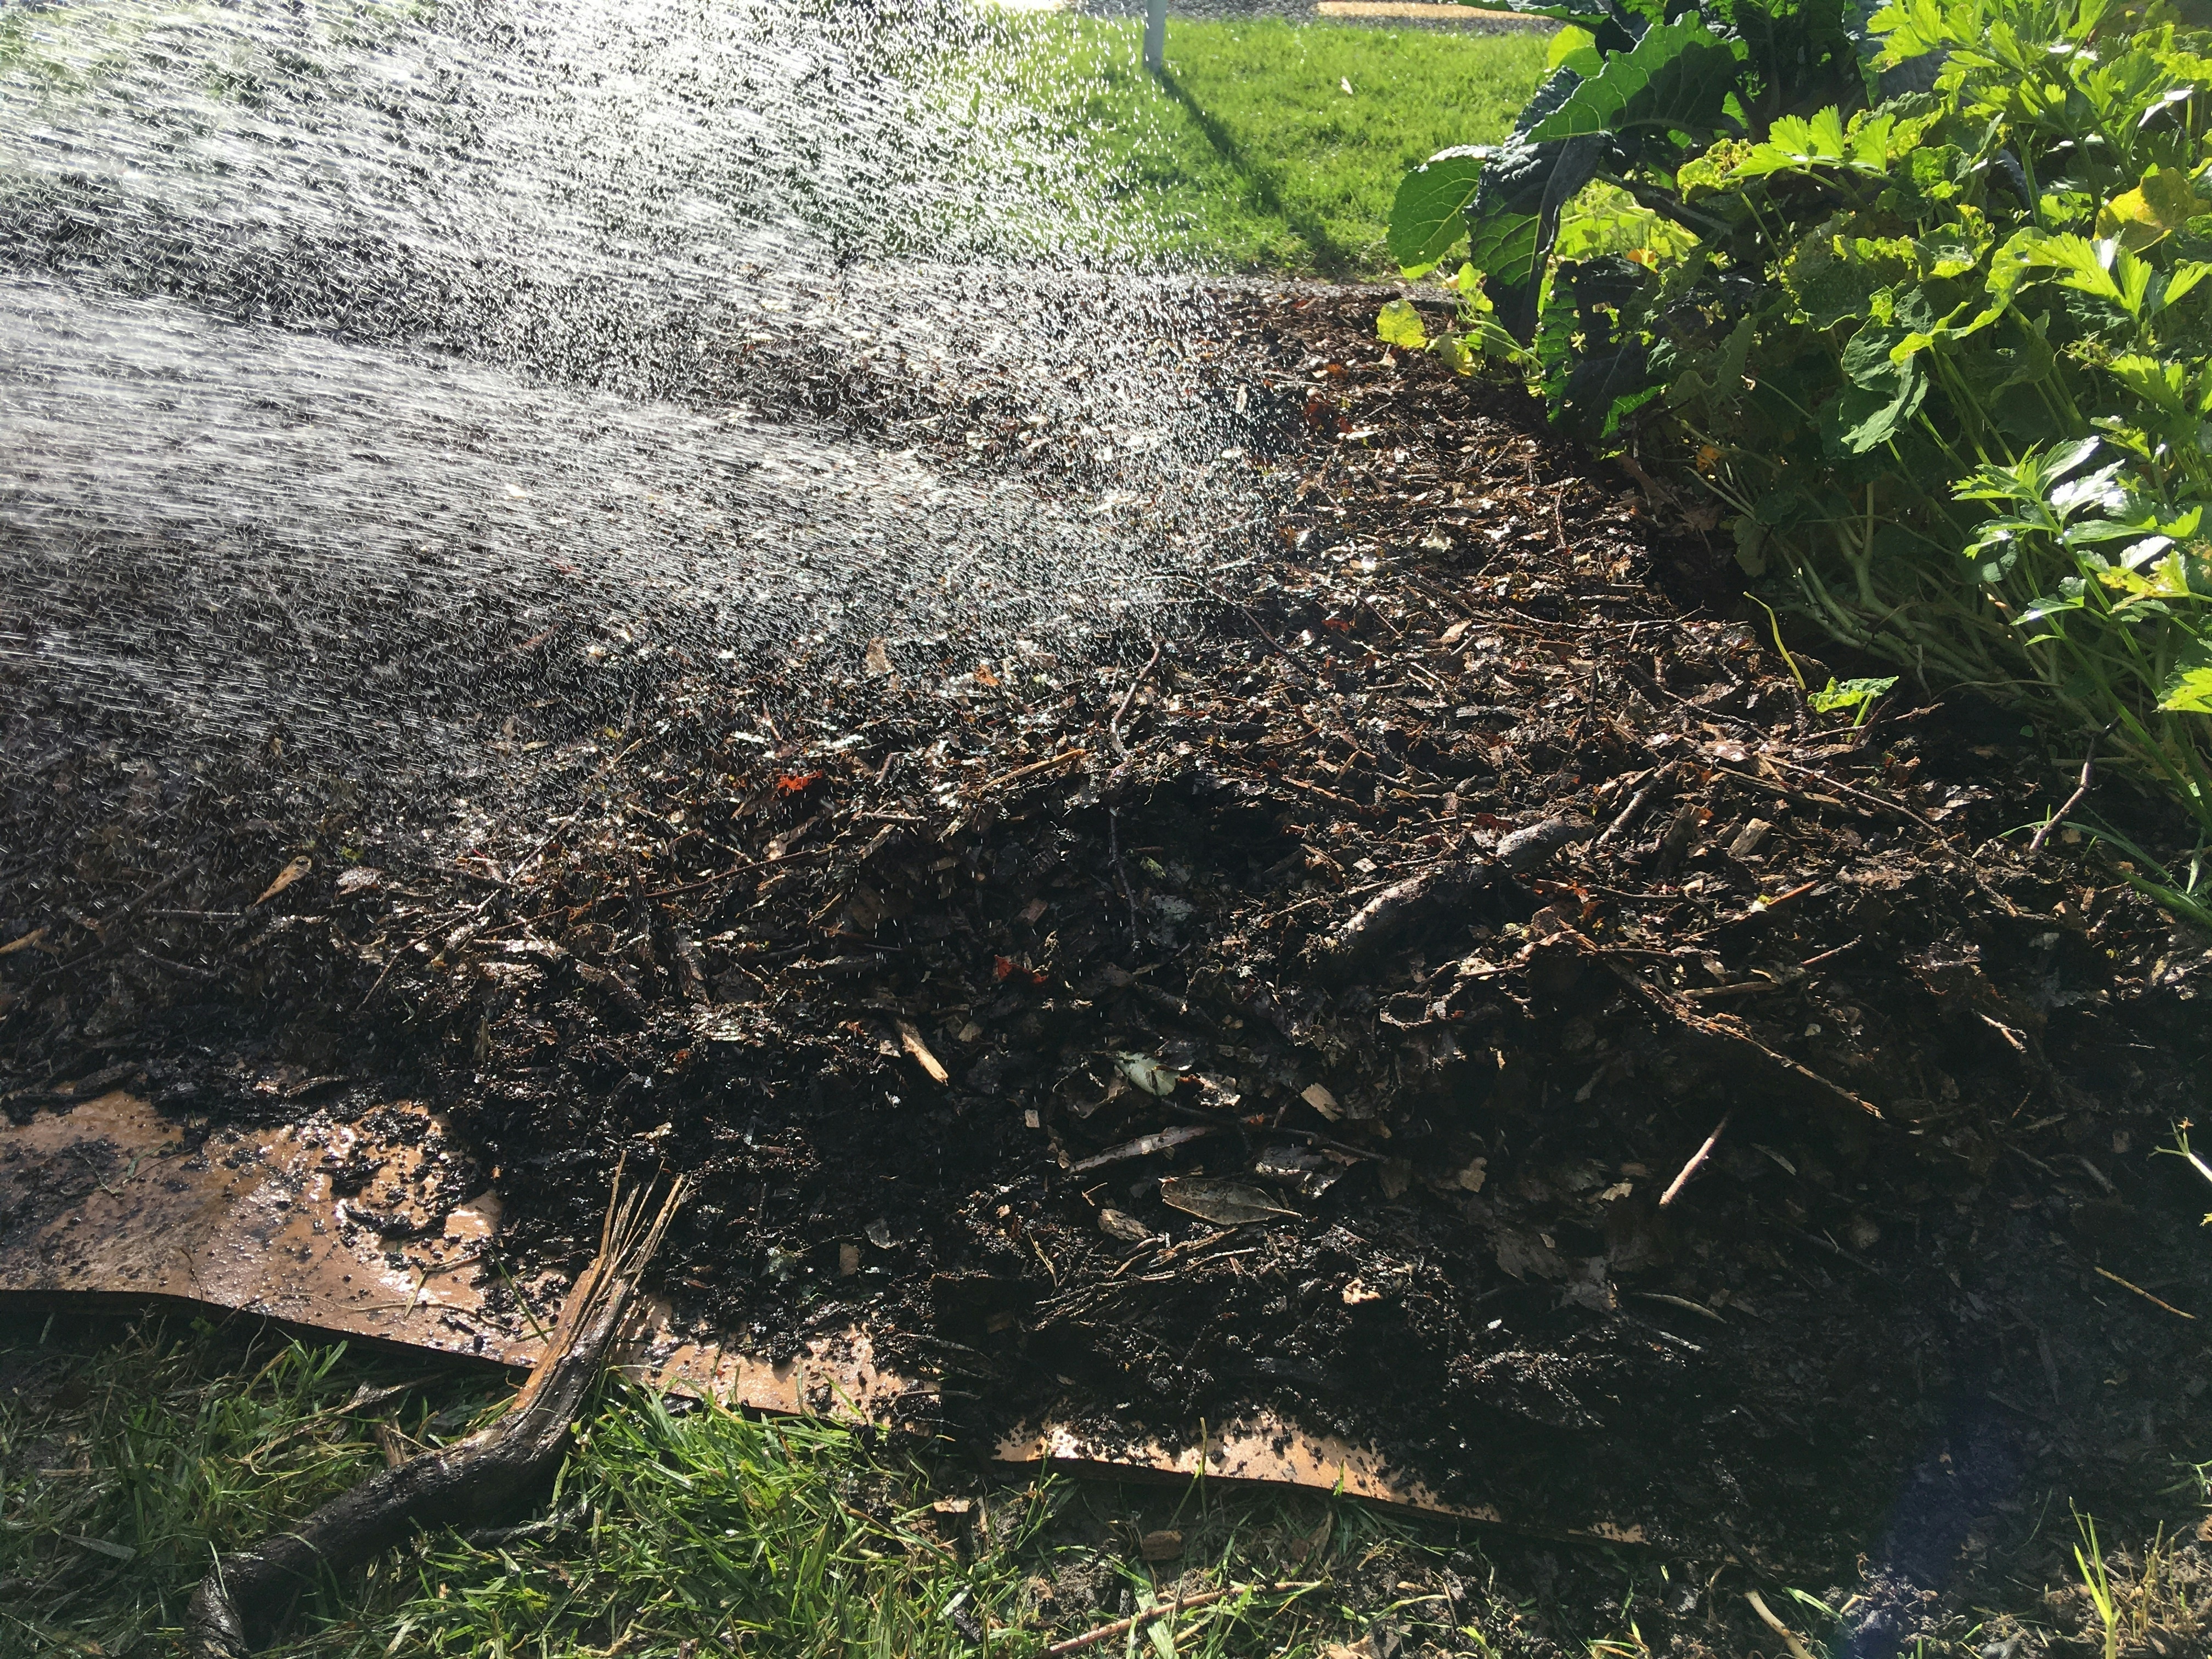

9. Top up the garden with new mulch seasonally or as needed and pull out any grass that has managed to break through. It’s a journey but it’s worth it.
Best of luck to you and your garden, now i’m off to sow some seeds.
-JS

Join Our Newsletter
XANTHE WHITE DESIGN
Auckland Studio
Phone: 09 815 1187
Email: info@xwd.co.nz
XANTHE WHITE DESIGN
Wellington Studio
Email: wellington@xwd.co.nz