Journal — Dirt
Rachel Clare
28th July 2020
Clear an area for revegetation planting
Restoring a weedy wasteland into a thriving native ecosystem requires a gentle staged approach, ongoing maintenance and patience. This article explains the basic principals behind revegetation planting of New Zealand plants, a process that can be applied in gardens.
Plants evolve over thousands of years to cope with the unique and changing climatic conditions. They are part of an intricate ecosystem. Seeds are dispersed by birds and younger trees slowly grow up in the shelter of taller trees, eventually becoming part of the forest canopy. Decaying leaf litter provides food for micro-organisms in the soil and for land and water-dwelling invertebrates that break organic matter down further, providing food for plants and cleaning waterways.
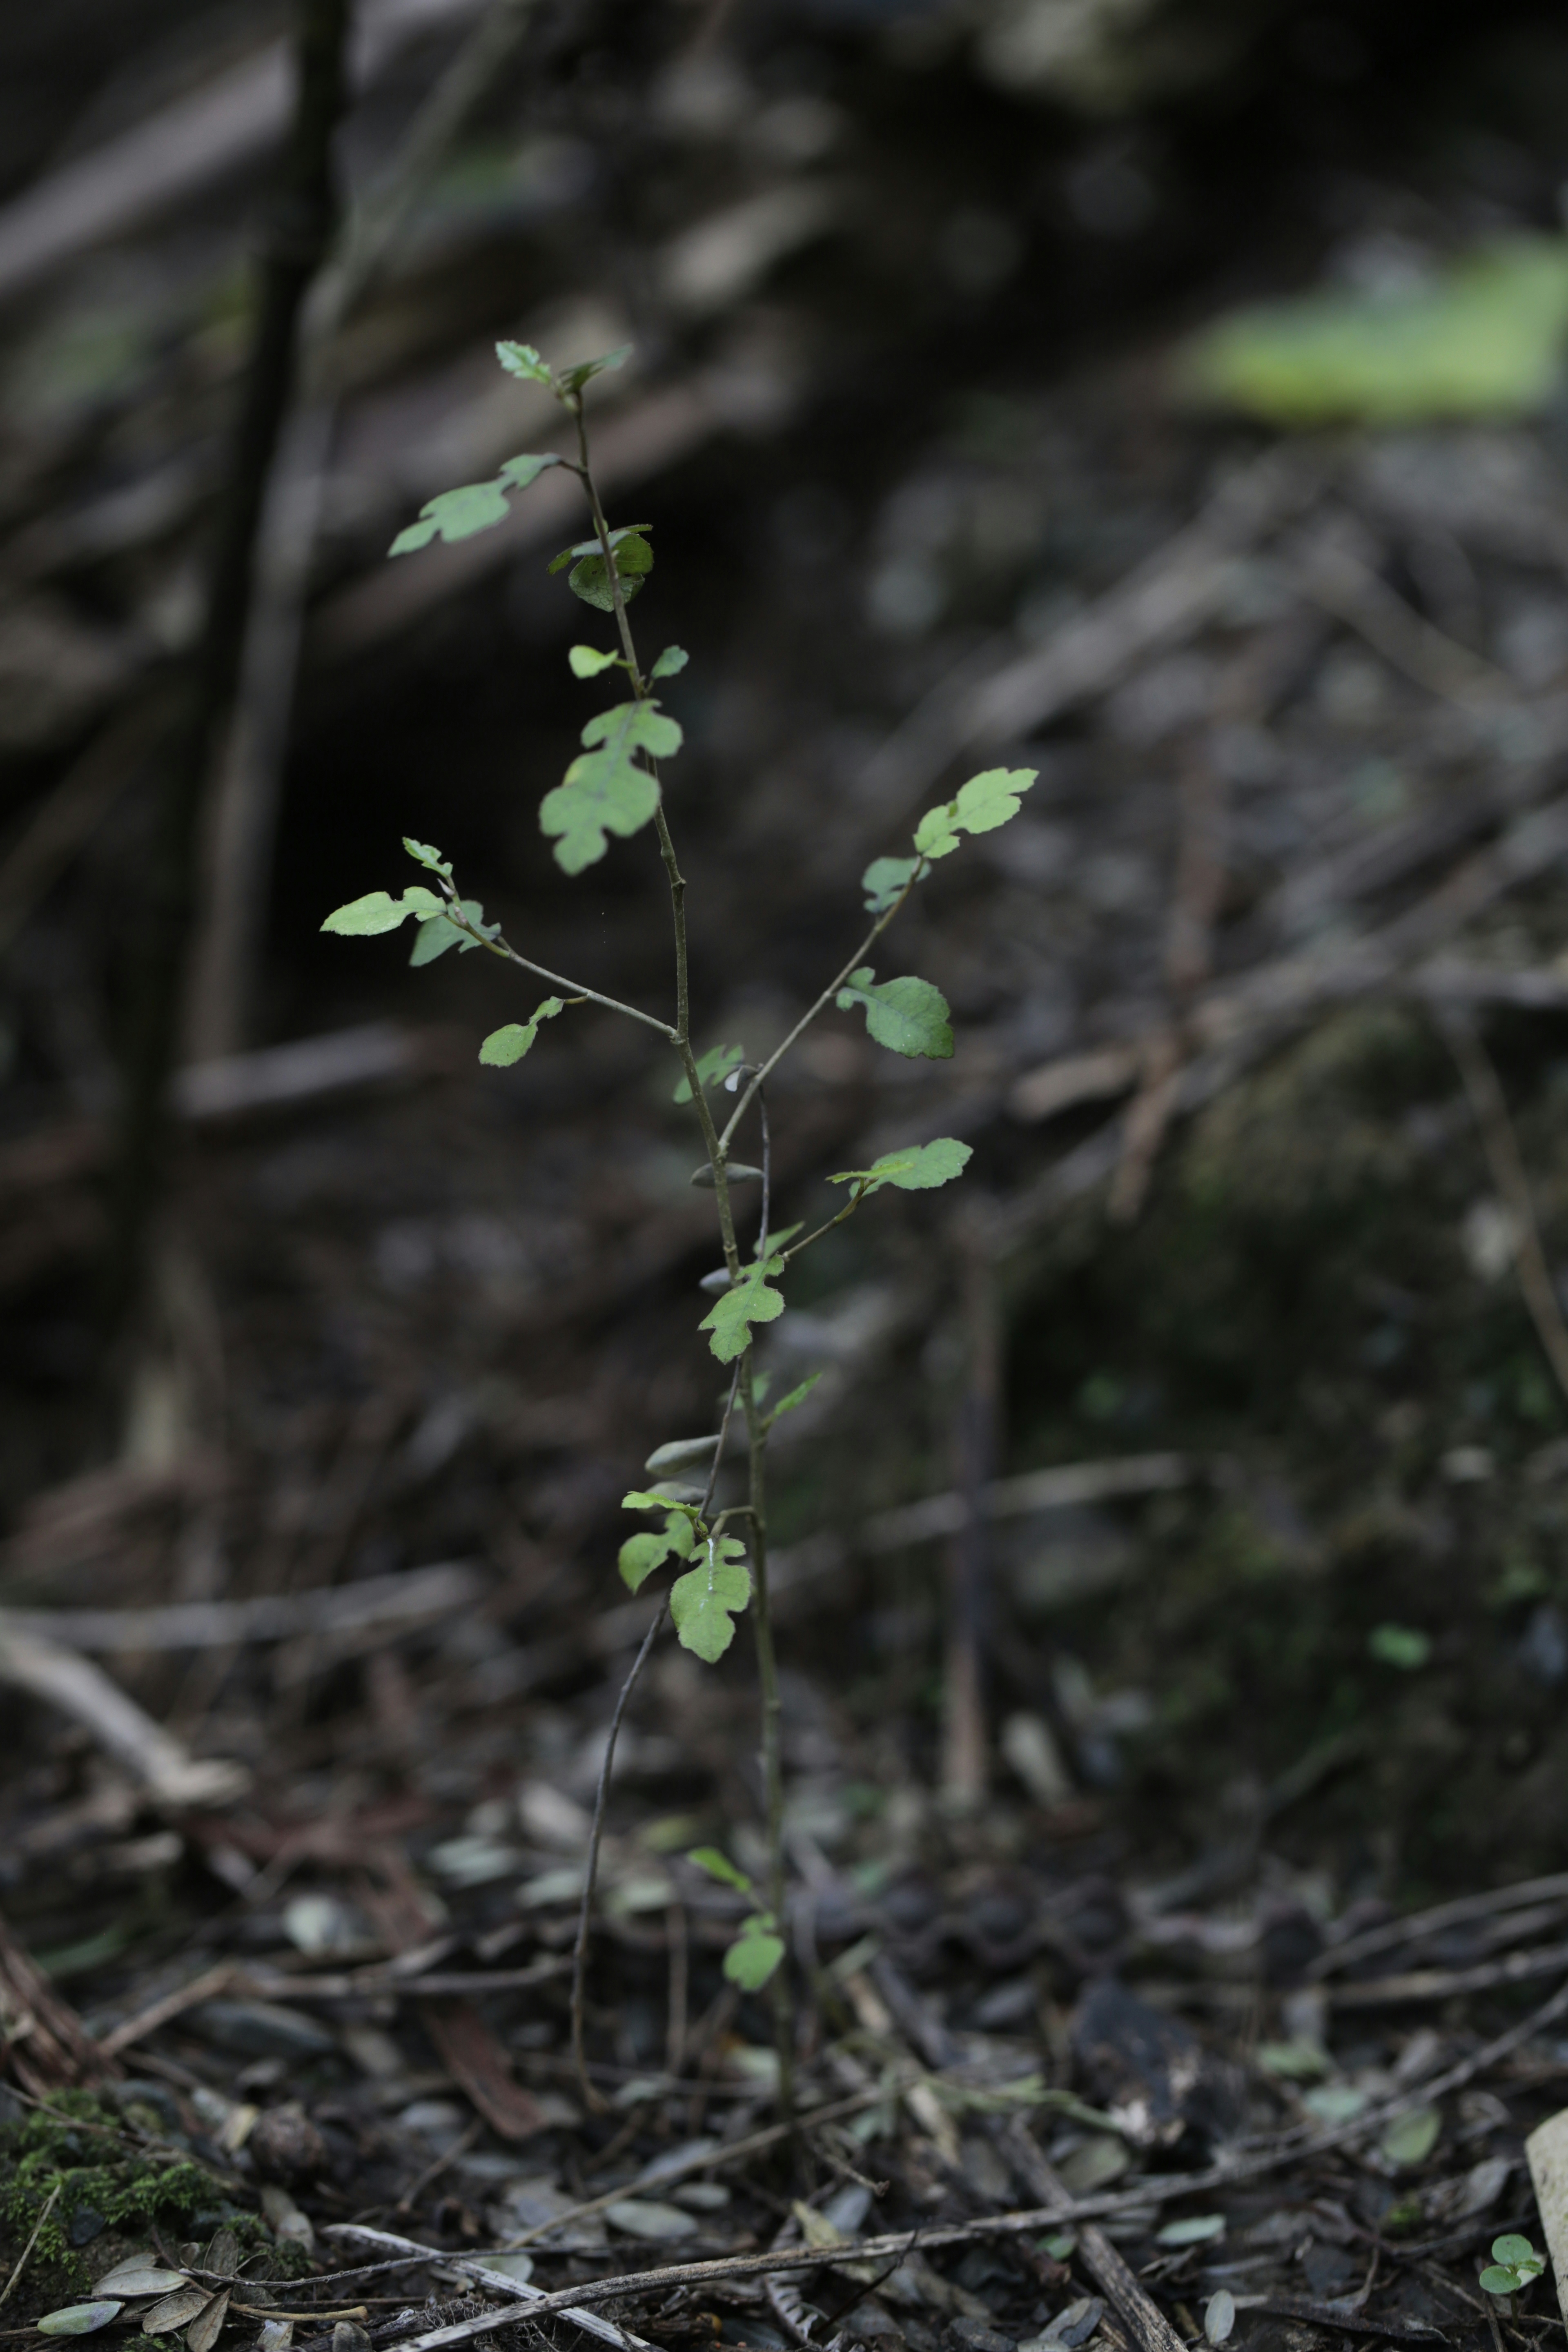
Everything exists within a carefully maintained balance. For this reason, replanting an area of land with the types of native plants you see in virgin bush or regenerated forest is not as straightforward as it may seem. Successful revegetation projects take time and patience, and should follow a series of careful steps.
CHOOSING YOUR PLANTS
Good-quality plants with well-formed root systems should be selected before your area is cleared. Do your research on what plants are endemic to your area and grow on similar sites. Is your site a wetland, a ridge, a valley or a gully. Is it damp or dry? Consult with your local council if you’re unsure what to grow and, where possible, eco-source plants that are from your area as they are adapted to the local growing conditions.
“It’s in the shelter of each other that the people live.”
Irish proverb
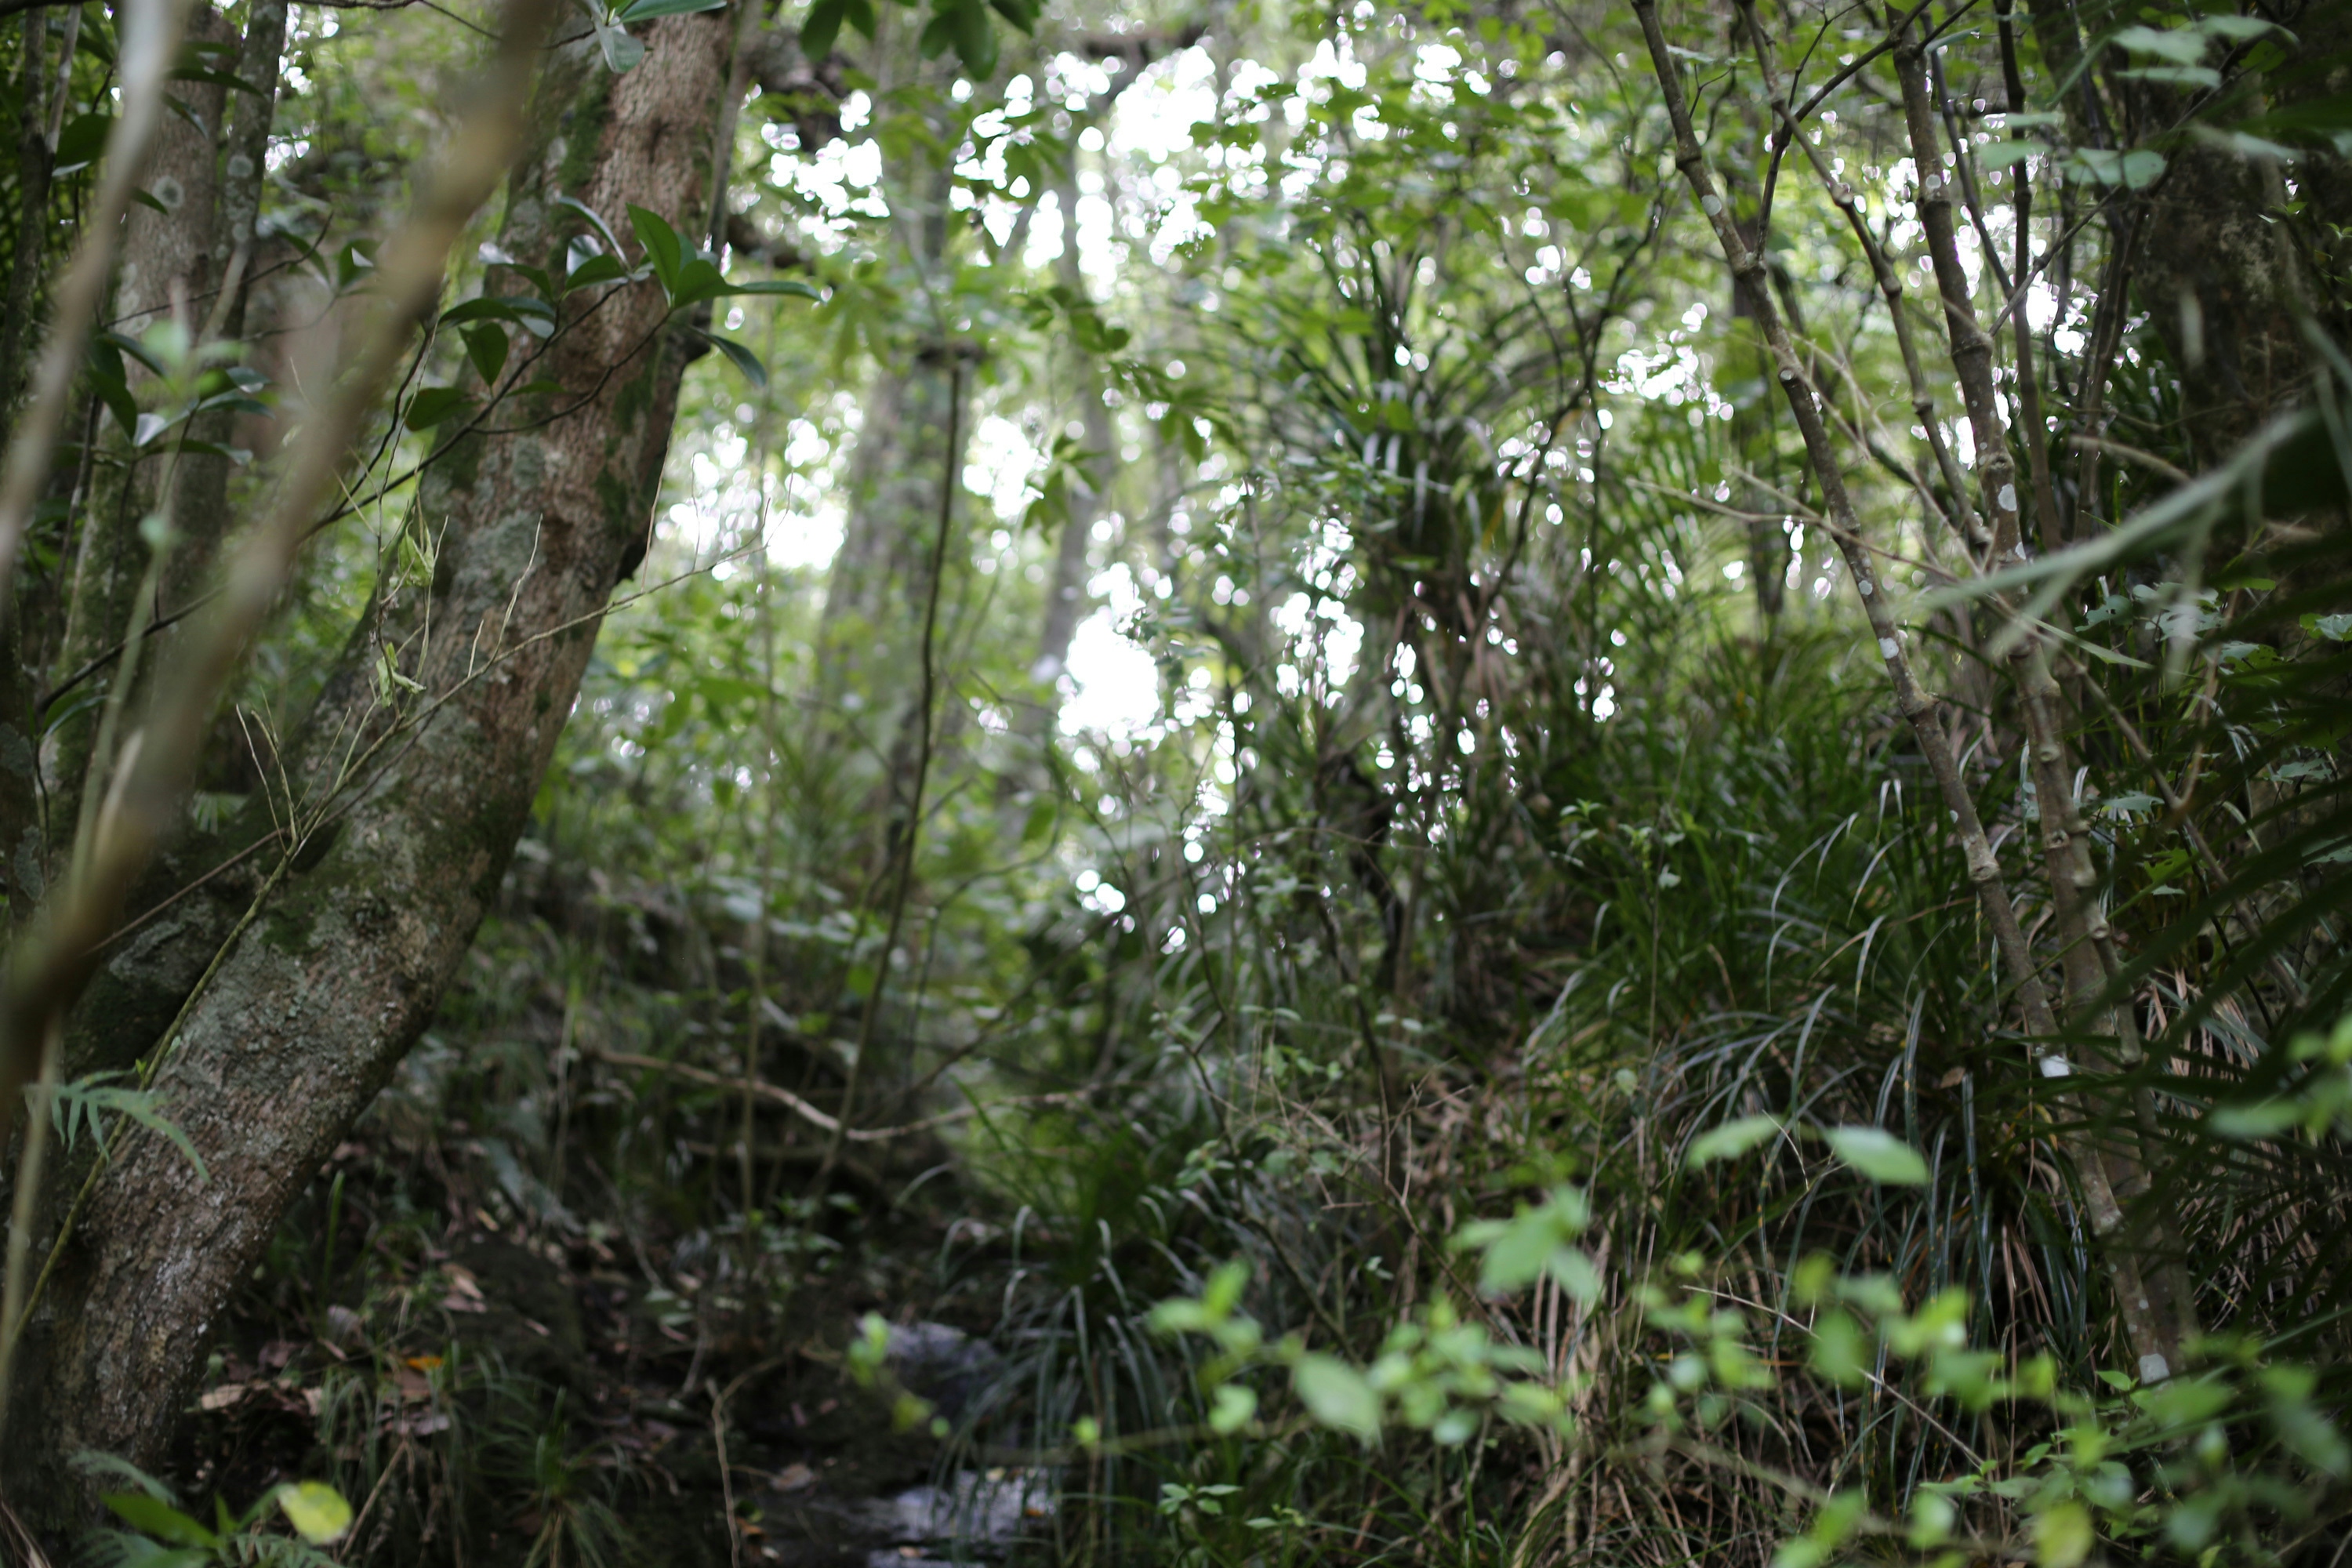
The same can be said of the evolution of our native forest. Many of the plants you find in mature forest, such as kauri, nīkau, rimu, kawakawa, tree ferns and frost-prone māhoe, are unsuitable for planting on a bare site and will not survive when exposed to hot, dry conditions. In the forest these plants grow up in the shade of other plants. Therefore when replanting a cleared site, “nurse” plants (which are also known as “coloniser plants”) need to be established first to provide the right sheltered conditions for the next generation of slower-growing plants to develop.
Auckland Council’s Native Forest Restoration Guide (click for link) provides indepth information on plants for different areas within the Auckland region.
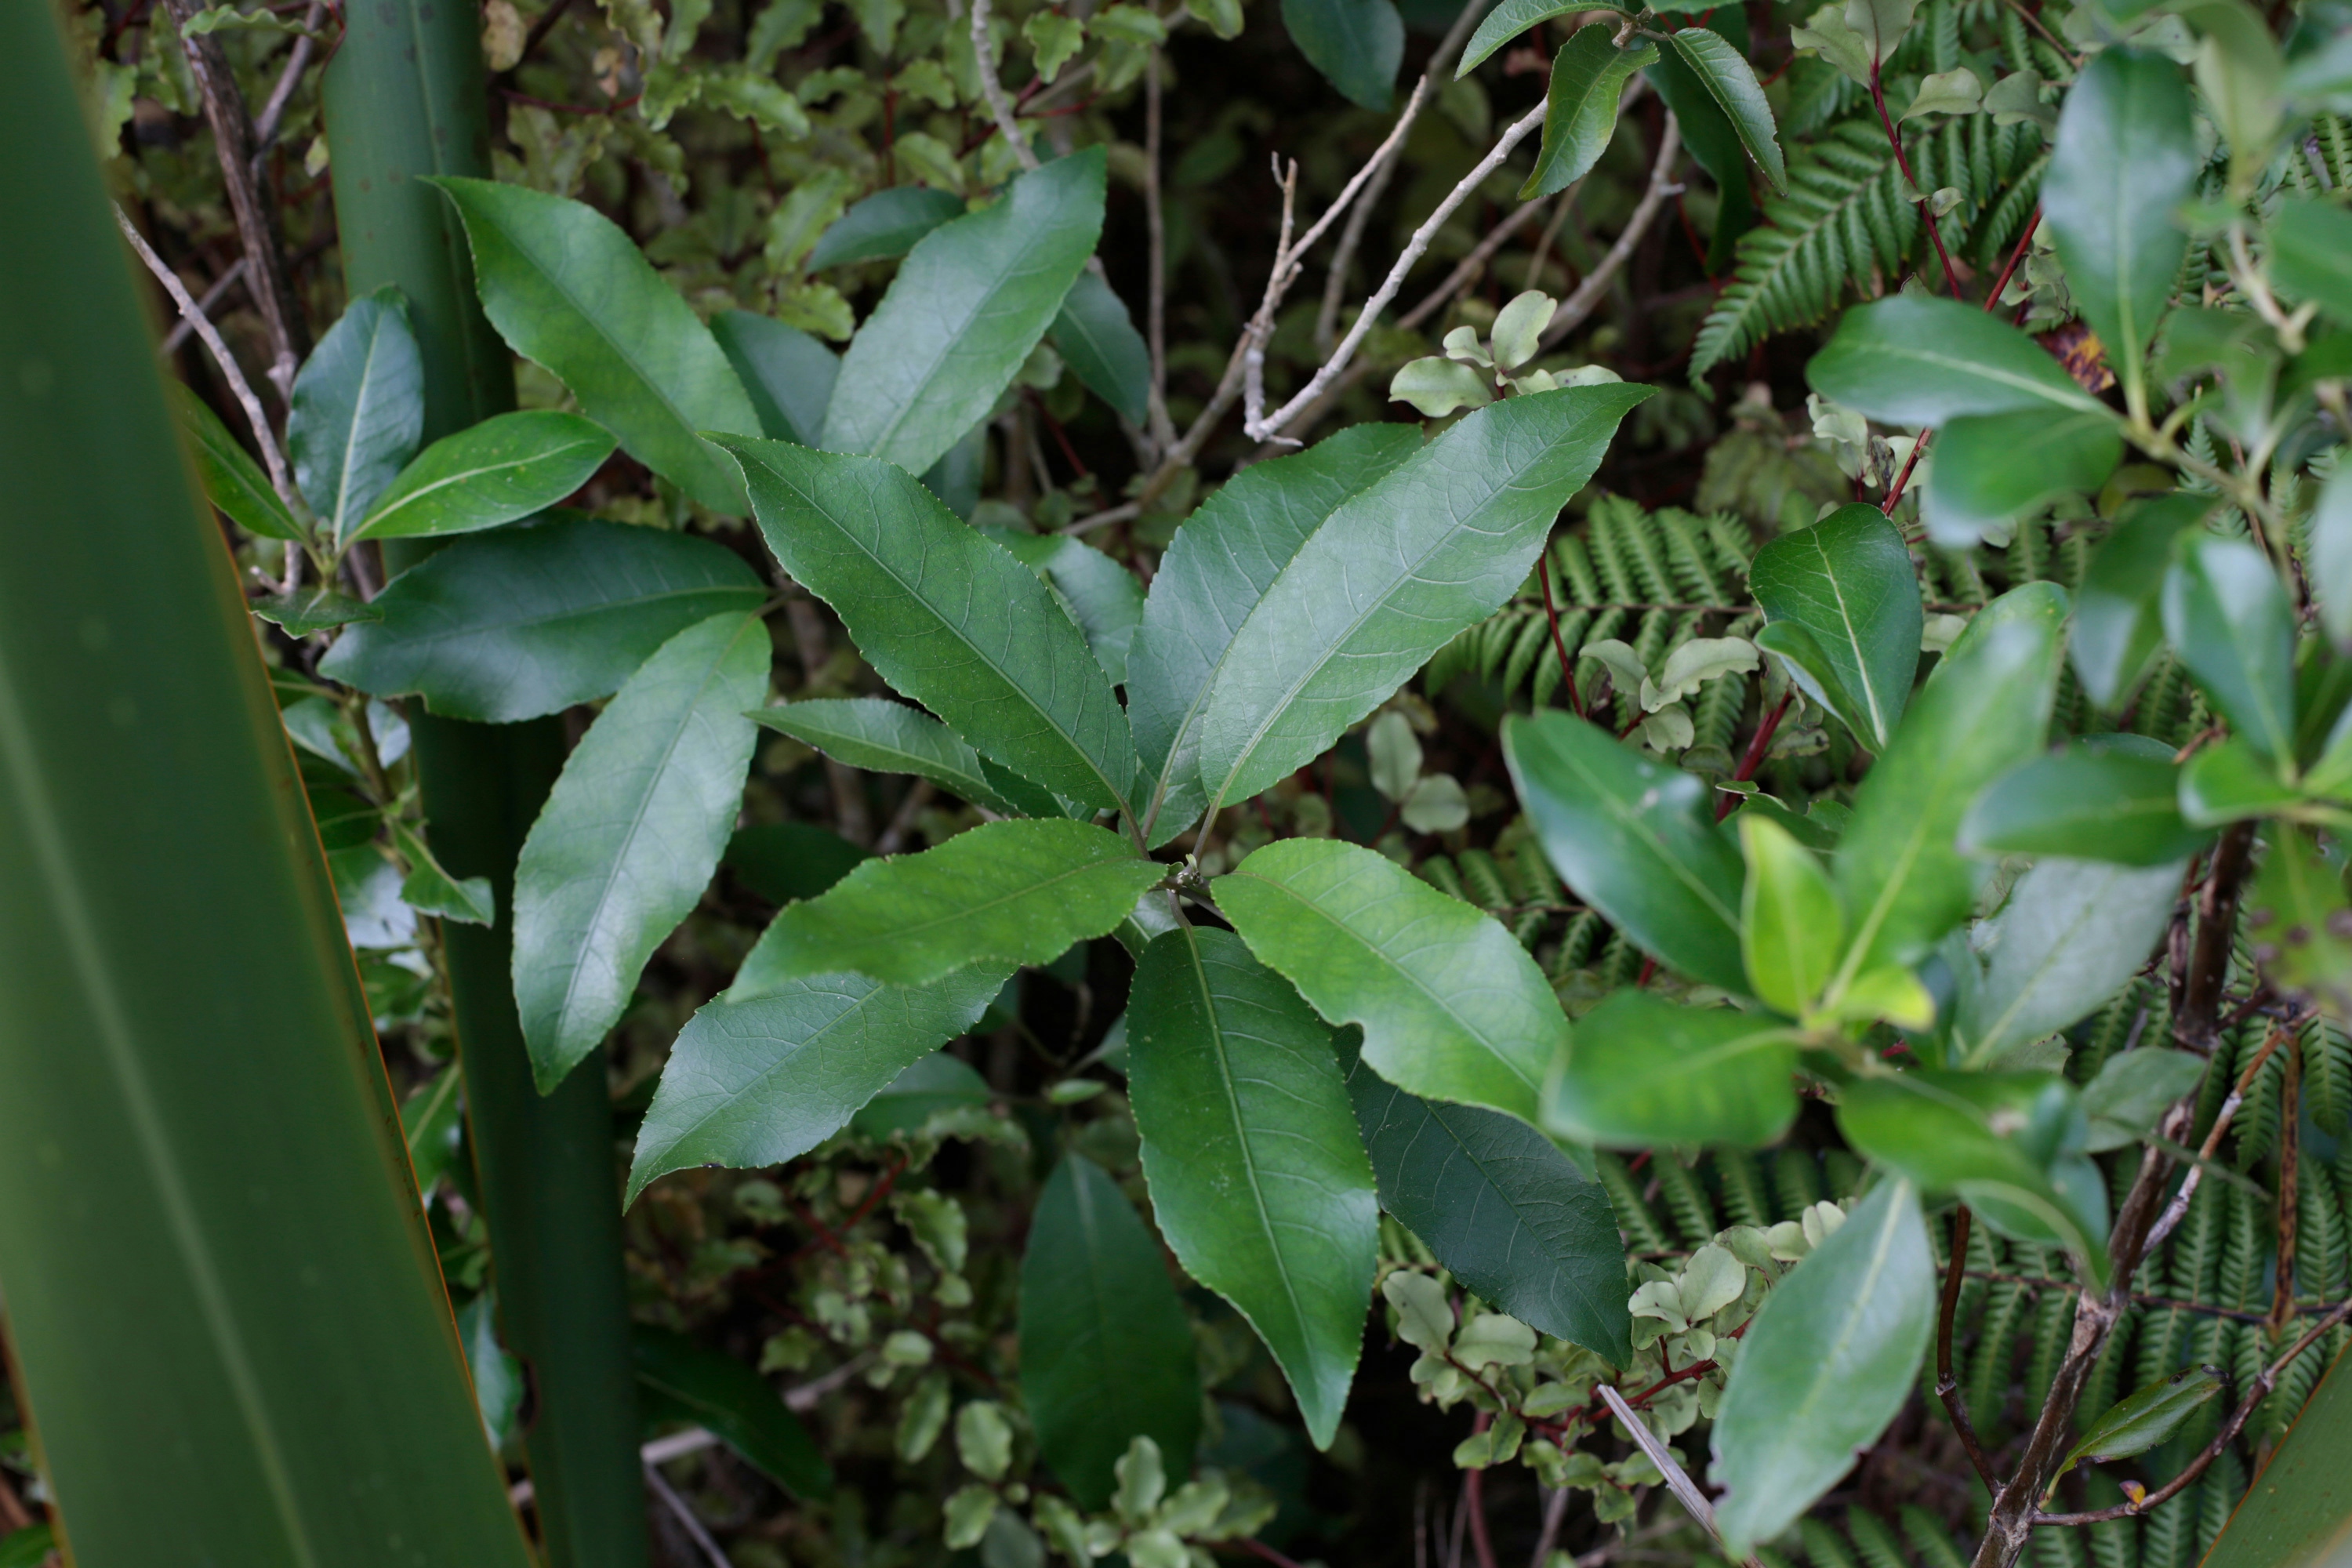
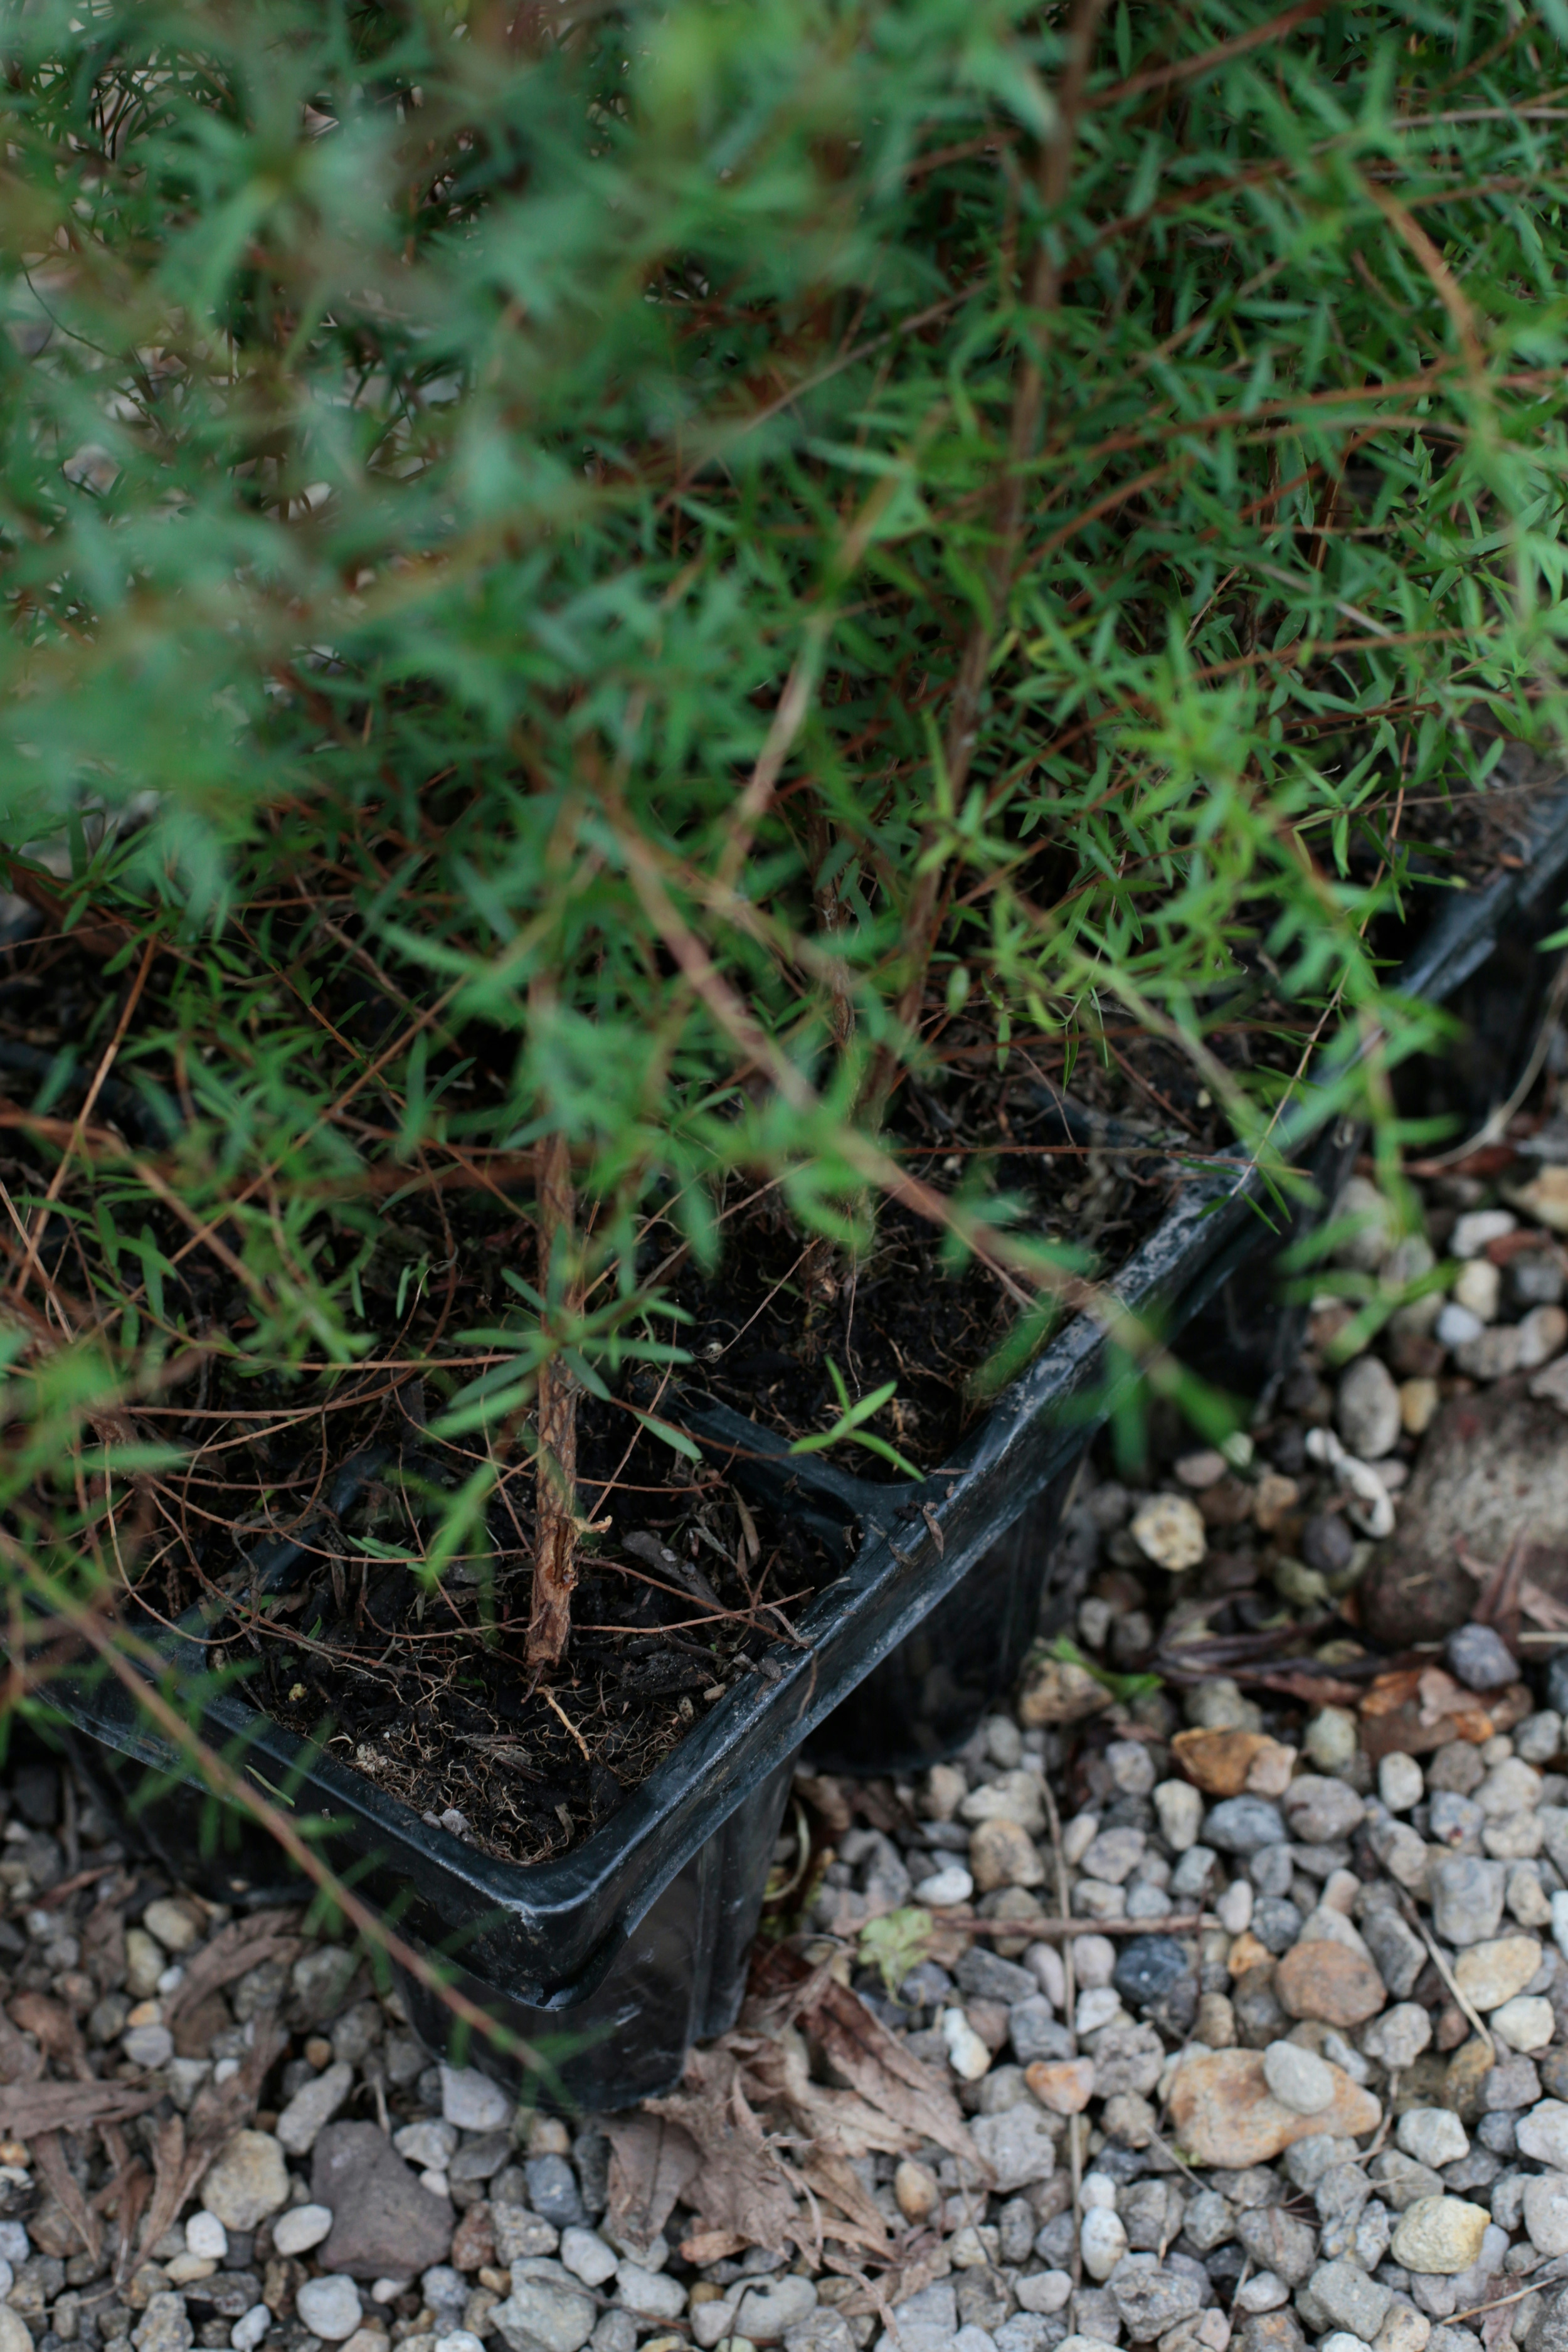
As a general guide, all-rounder nurse plants that are suitable as nurse plants in hilltops, ridges and gullies are mānuka, māhoe, coprosma, macrocarpa, flax and kōwhai (choose a species of kōwhai endemic to your area).
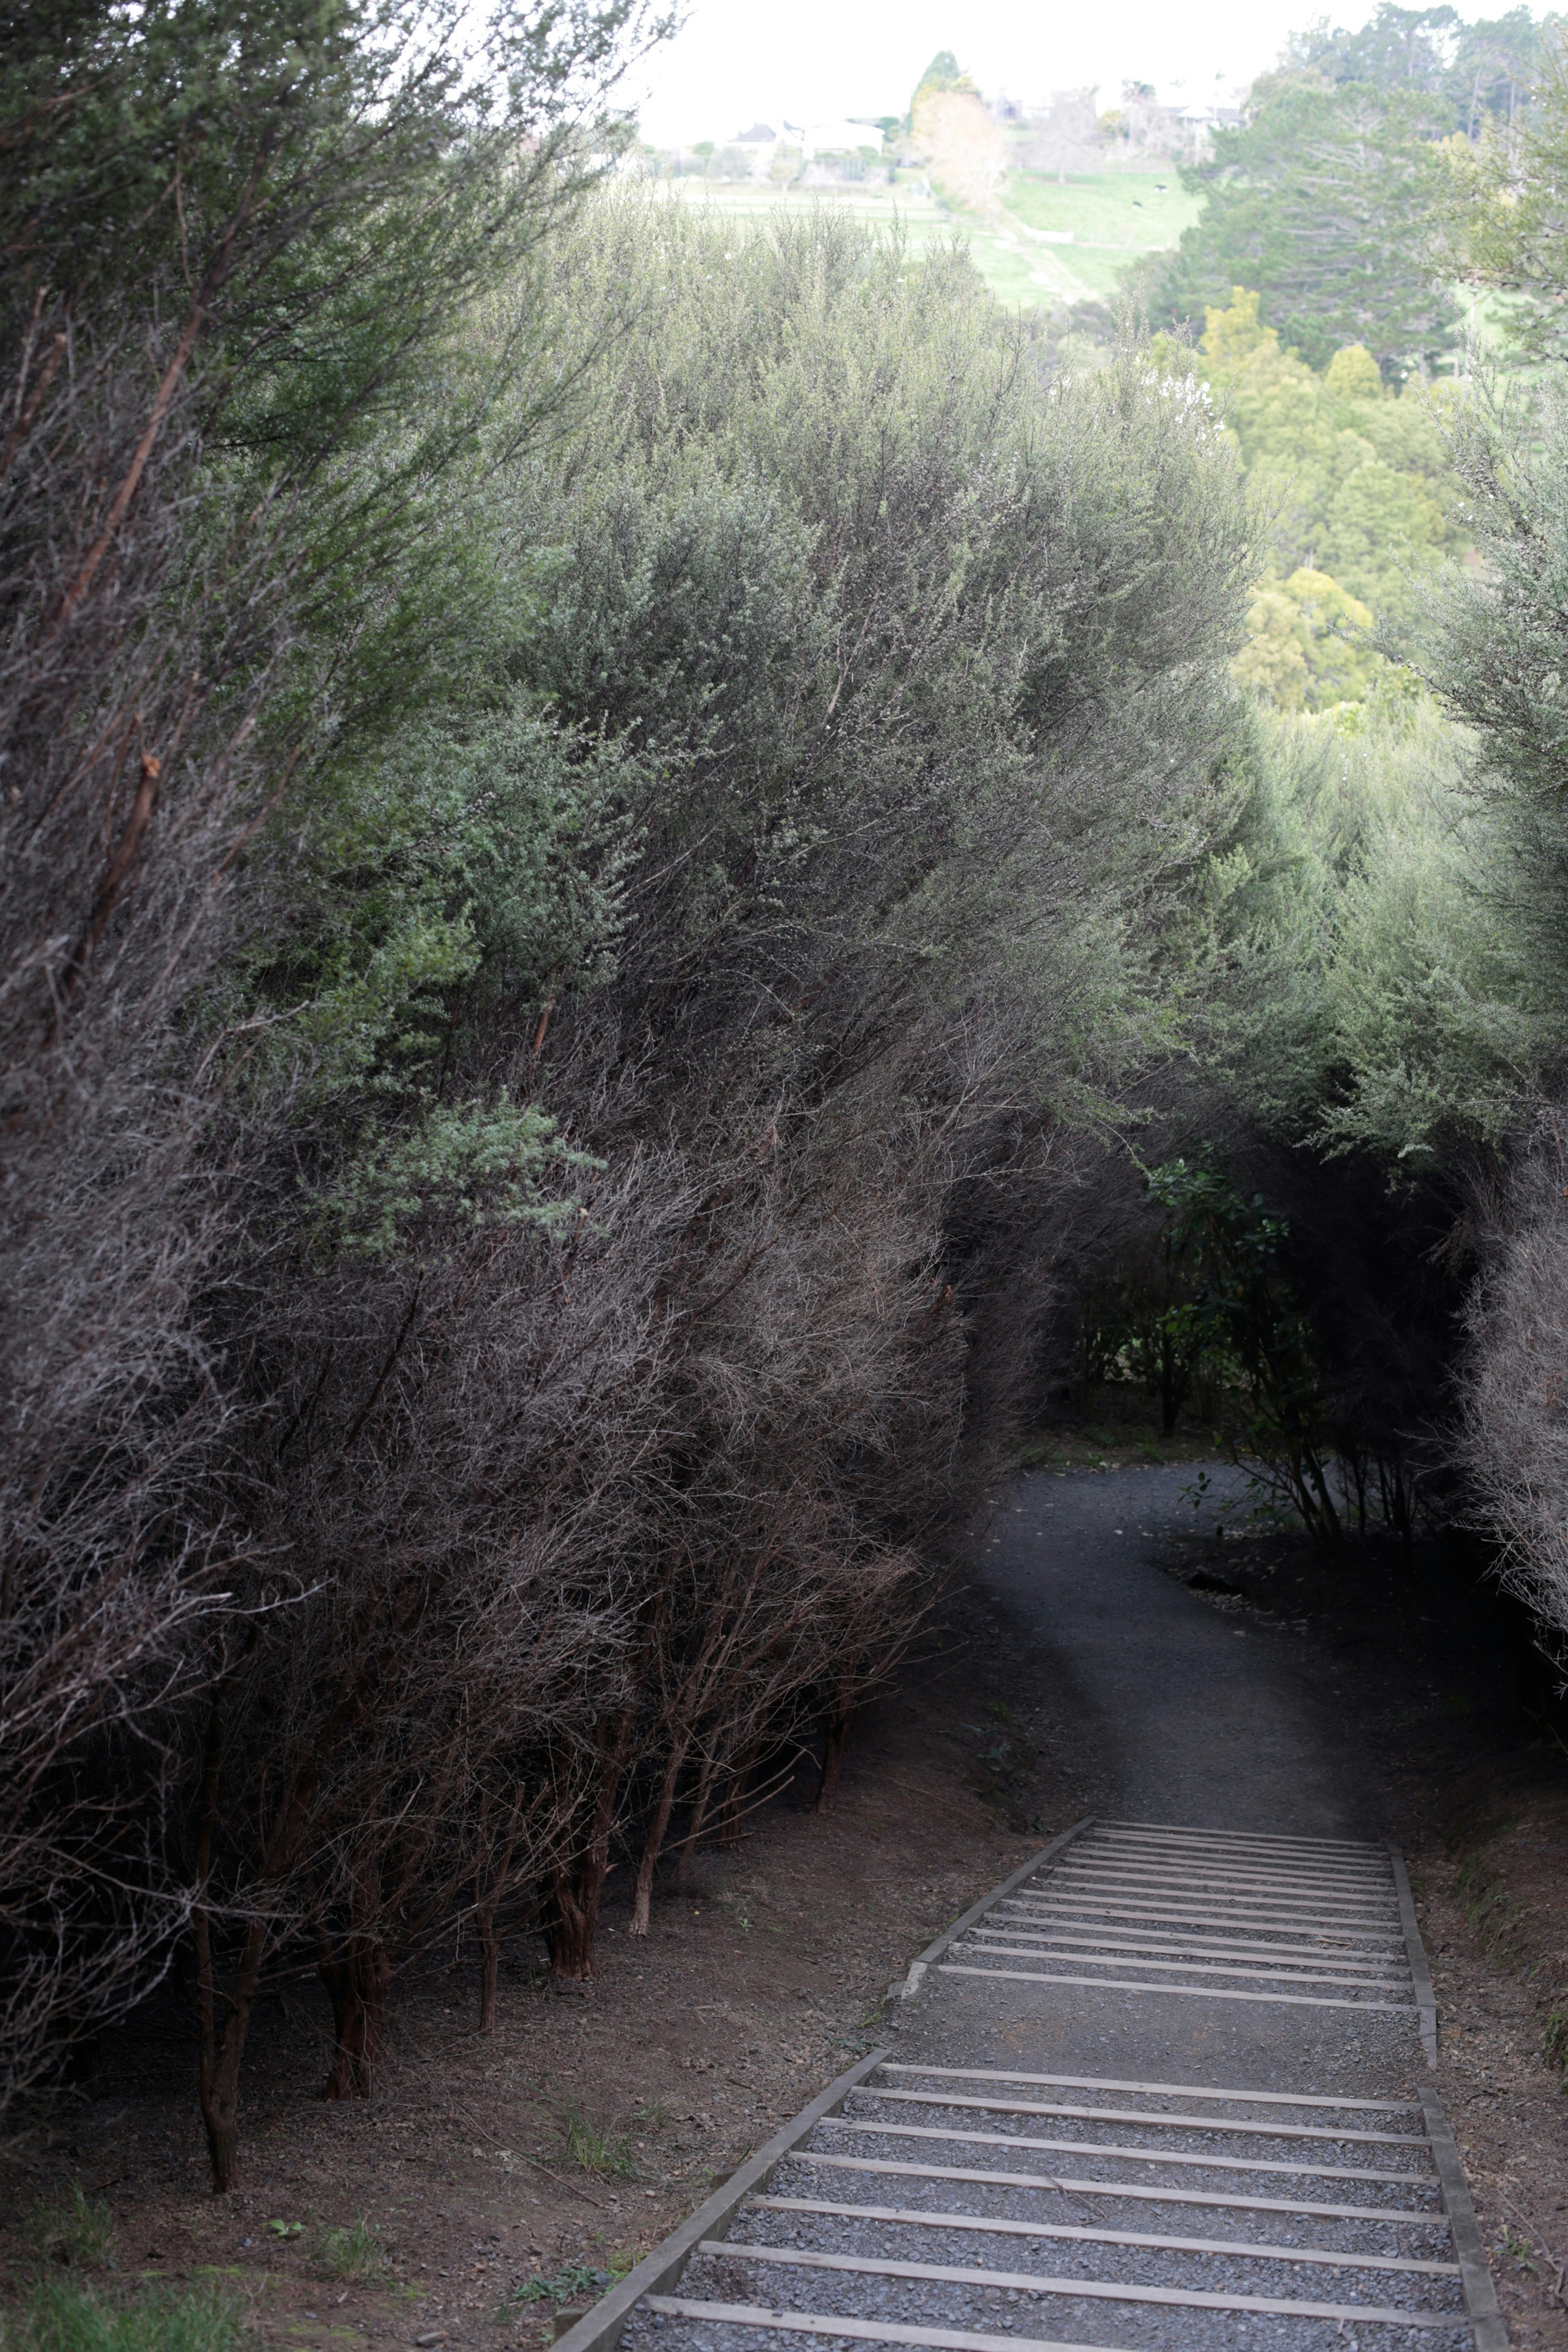
Nurse plants, such as mānuka and flaxes, also suppress weeds. They can be planted densely, then once they’re established areas within plantings can be opened up and species requiring shelter can be planted there. Where natural dispersers, such as native birds and wind, are not effective you may wish to add enrichment planting several years after your nurse species are established. This helps replicate a more natural forest environment. Example of enrichment plants might include kawakawa, pōhutukawa, pūriri and tōtara, but always use your local native ecosystem as a guide.
CLEARING THE SITE
If you are only clearing a very small area for planting, you could try suppressing weeds with carpet or weighed-down cardboard before planting. However, if this is untenable, weeds or grass can be scraped off the top of the soil with a spade or grubber. Any weed seeds, flowers or rhizomes should be carefully removed from a site but the actual foliage can be left on the site to mulch the soil below and break down as organic matter. Be sure to dispose of tradescantia as it readily sprouts from any live and dropped vegetative material. Try not to disturb the soil more than is necessary as weeds adore disturbed soil and will quickly reestablish themselves.

If your site is particularly large, you can remove weeds in spots so that each plant will have 1m of clear soil around it. Try and be realistic about how much of the area you will be able to maintain. Consider dividing up larger areas into smaller sections and establishing one section at a time. It may take longer but your plants will have a better chance of success if maintenance is manageable.
PLANTING
It’s best to plant within one or two weeks of clearing the space before weeds reestablish themselves. Add topsoil if original topsoil has been degraded or is no longer present. Autumn is the best time of year for plants to establish their root stystems. However in high country or cooler southern areas, wait until after the last spring frosts before planting. Wetlands should only be planted after the water table has dropped from late spring to early summer.
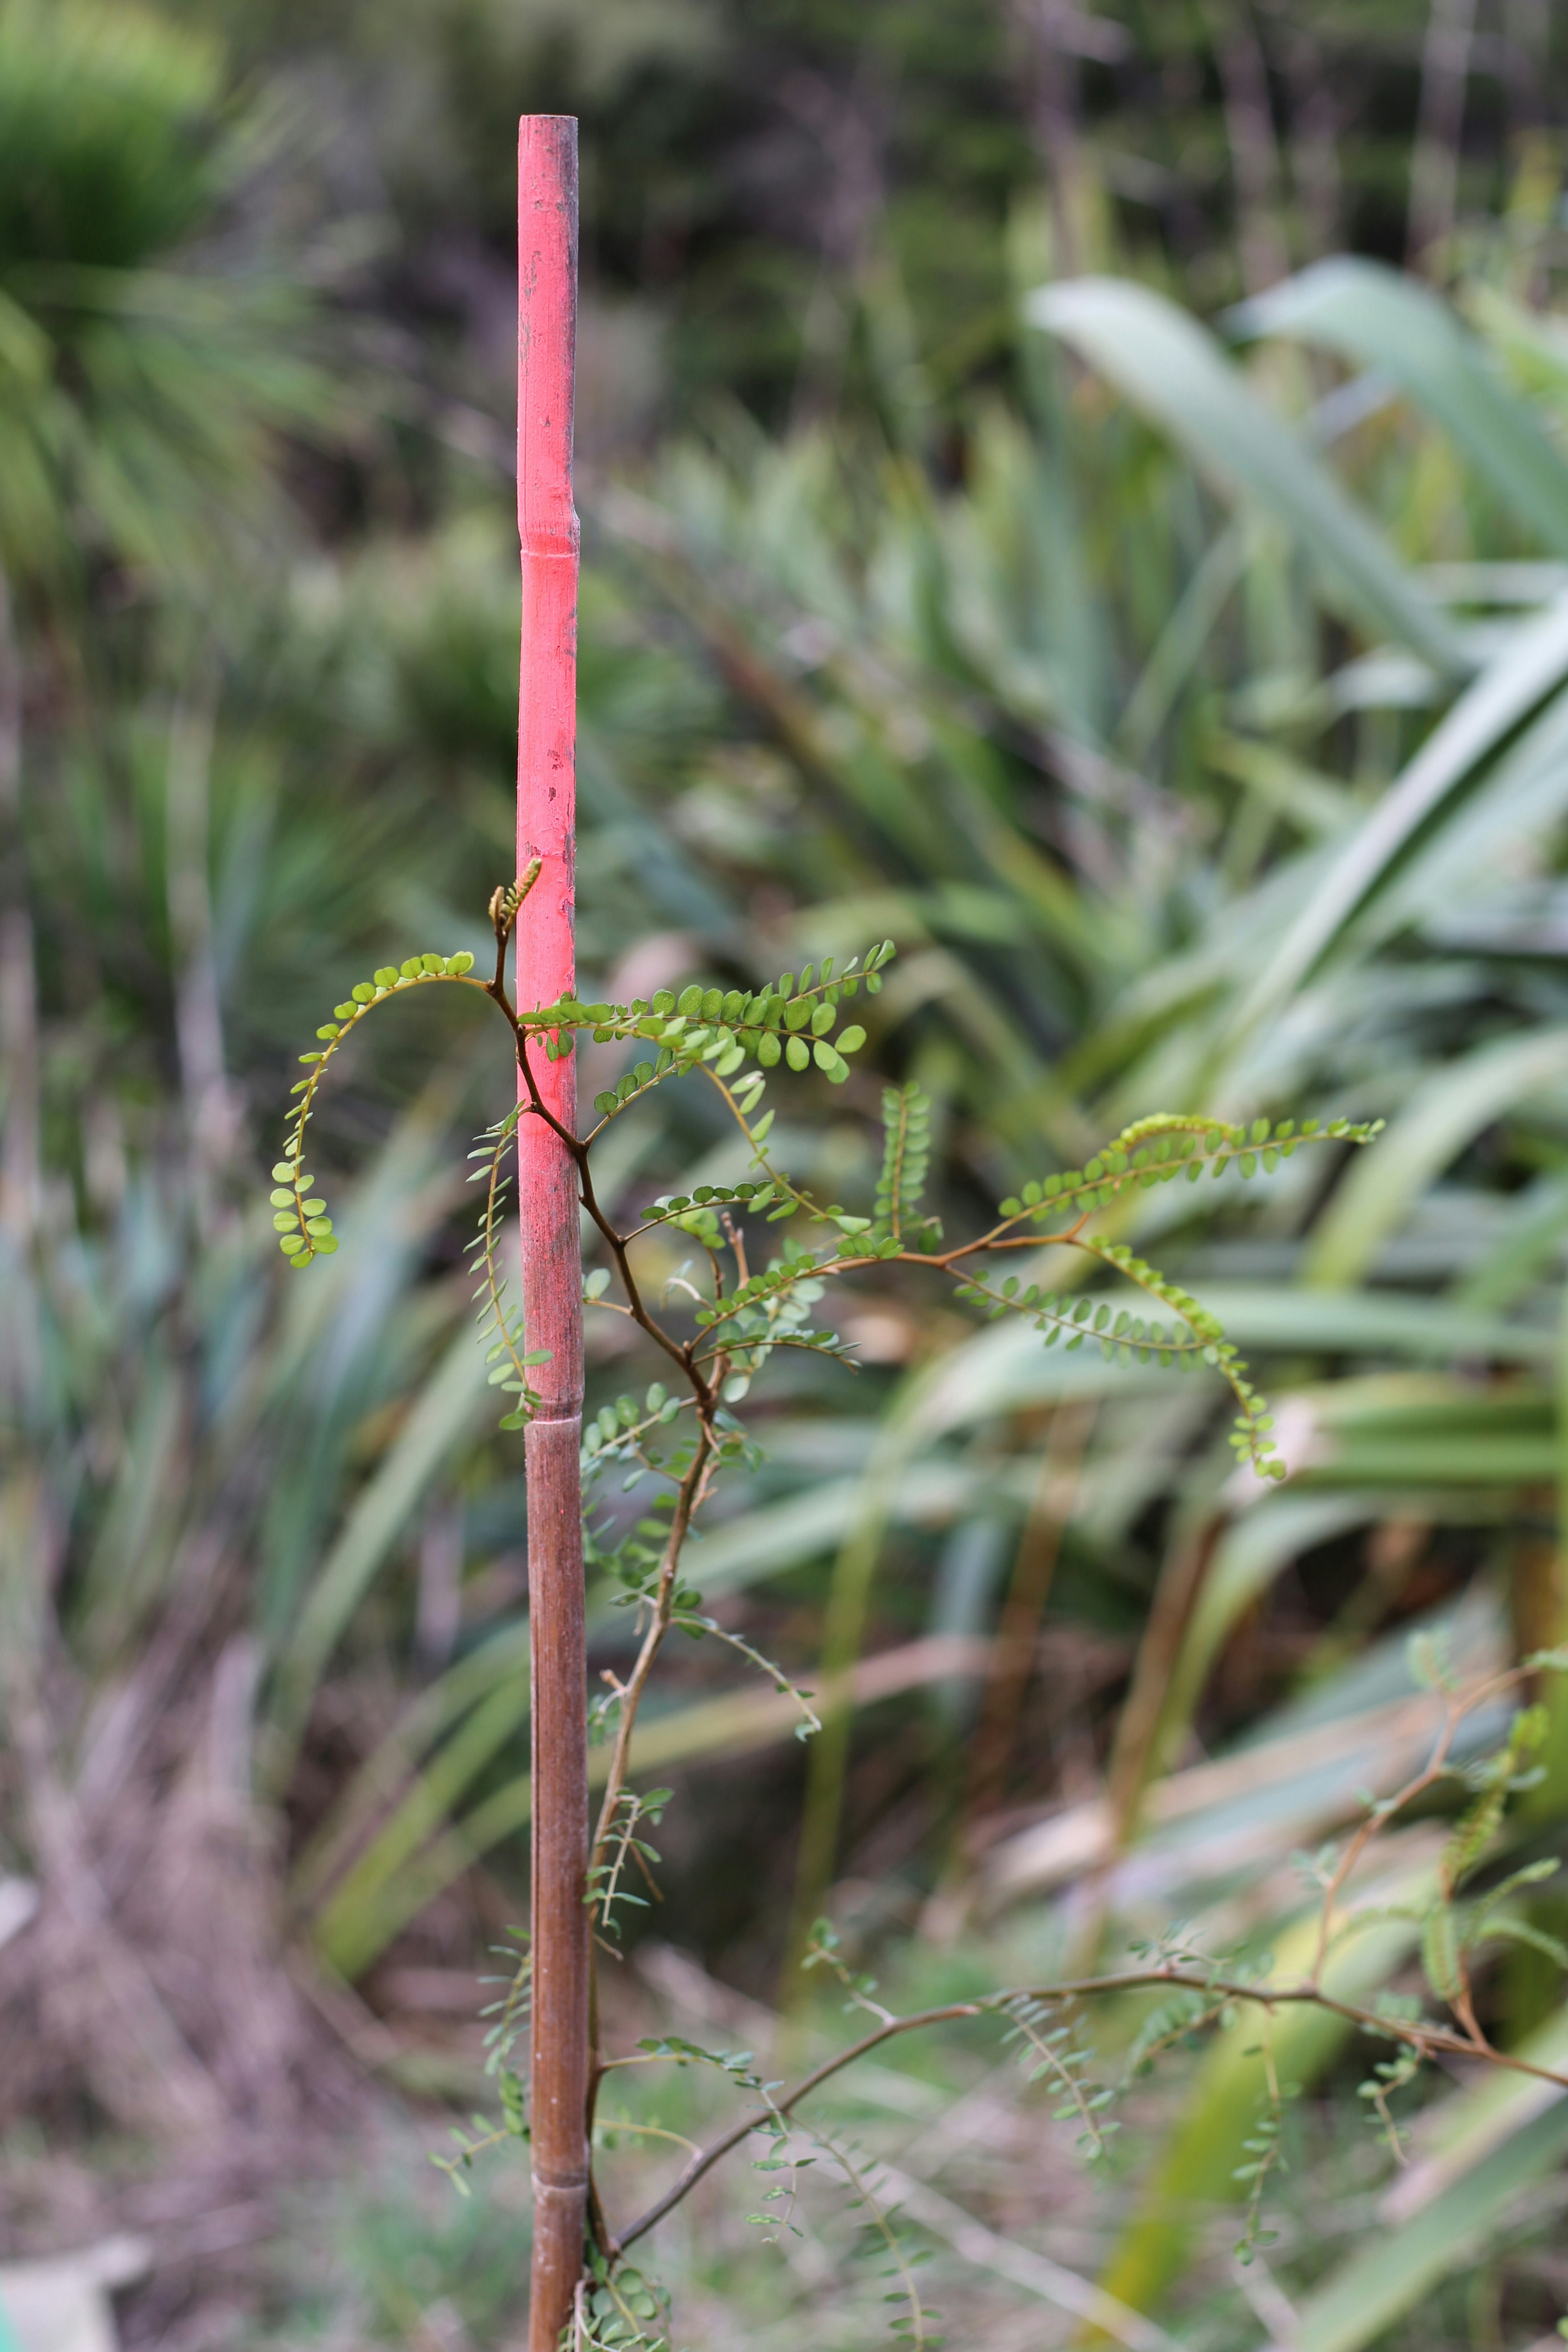
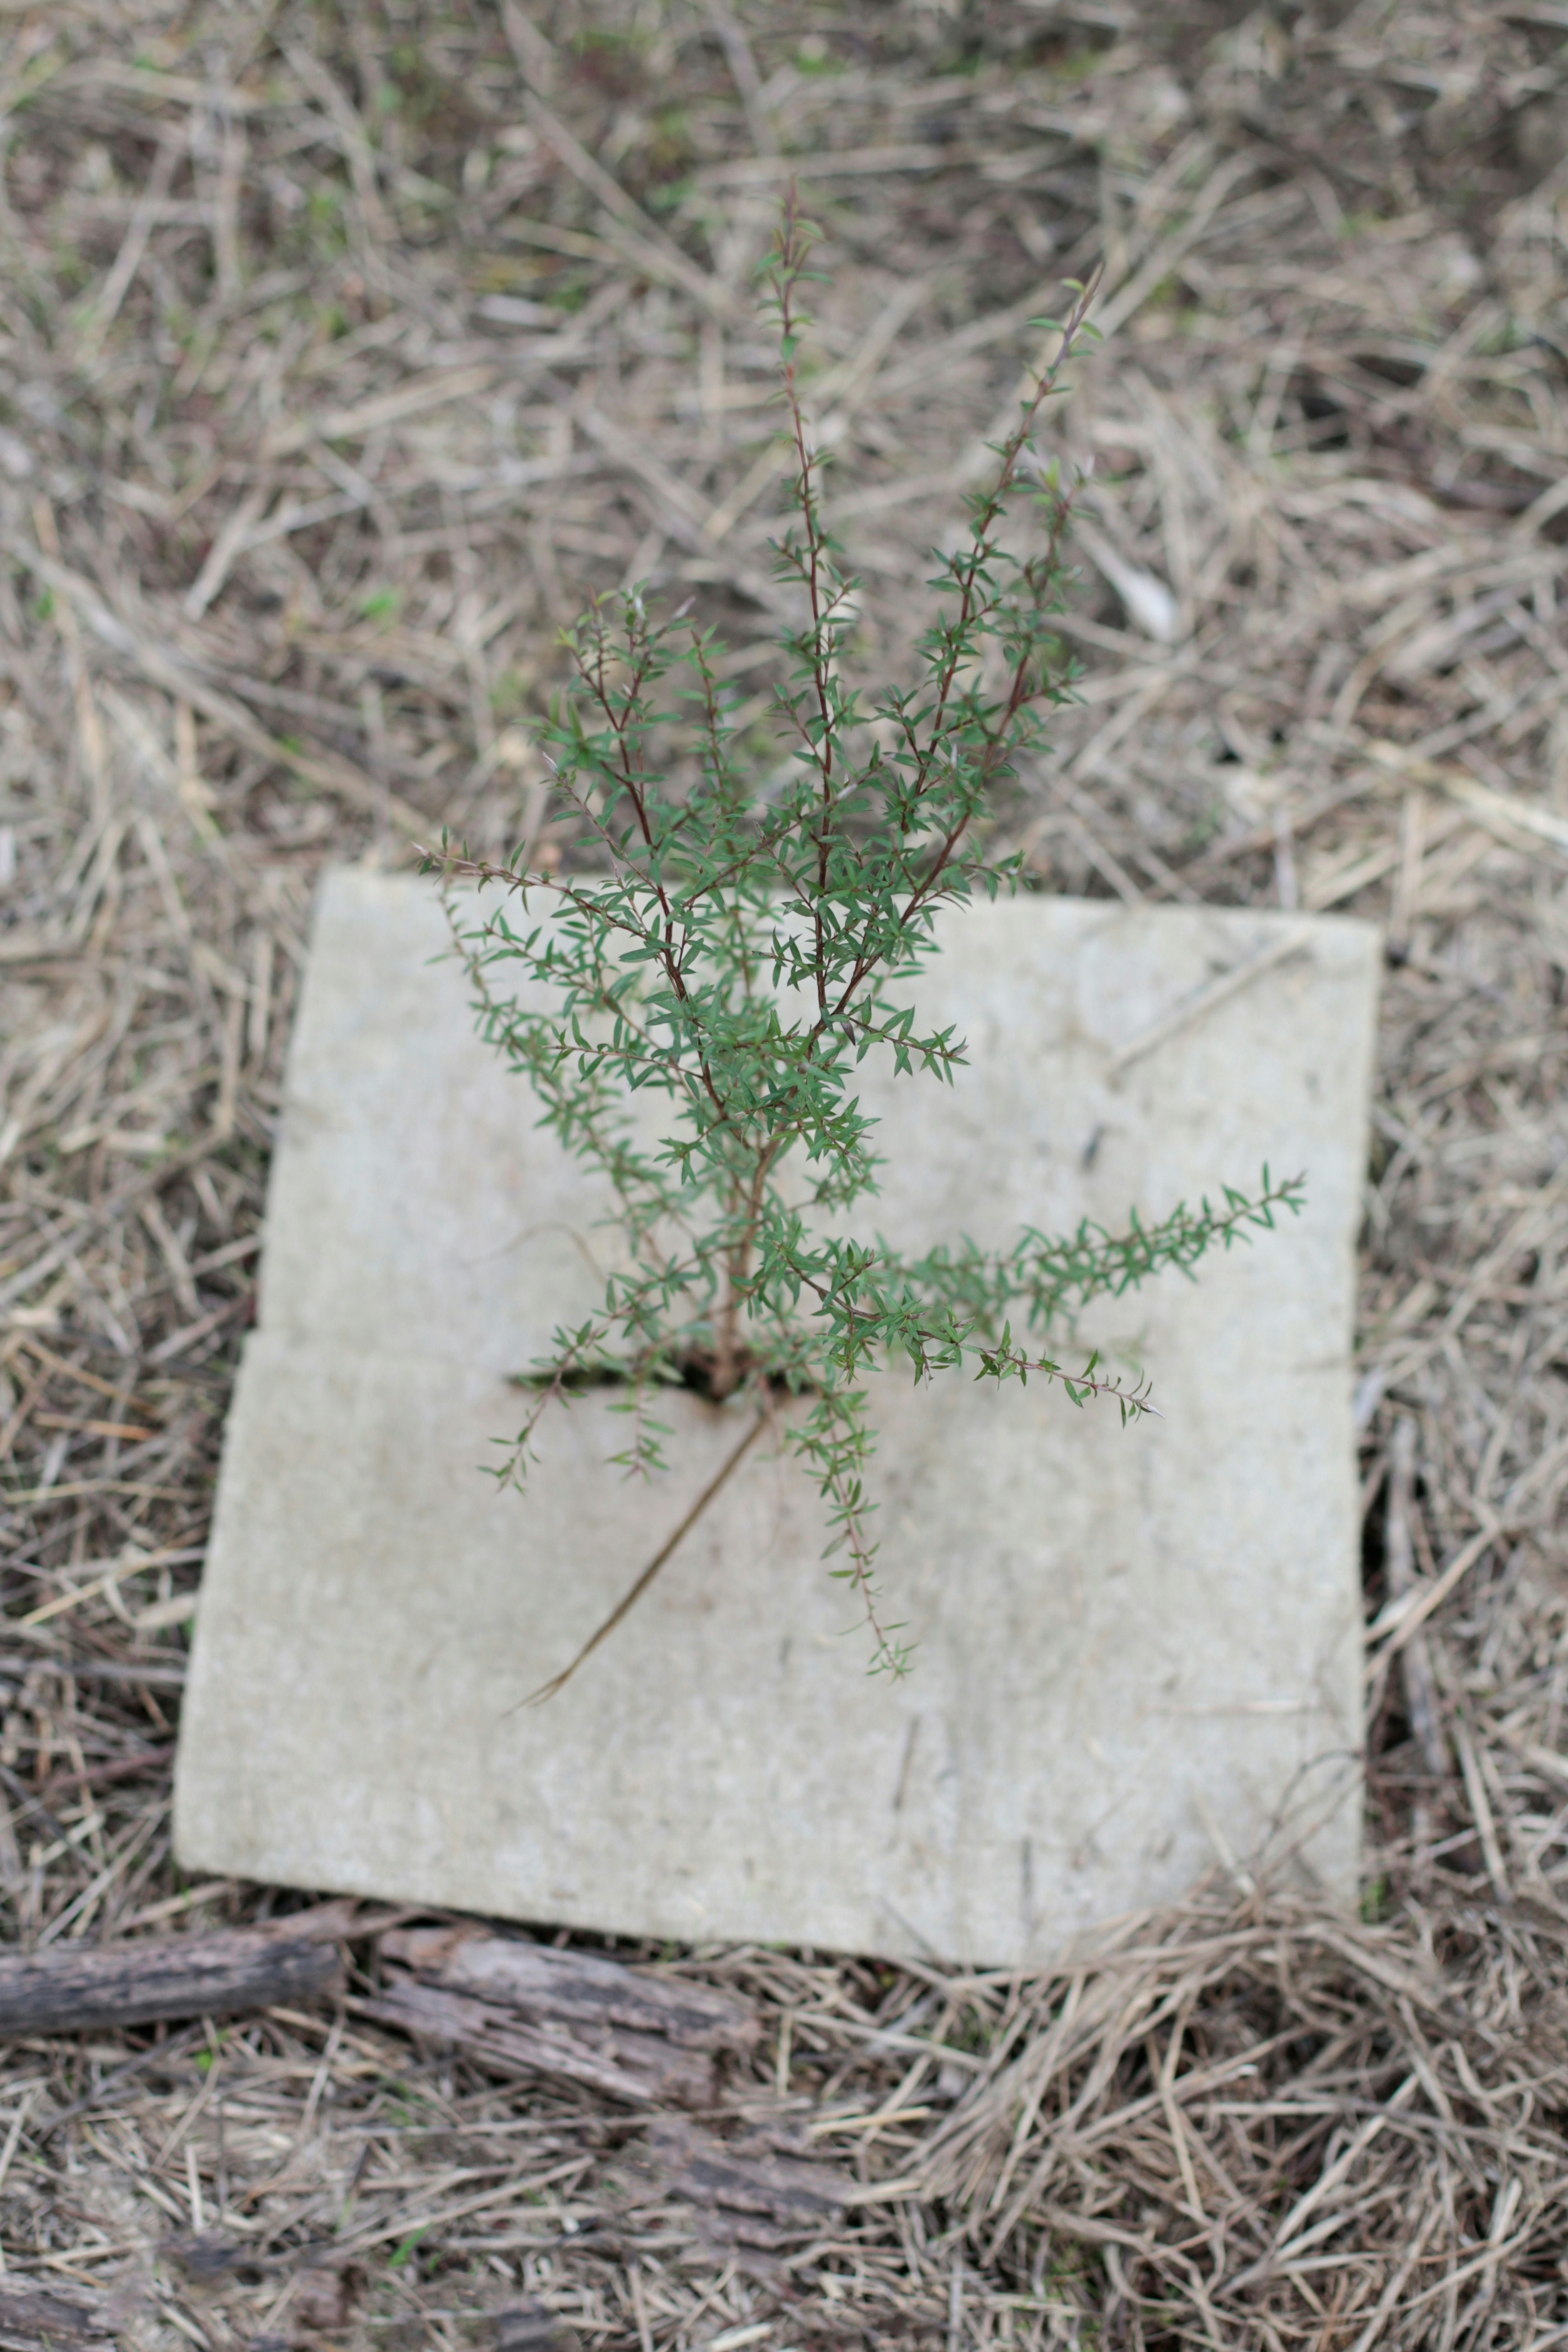
Plant small trees and shrubs, such as tī kōuka and flaxes 1m apart. Depending on the species, groundcovers and grasses should be 30cm up to 1m apart. Lay mulch around new plants to suppress weeds and lock in moisture. Use newspaper six sheets thick, organic matting, straw, vegetation or fine bark chips, wool mat or carpet underlay. Mark out each plant with tall stakes so that they can be easily identified and set free if weeds take over. Ensure livestock, rabbits and possums aren’t able to eat your plants. Fence your site with rabbit netting if necessary and set traps for possums.
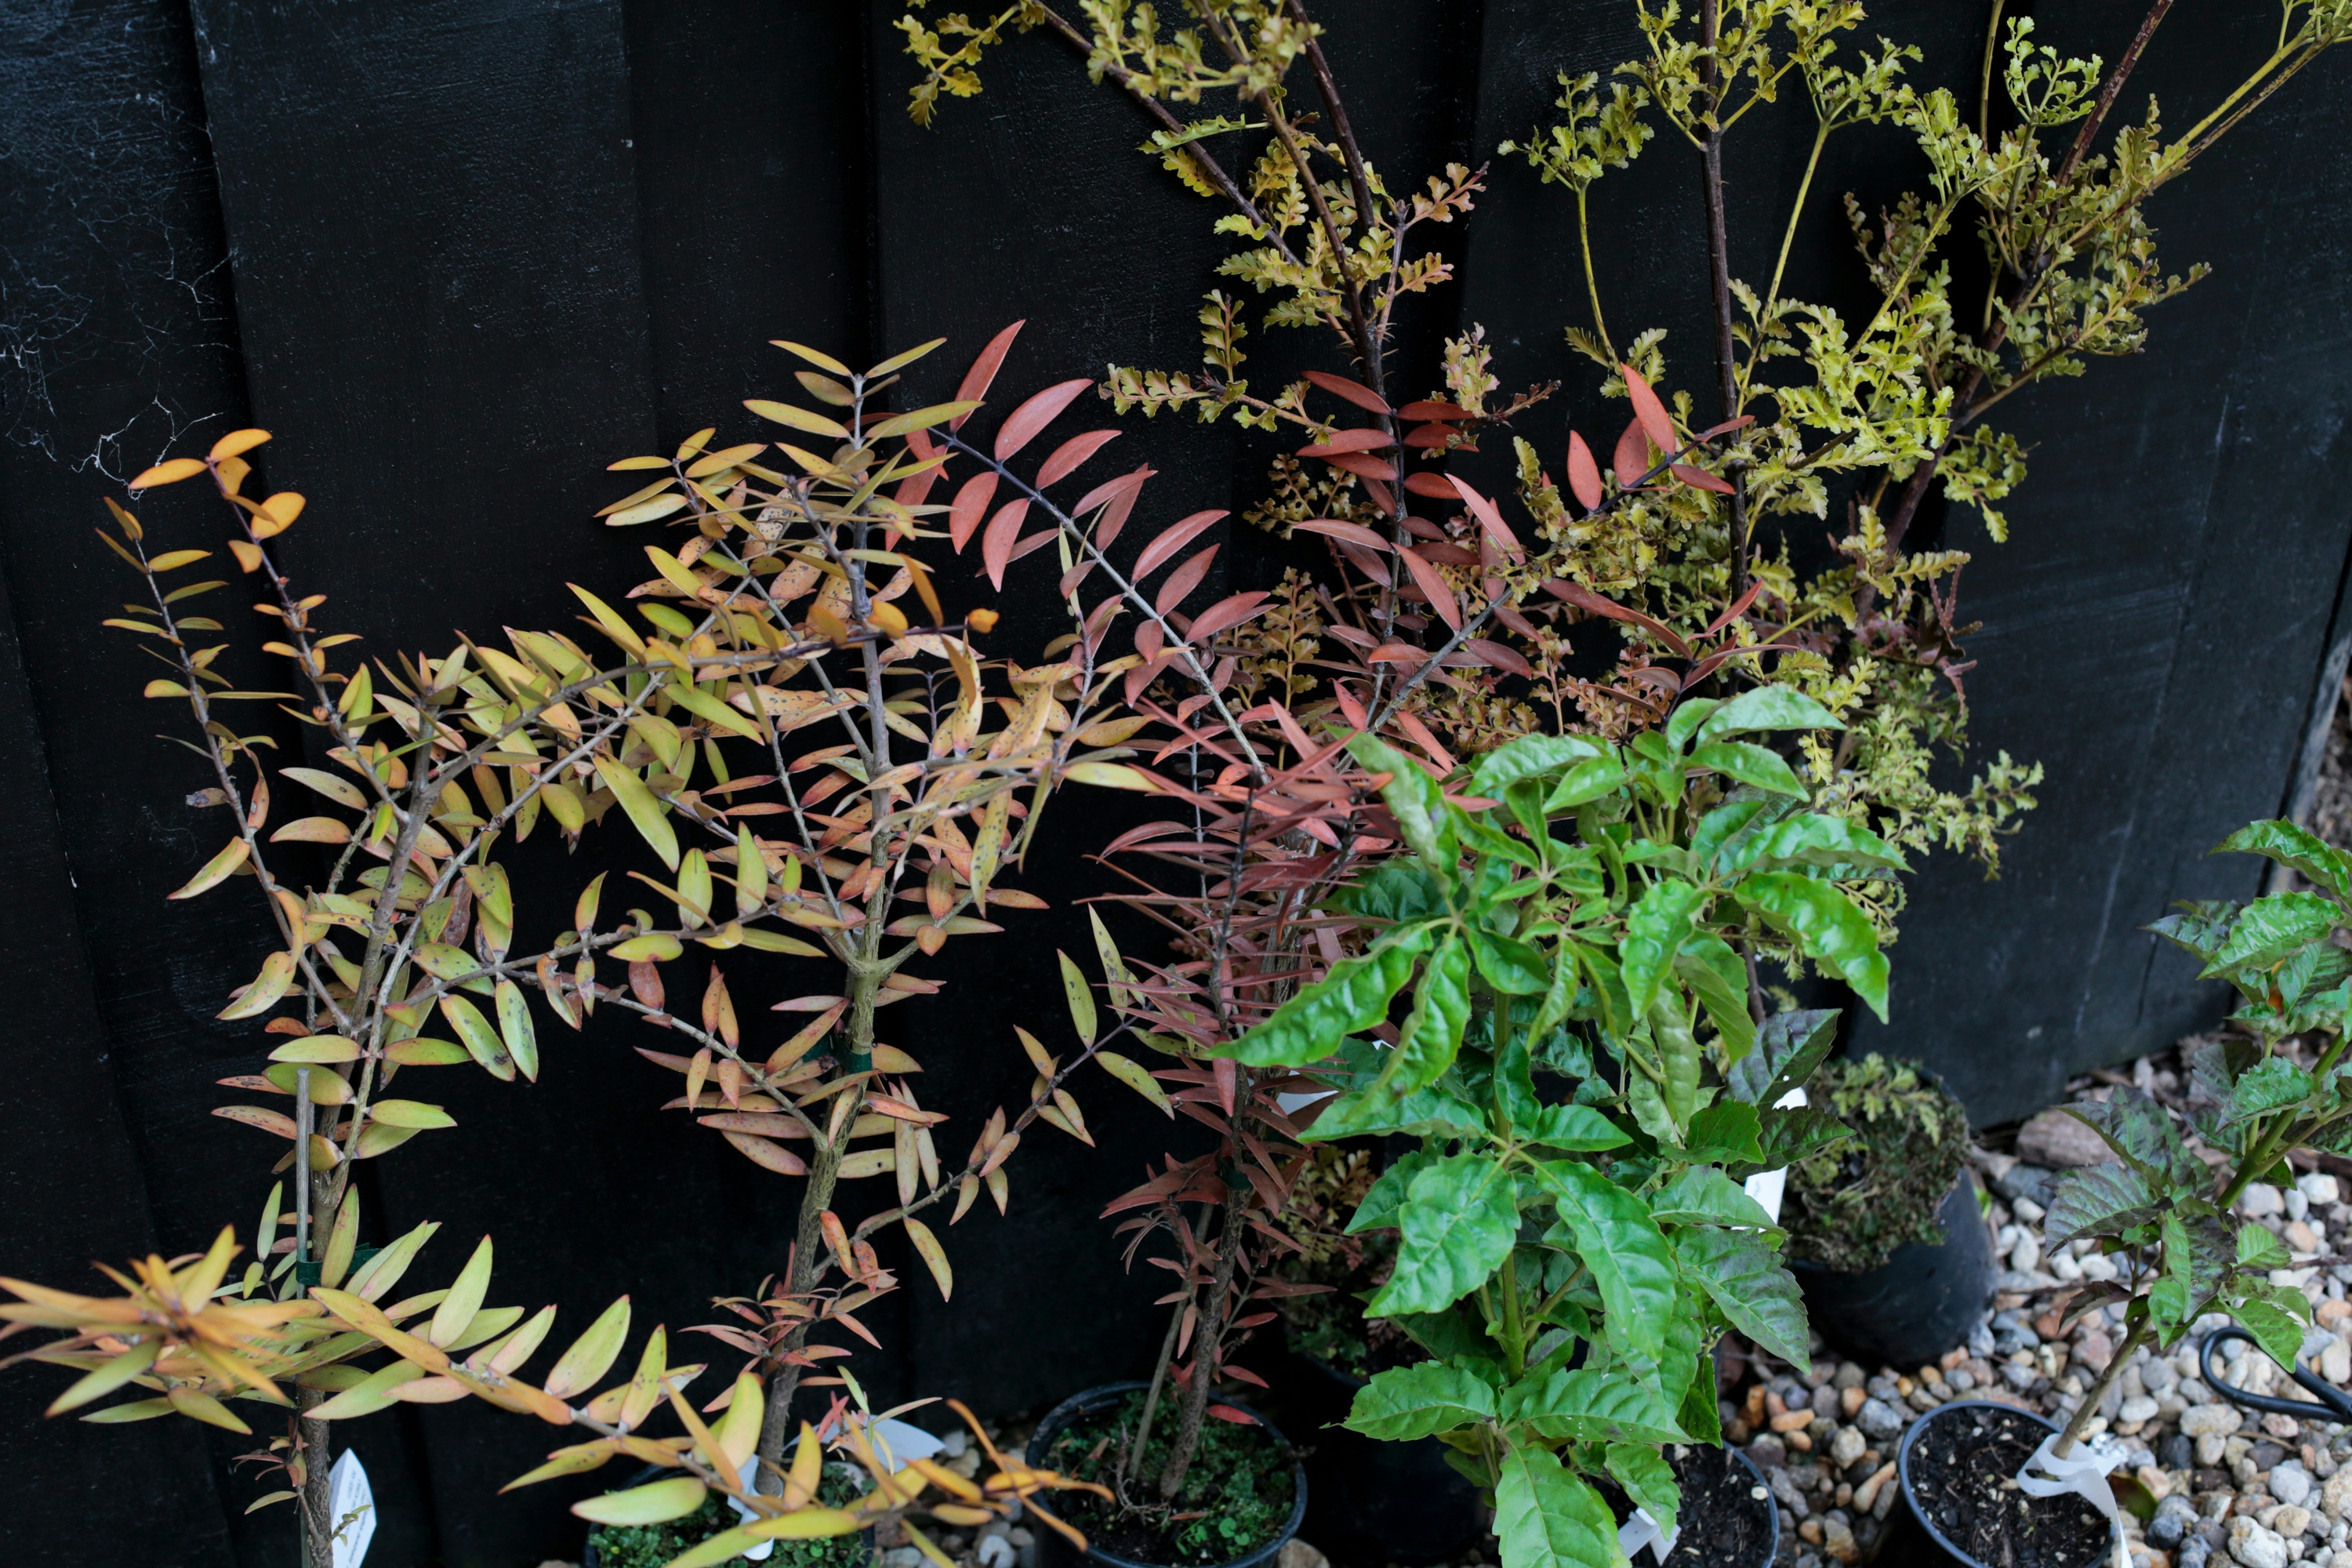
Once your nurse plants are established, trees that will eventually form the forest canopy, such as pūriri or kauri, can be planted around 5m apart.
MAINTENANCE
Areas of revegetation can sometimes fail because young native plants can’t compete with weeds. These will need to be cleared from your area every few months during spring and summer, particularly before they set seed.
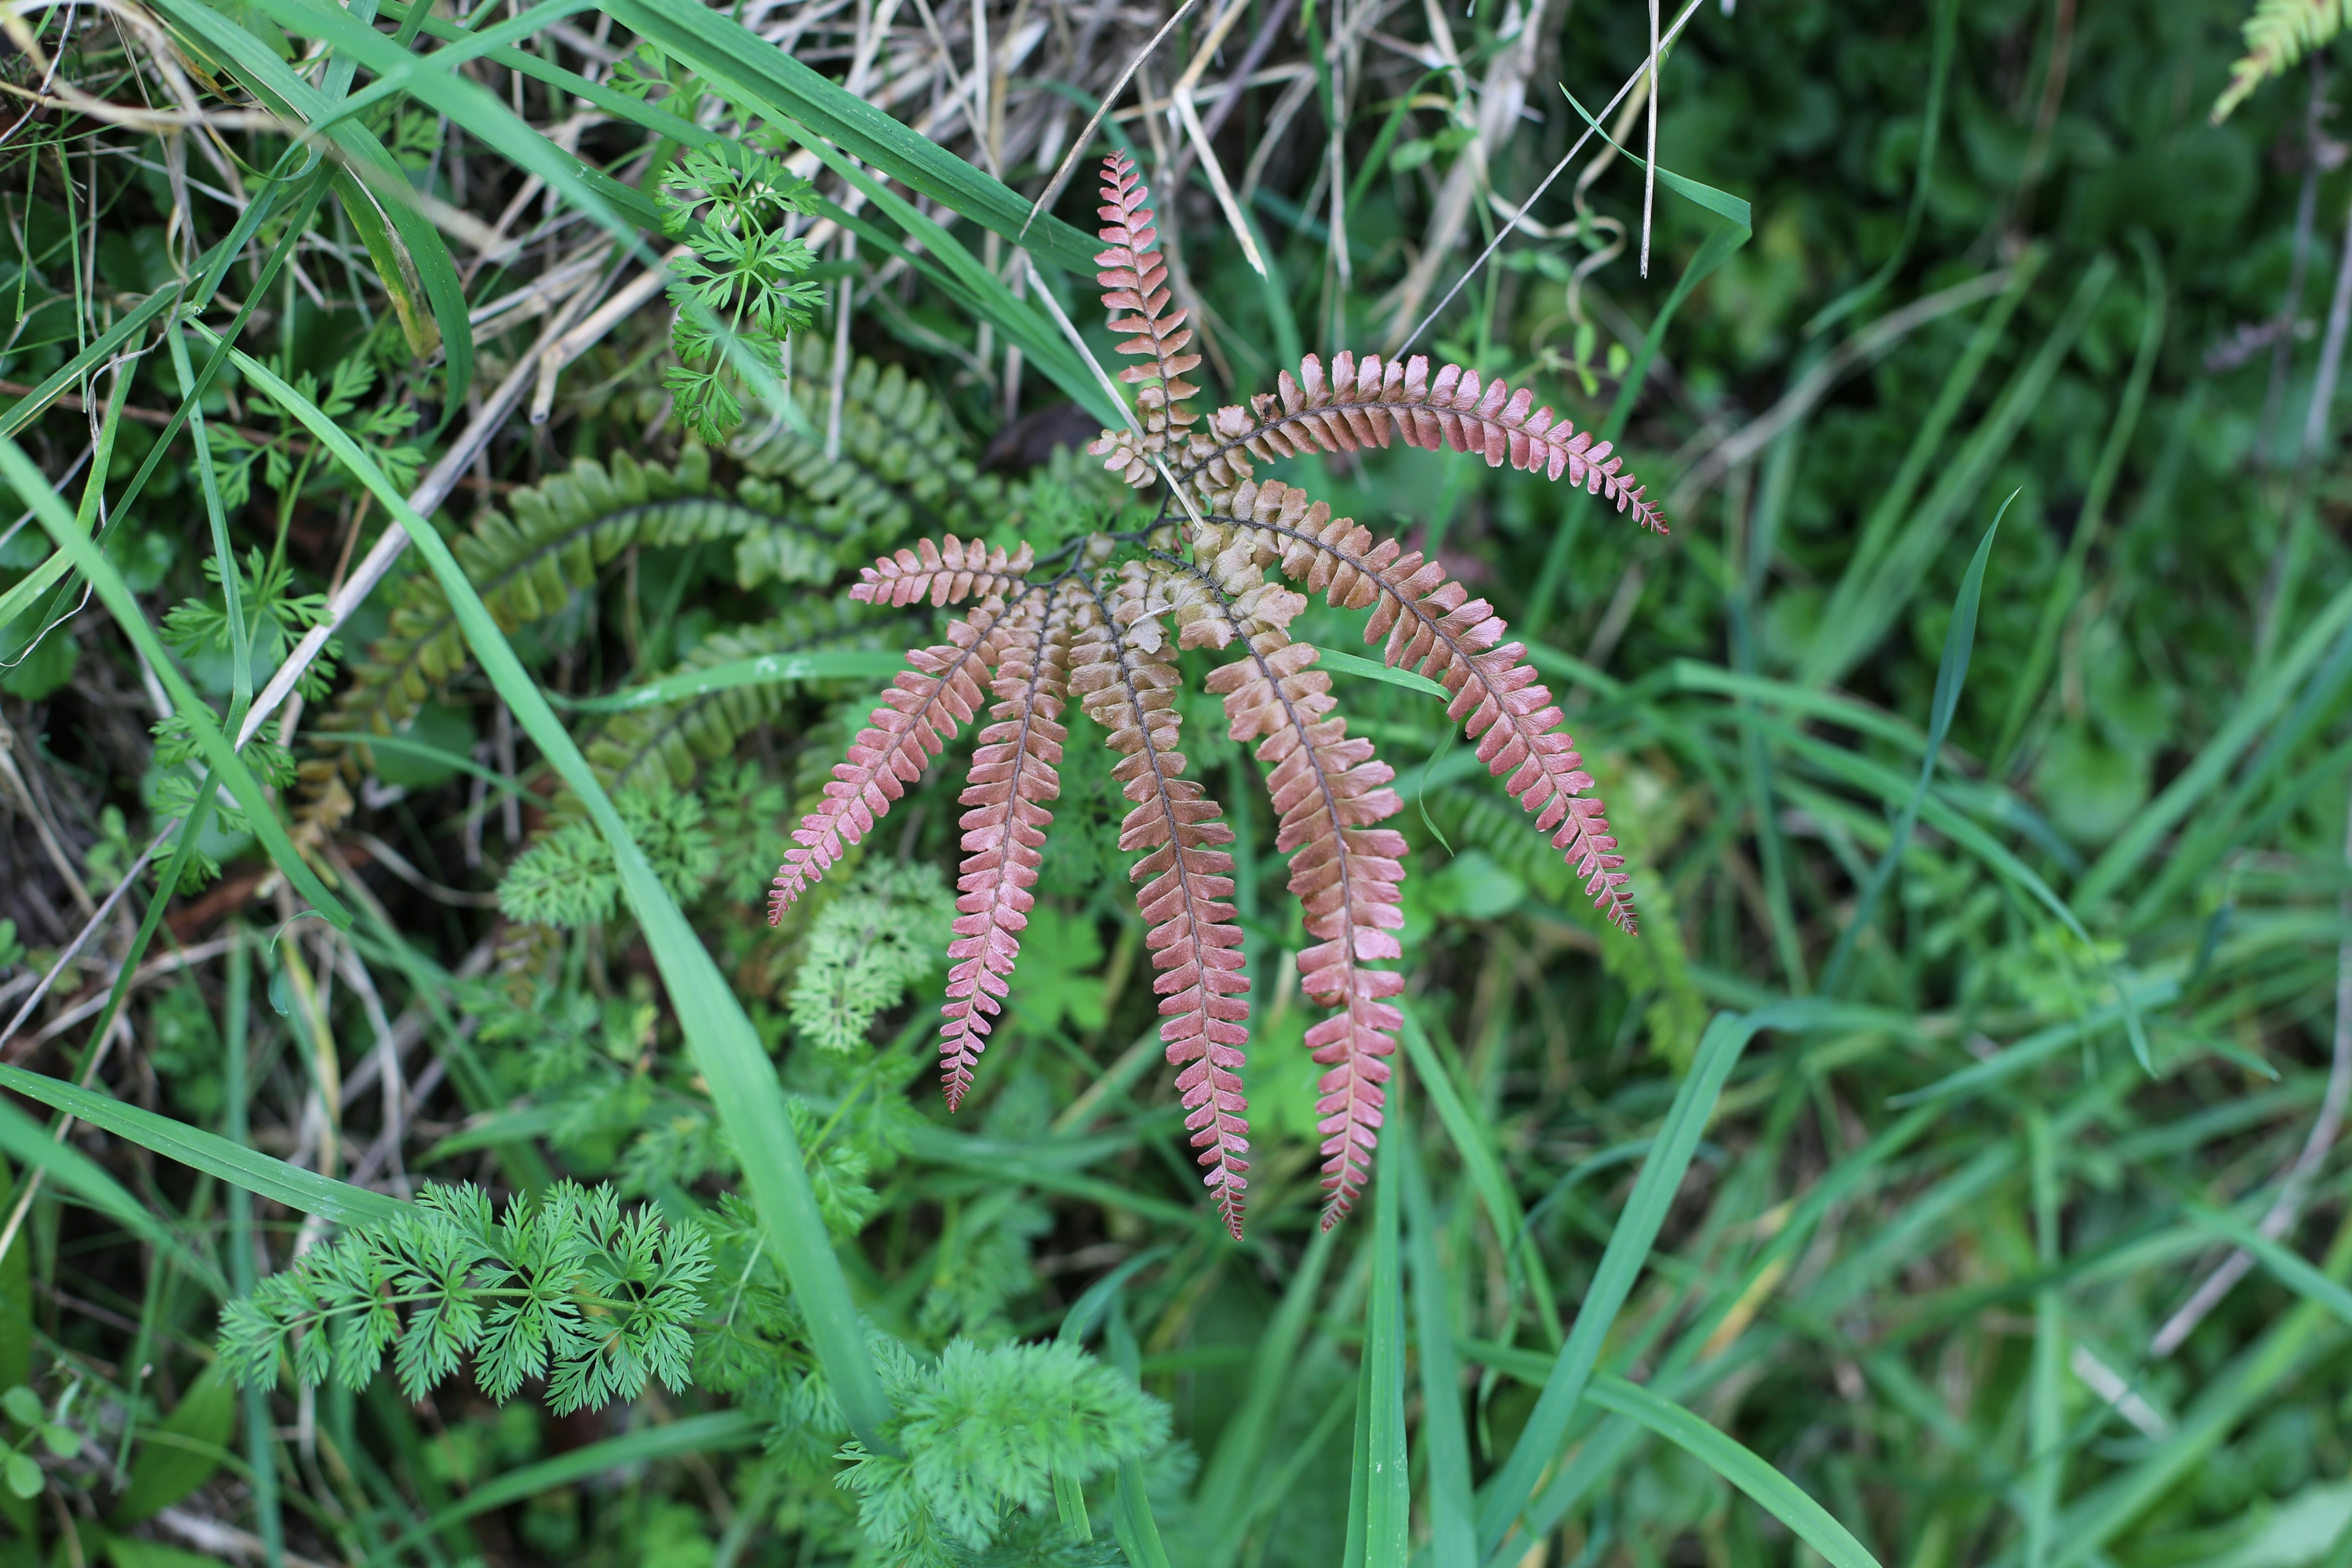
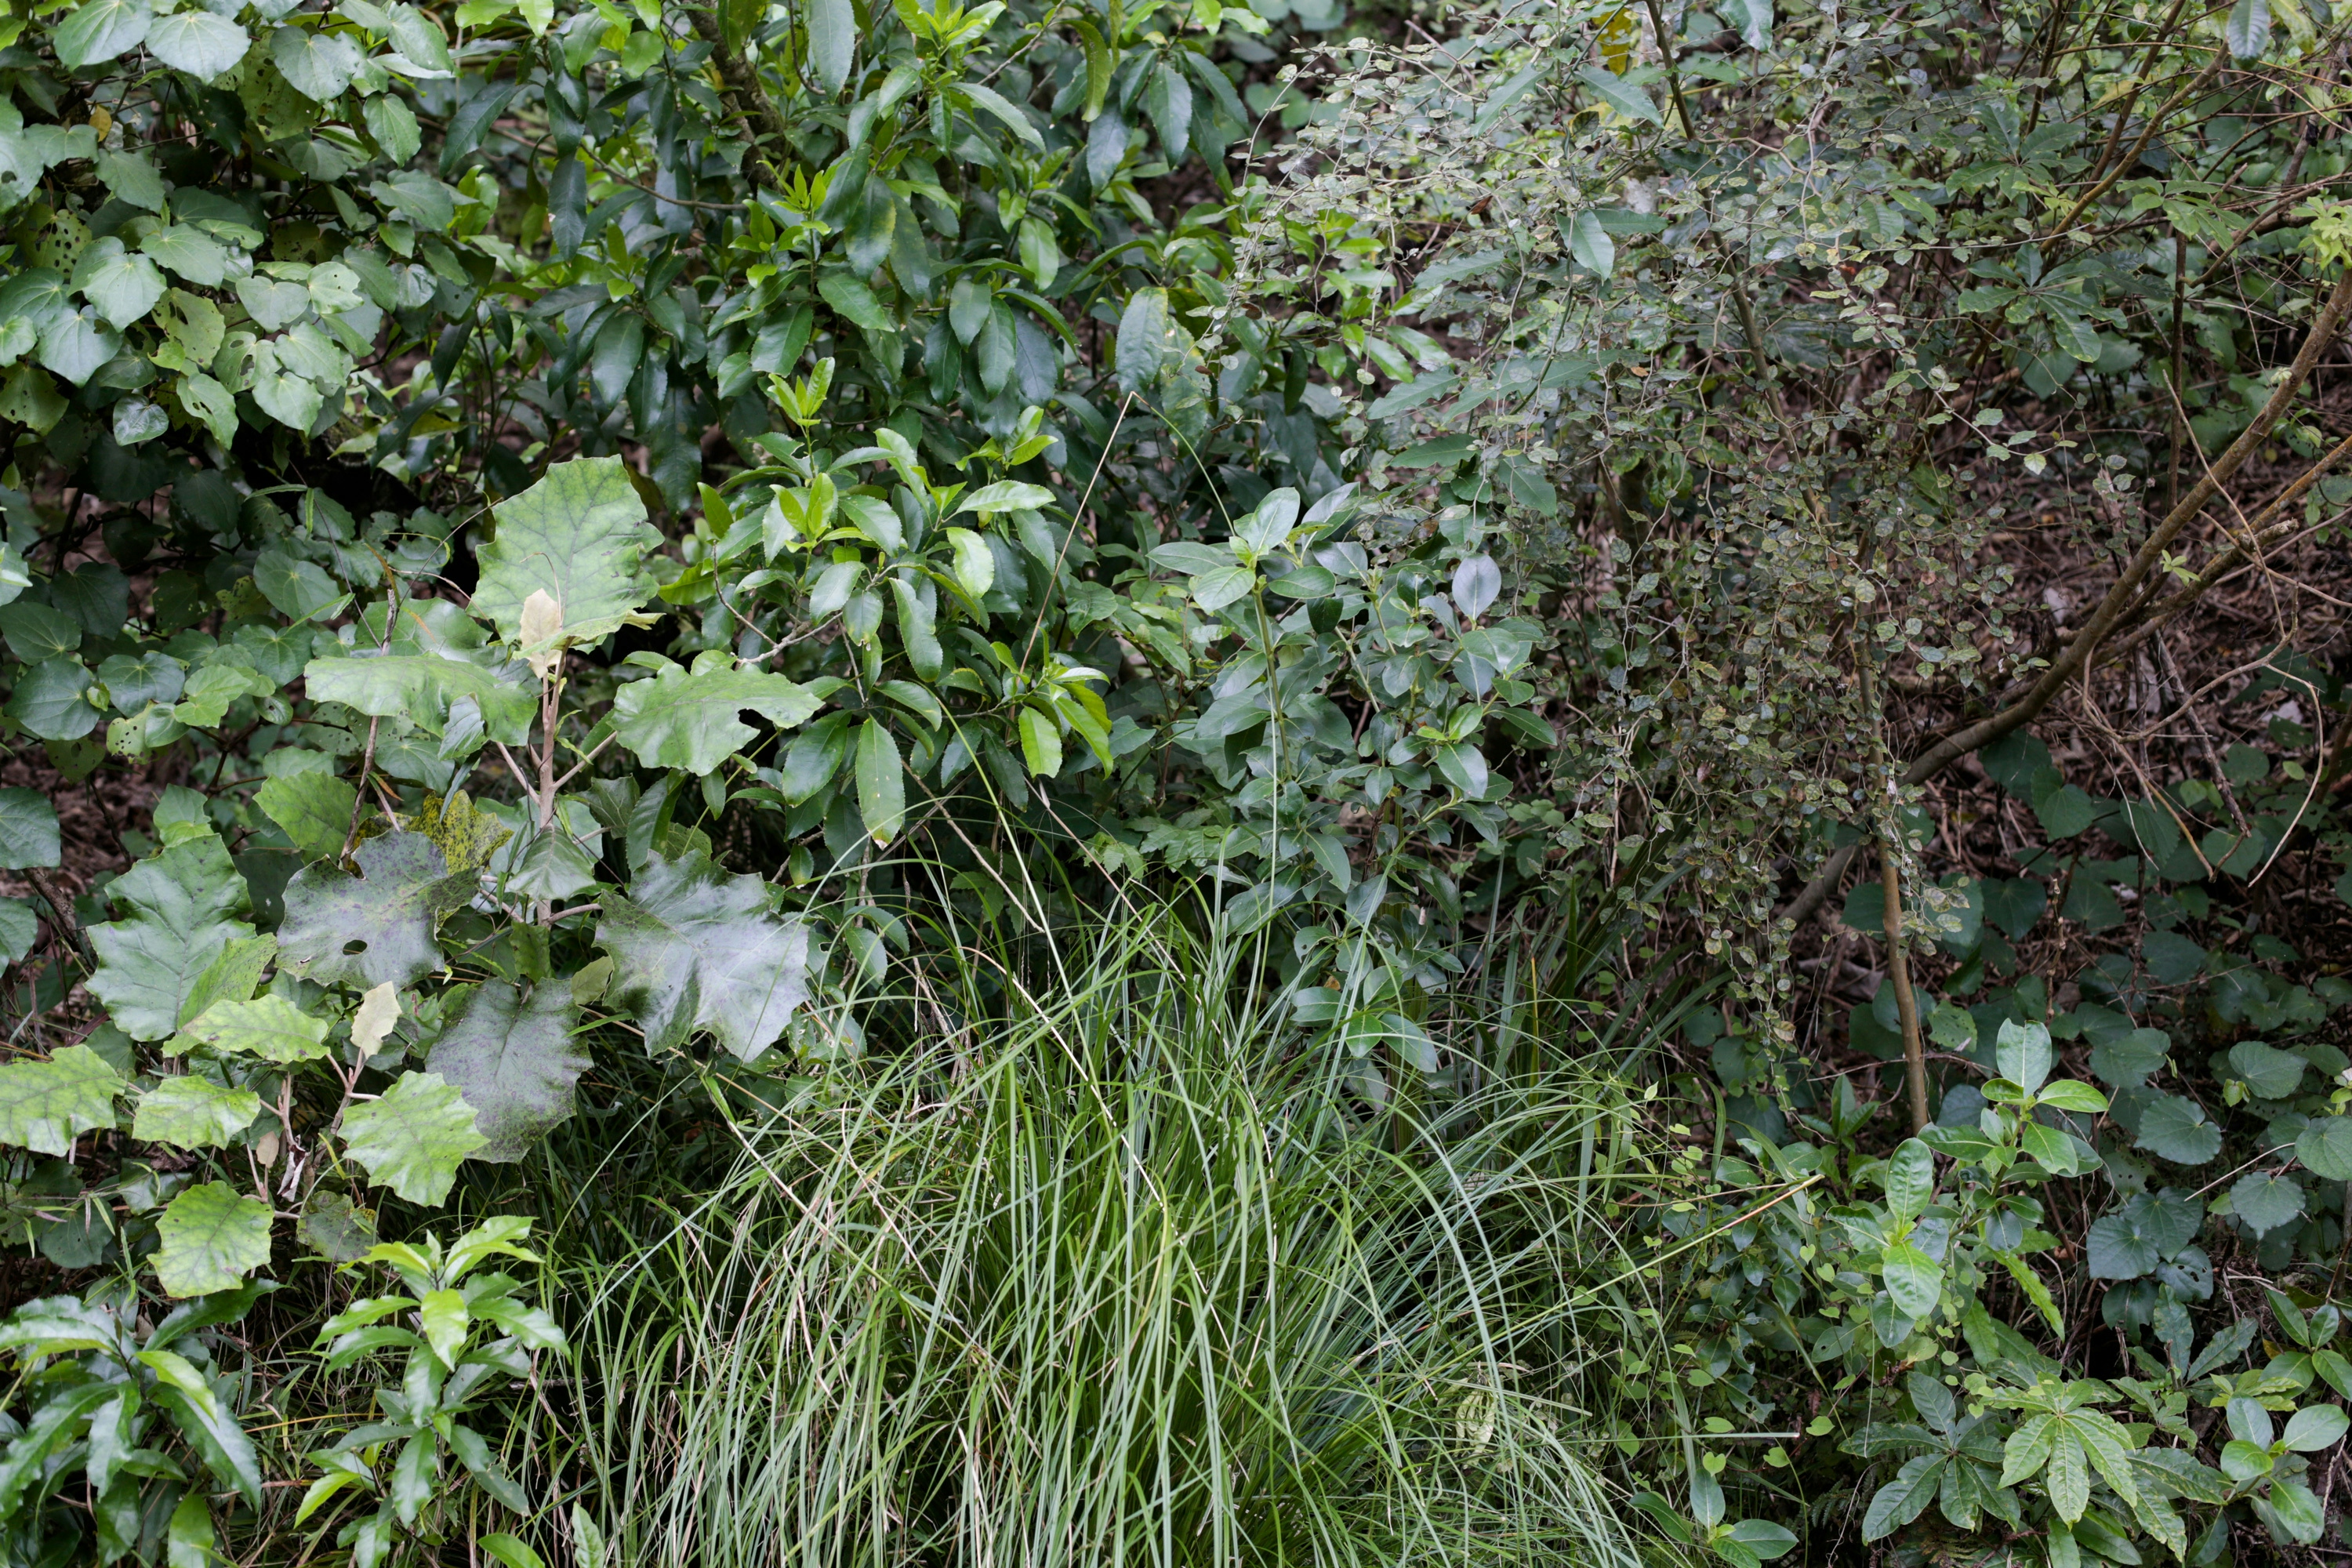
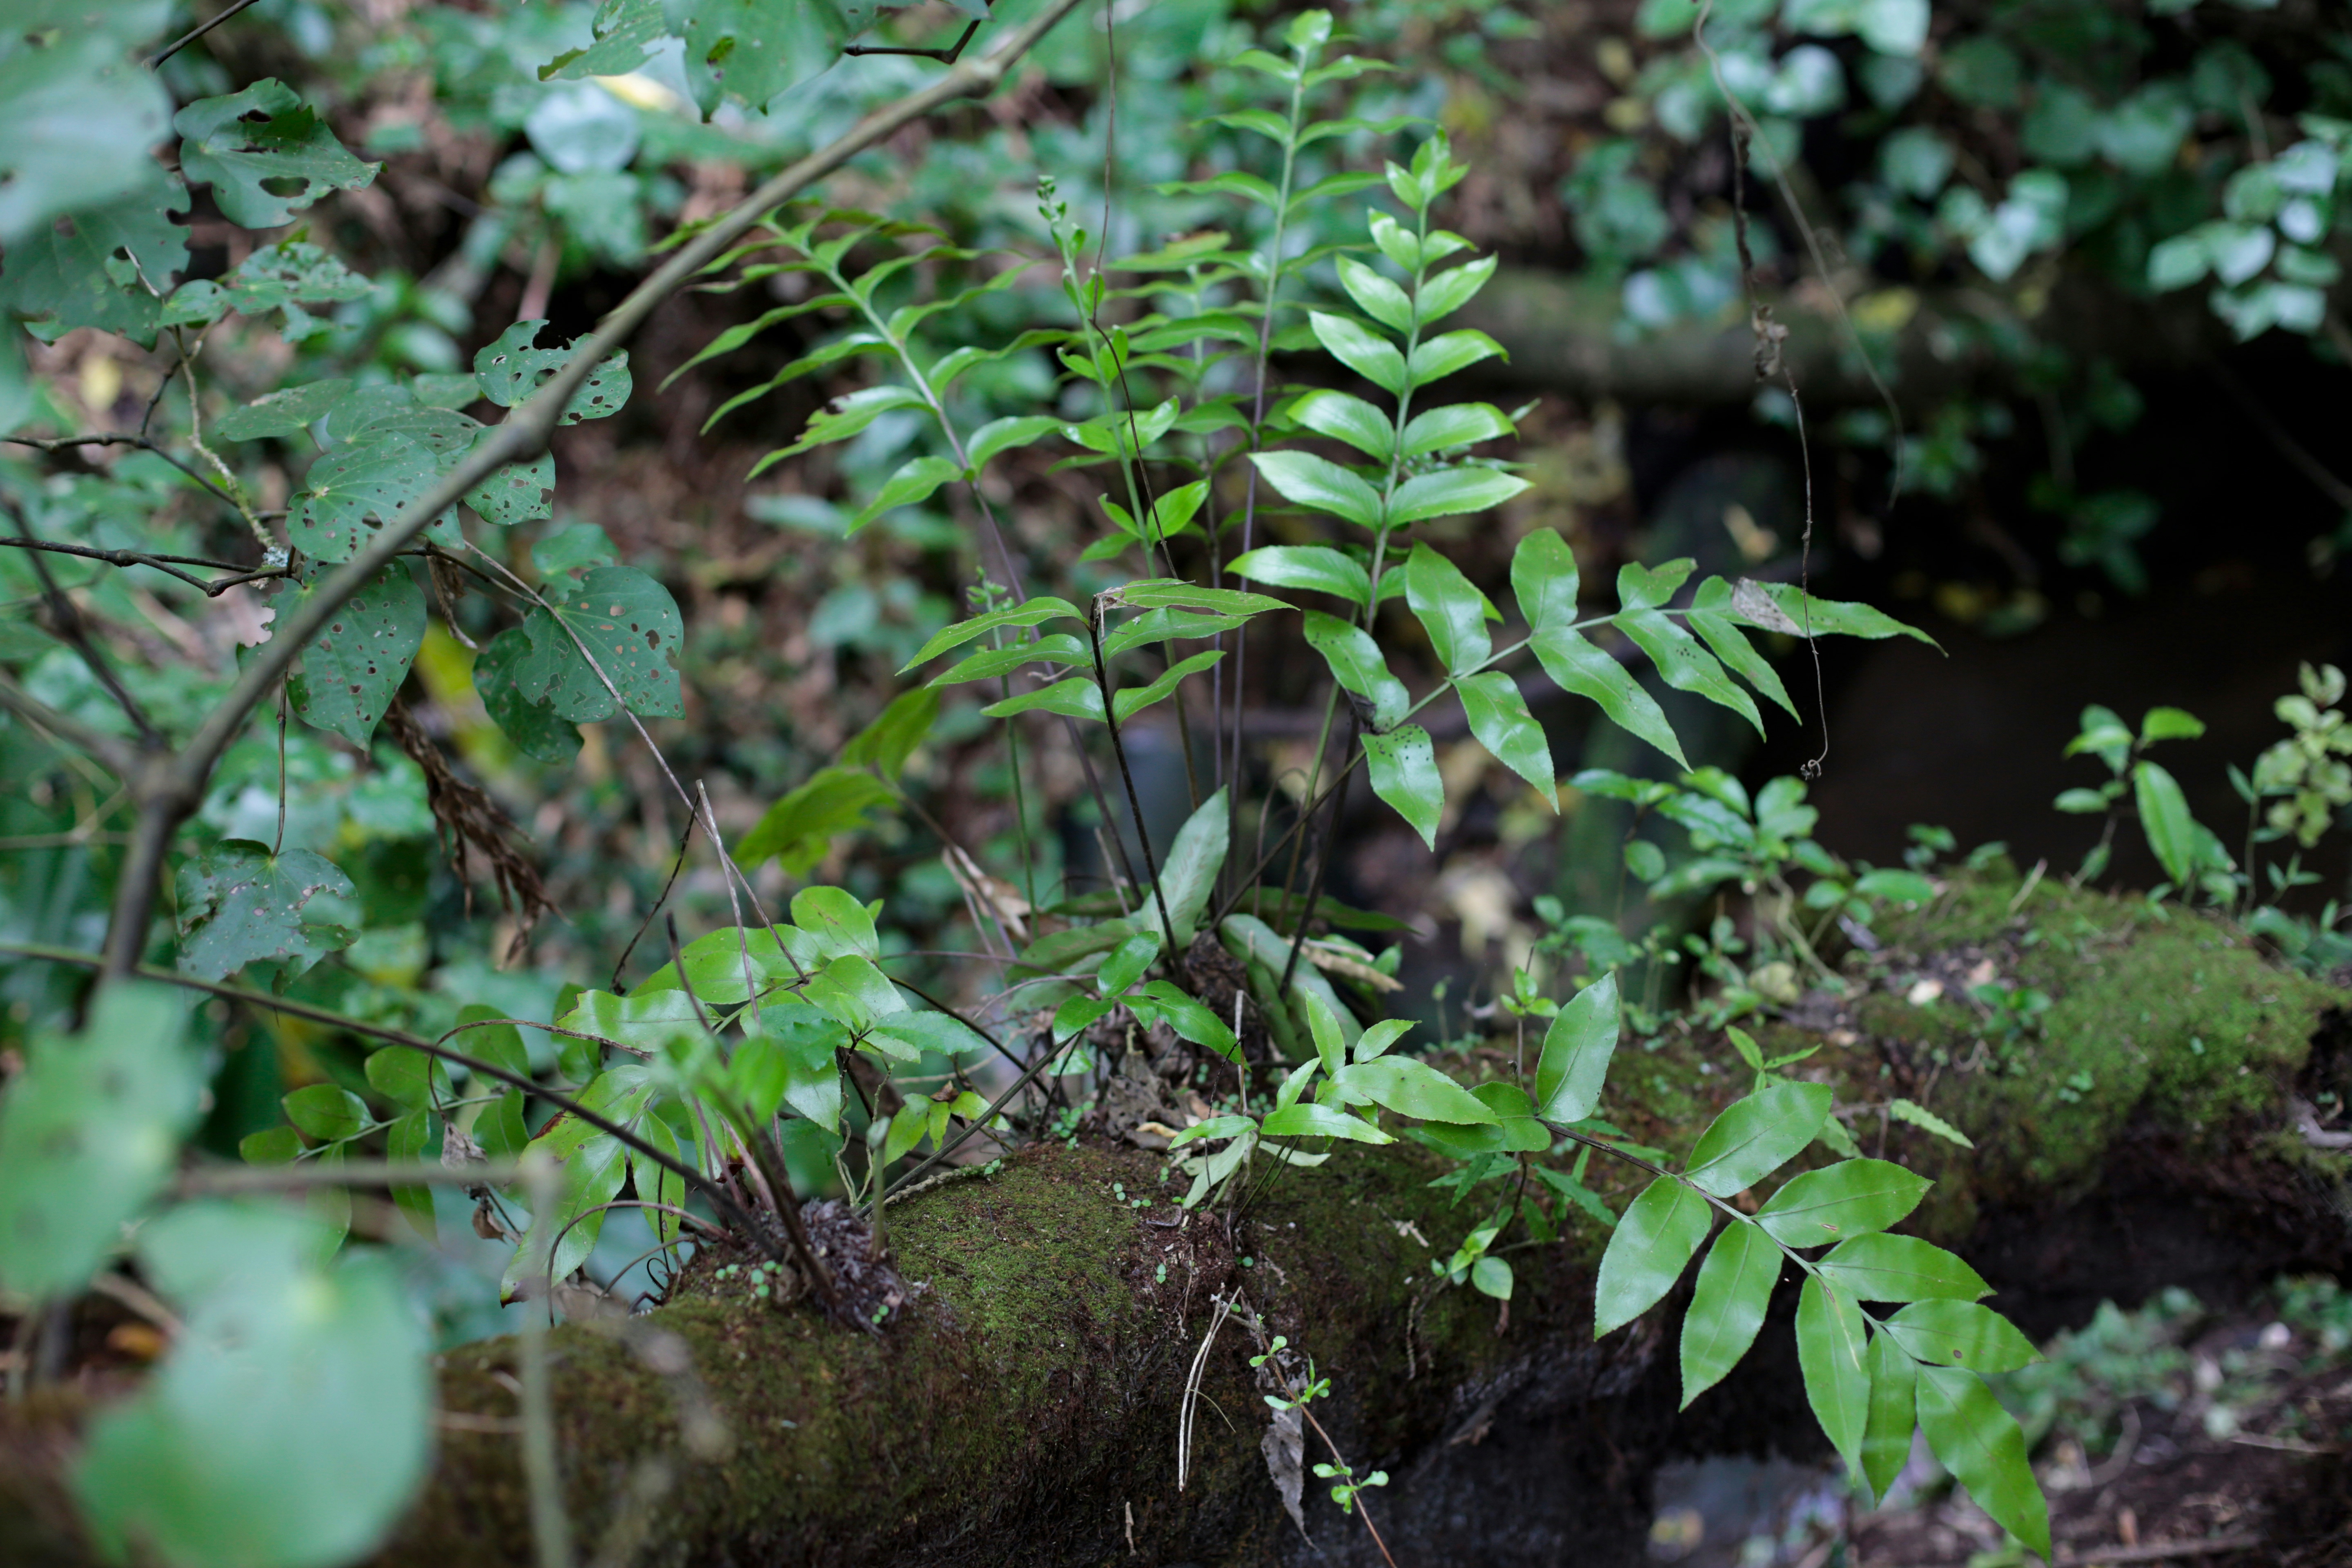
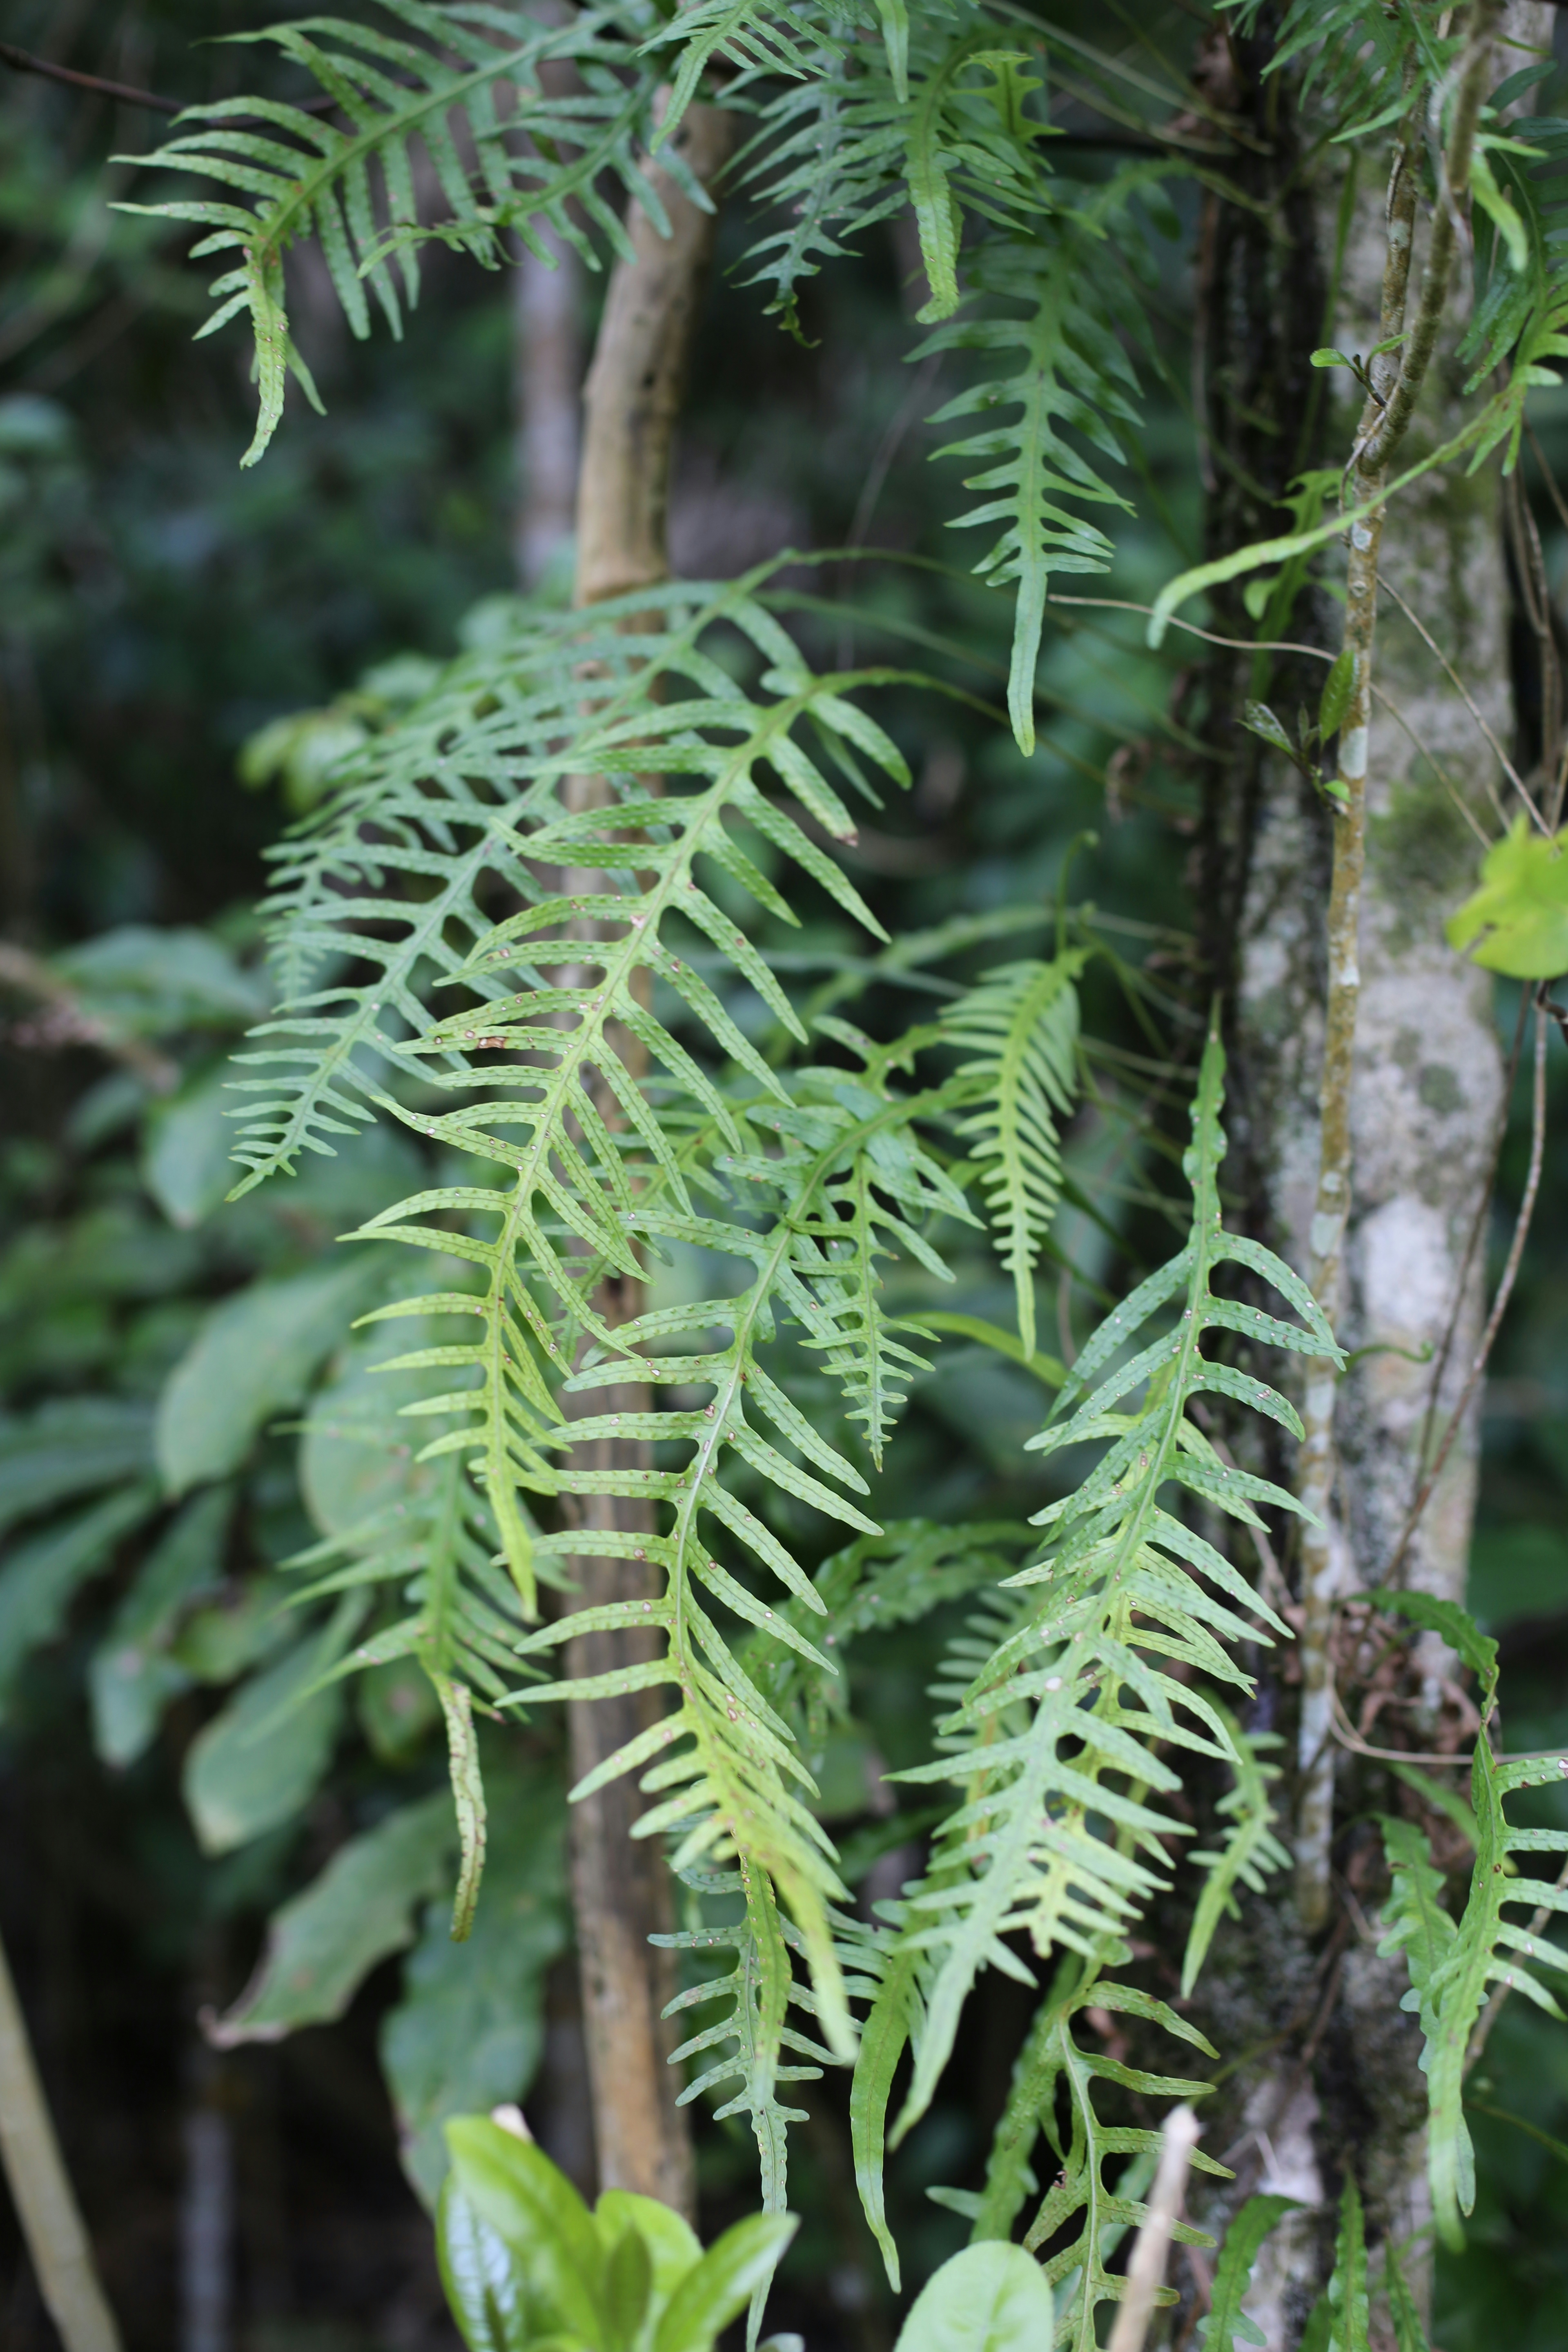
Eventually a canopy will provide shade, with fewer weeds, and you can plant ferns, epiphytes and other forest-floor species. At this point your forest will be an ideal home for a plethora of beautiful plants and creatures, and you will likely notice native plants such as ferns, climbers and saplings appearing of their own accord, nurtured by this restored thriving habitat.

Words by Rachel Clare
Photography by Neeve Woodward
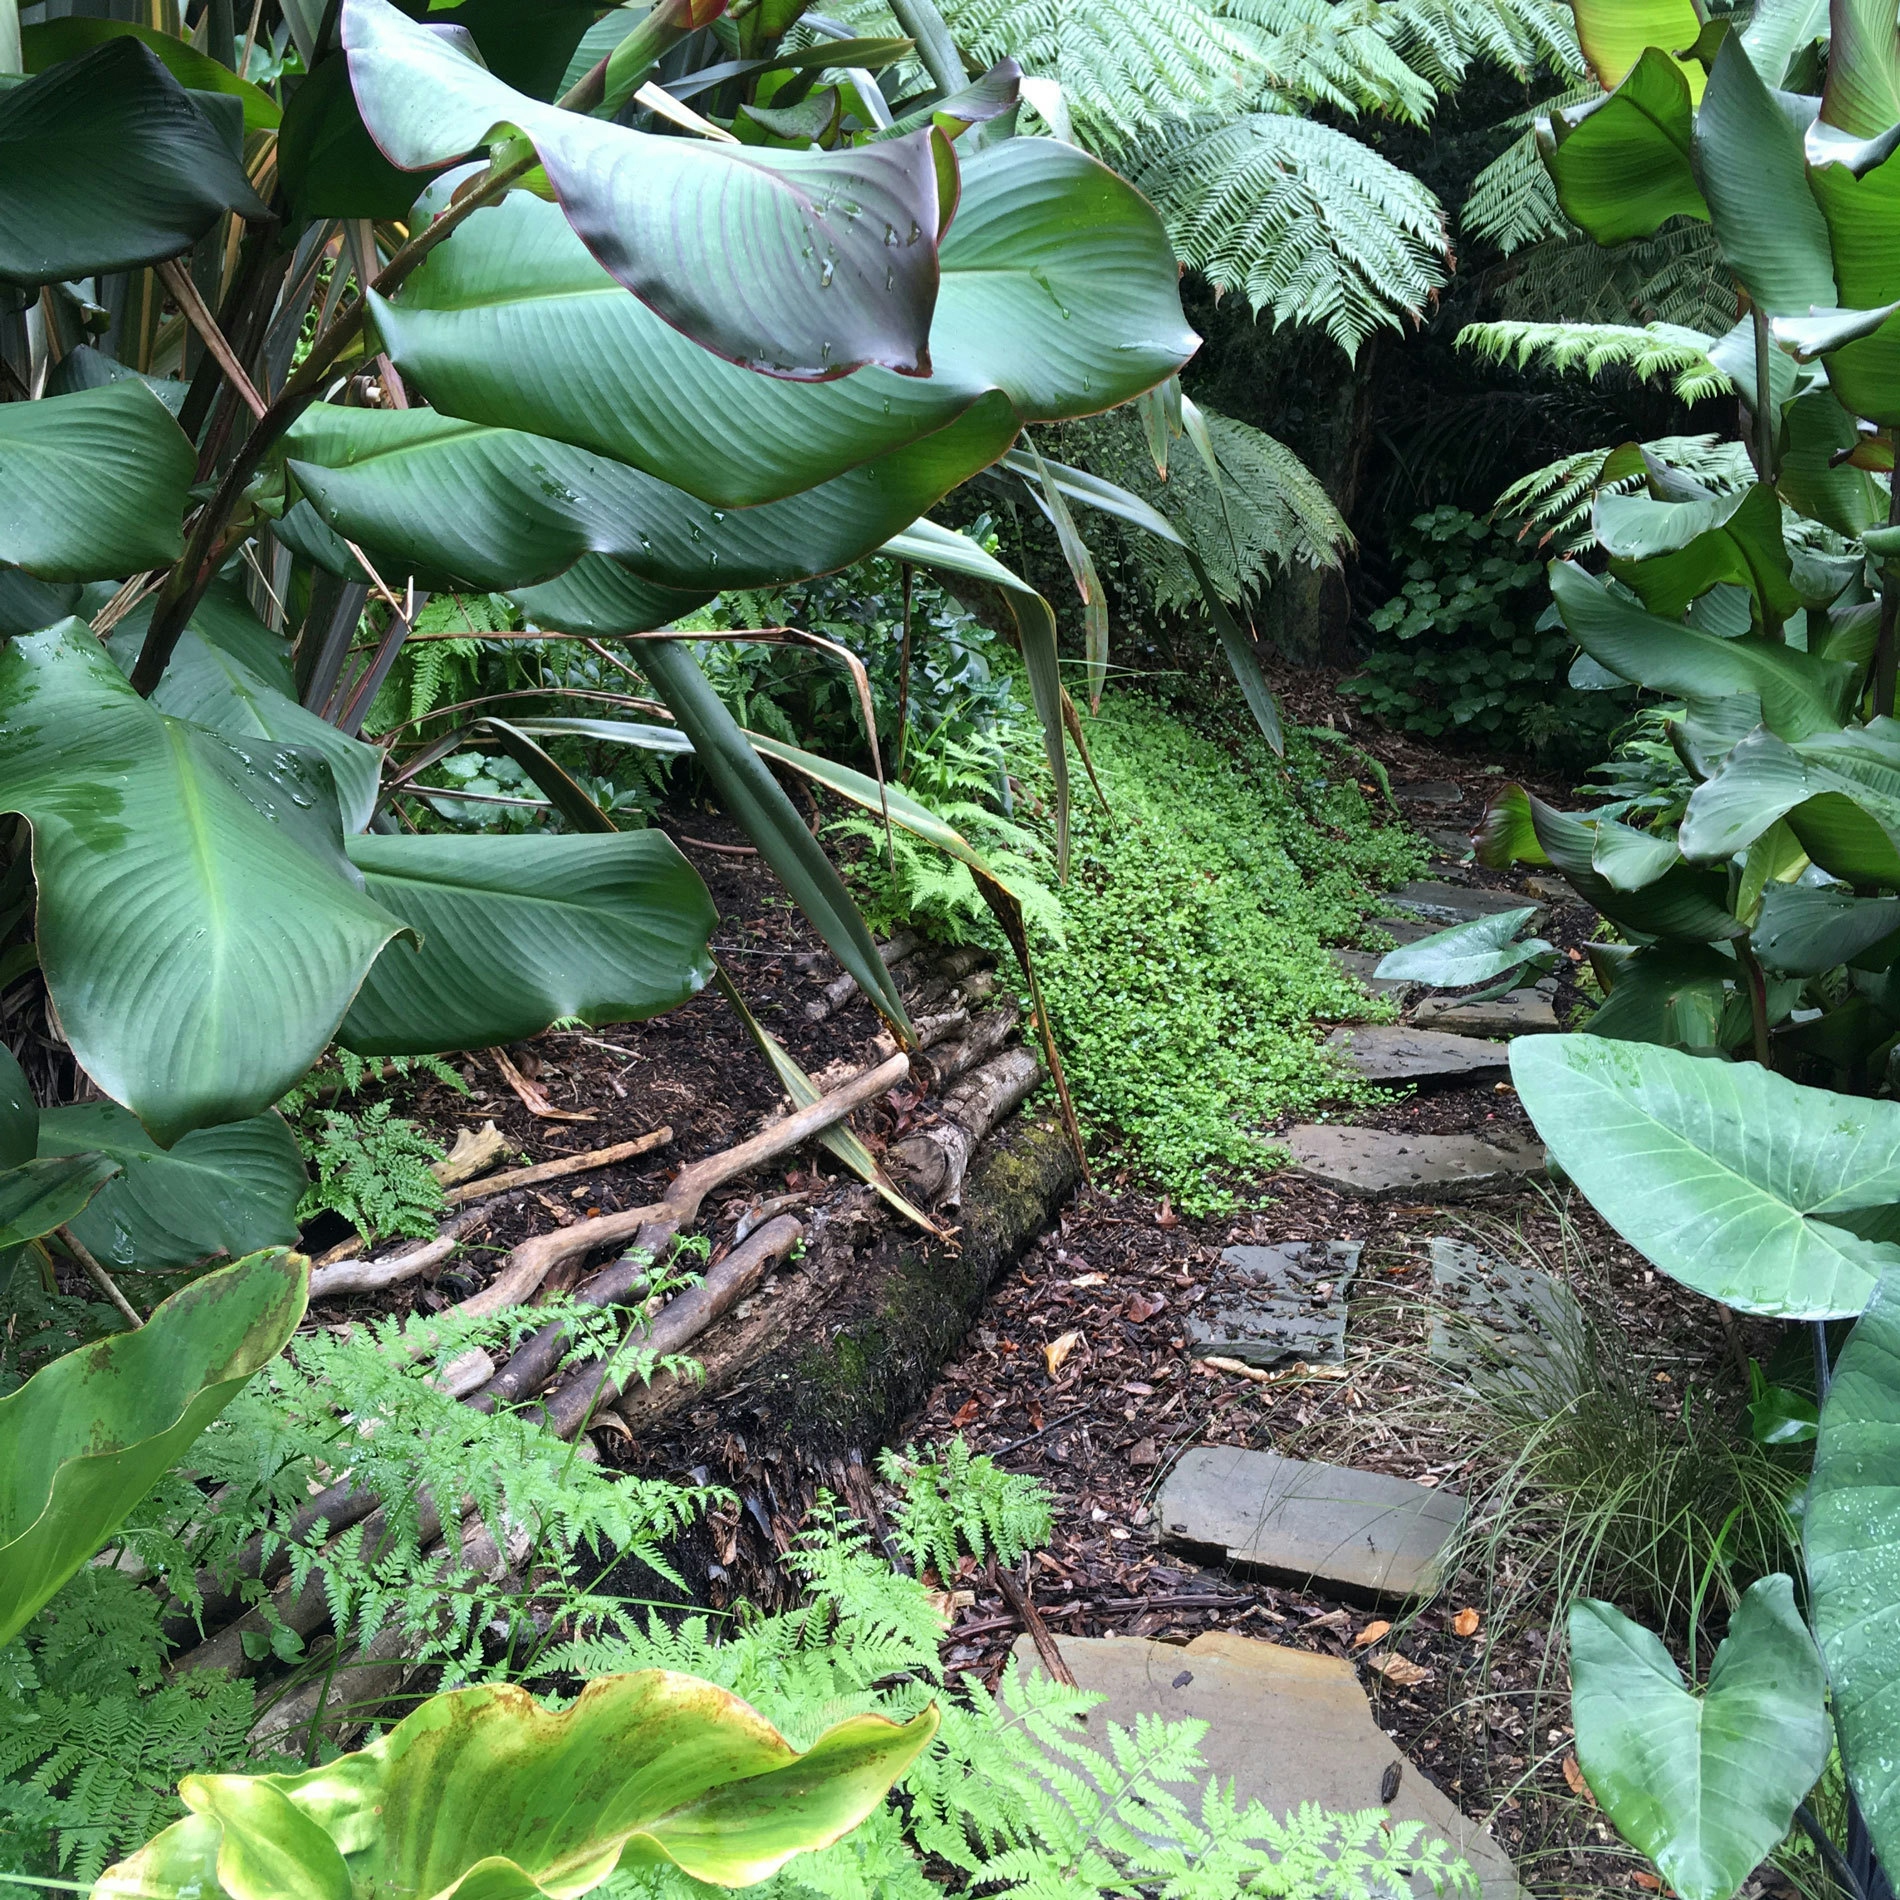
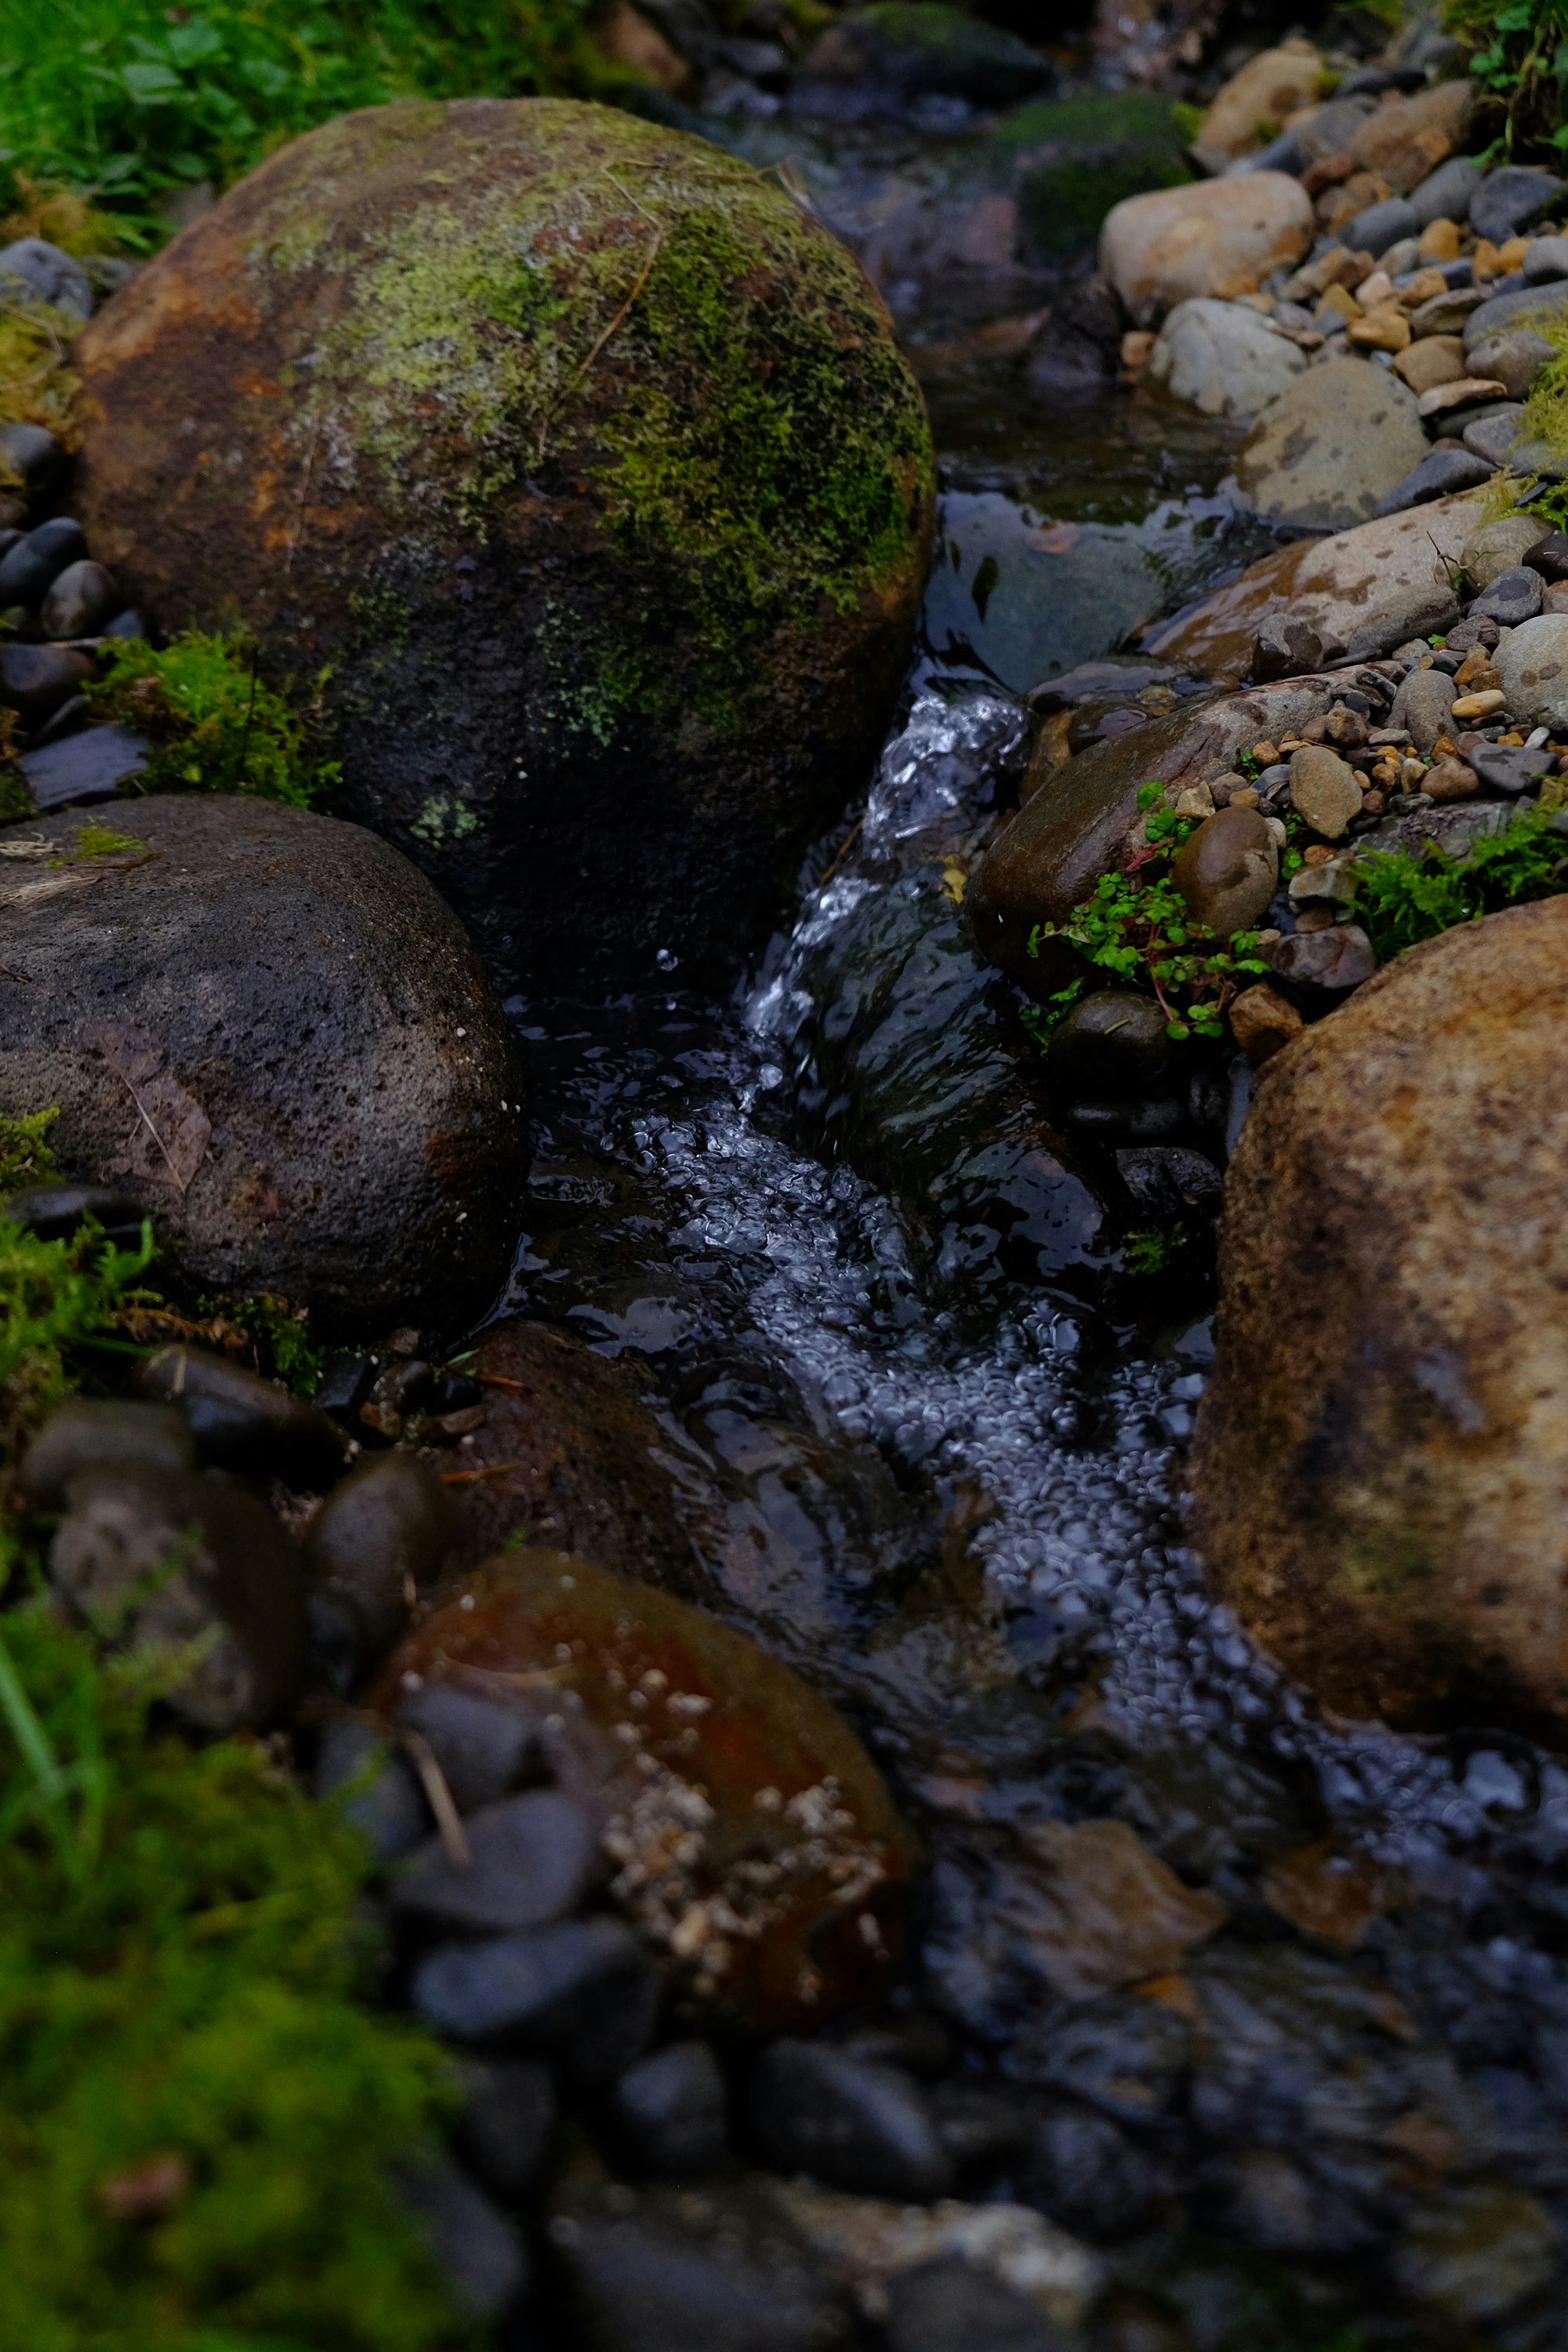
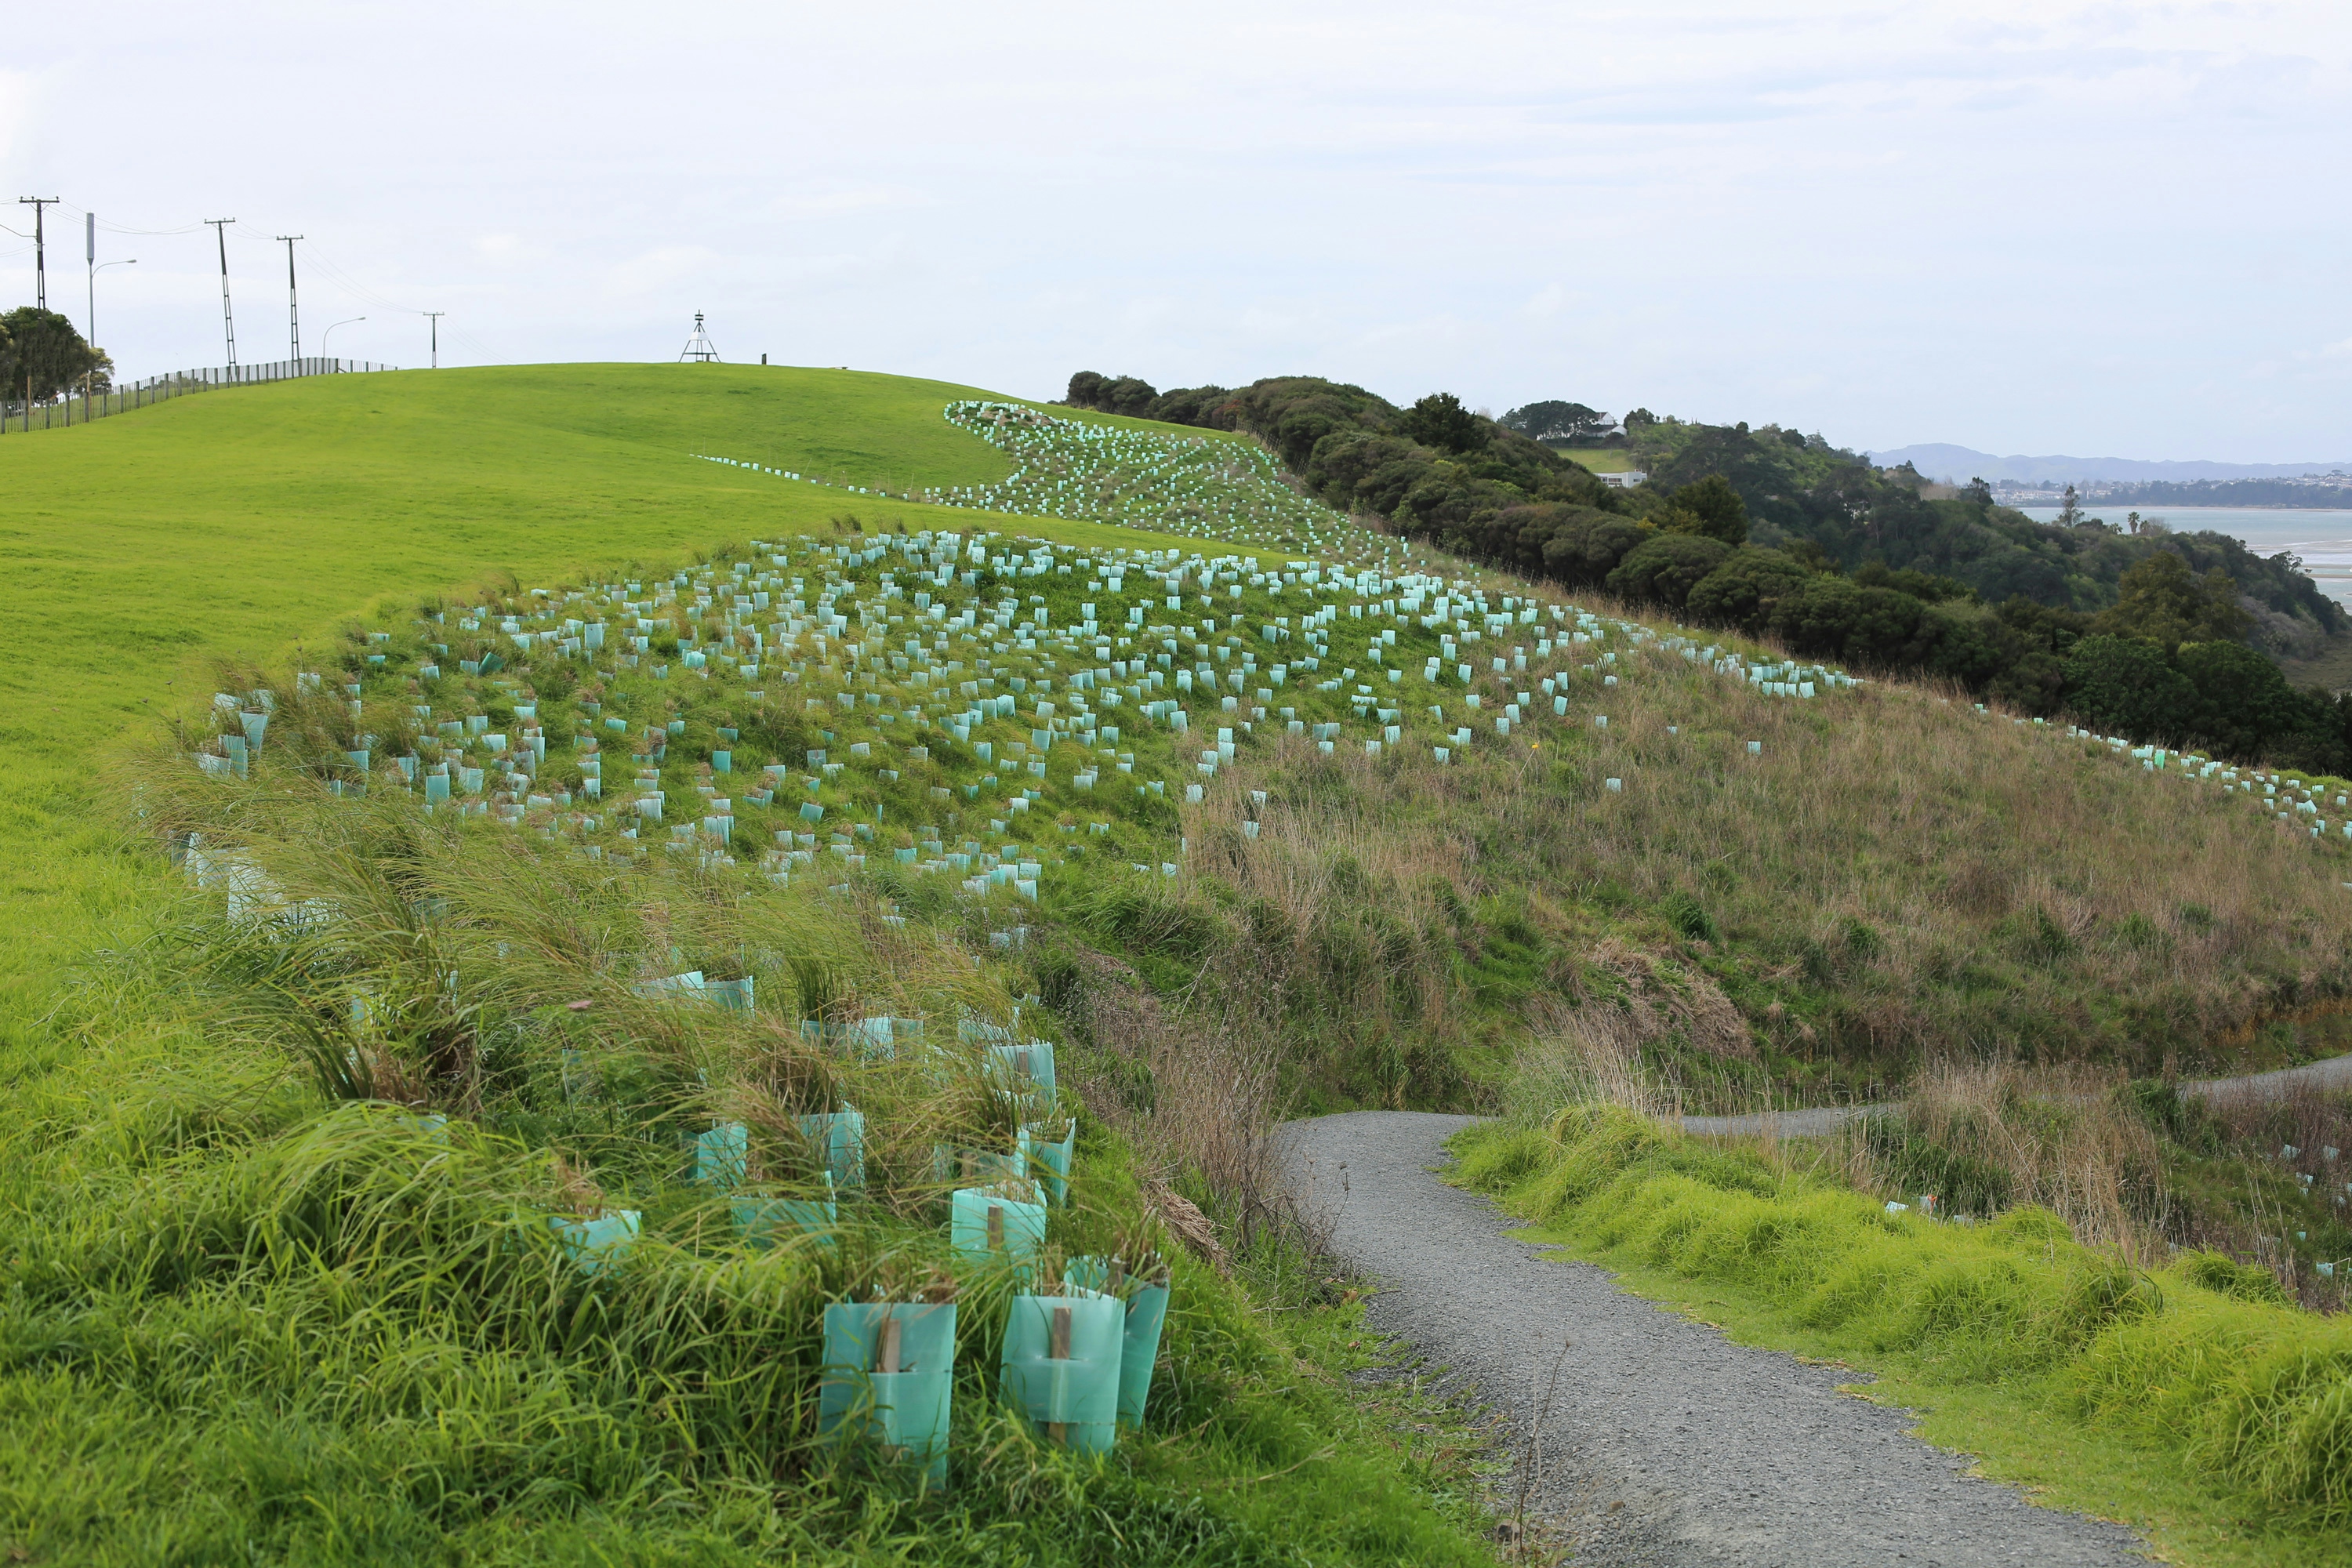
Photos taken in East Auckland in and around the Mangemangeroa Valley. Mangemangeroa means 'valley of the mangemange", a twisting climbing fern used by Māori to tie raupō thatch to mānuka-framed whare (huts) and for making hinaki (eel traps). Mangemangeroa is home to native bush, mangroves and regenerating farmland areas, a project undertaken in stages, clearly demonstrating the stages of growth explained in the article.
Join Our Newsletter
XANTHE WHITE DESIGN
Auckland Studio
Phone: 09 815 1187
Email: info@xwd.co.nz
XANTHE WHITE DESIGN
Wellington Studio
Email: wellington@xwd.co.nz
